 Varnish Tips & Techniques Varnish Tips & Techniques
Varnishes are used to protect the finished painting. Picture varnishes should be removable so that paintings can be cleaned when they have become dirty.
There are two important things to remember about varnishes:
- Don't varnish too early, even the thinnest oil painting should be allowed to dry for 6 months. A minimum of one month is required for thin Griffin alkyd paintings.
- Don't use varnishes as mediums, this would make the painting sensitive to solvent. An attempt to clean it in the future may remove the painting instead!
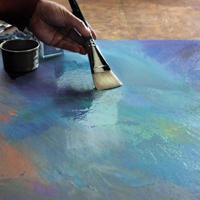
Application of varnish
Why Varnish?
The answer to that is different depending upon the media in which you’ve painted. If the question is in regards to an oil painting, the answer is fairly simple: if you’ve followed all the rules of oil painting – fat over lean, slow drying over fast, thick layers over thin, all on a rigid, well-primed support – you’ll have a secure, durable paint film.
Varnish is desirable for two key reasons: one, to bring the surface to a uniform gloss level (matt or gloss or somewhere in between), and; two, for protection from dust and other atmospheric contaminants. “Dust can cause the most damage,” explains Alun Foster, Chief Chemist for Winsor Newton. “It is very abrasive and can be difficult to remove if it becomes embedded.”
For an acrylic painting, the need is even more immediate and clear. Why? Because, as the acrylic film approaches it final dry state, the last few evaporating water molecules don’t fully “close the door” on their way out, leaving micro-pores in the film. It’s these pores that cause the film to feel tacky, even when fully dry. Even more important, they remain open indefinitely, meaning that the porous acrylic film can freely accumulate dust, grime, and smoke from the atmosphere. While that grime may not seem to be much over a week or a month, it adds up over the course of years. The best way to protect the painted acrylic film? Varnish.
We’re often asked about varnishes for water colour. When dry, water colour doesn’t form a discrete, intact film like oils or acrylics. In fact, water colour remains soluble when dry, and any applied varnish will “mingle’ with the colour layer, creating a film that is chemically and mechanically part of the painting surface. If, at some later date, the varnish yellows or is damaged and requires removal, the painting will come with it. Obviously, if you’re interested in long-term stability, varnish over water colour is a bad idea.
Types of Varnishes
The ideal varnish offers three qualities: one, superb clarity, two, remove-ability (or ‘reverse-ability,’ in conservation parlance), and, three; easy and even application.
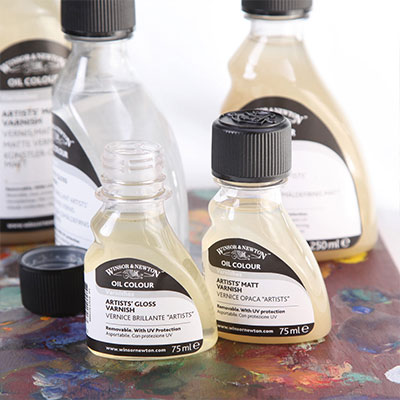
Varnishes are labelled ‘gloss’ and ‘matt’. However, there is a variety available made from different resins which provide relative levels of gloss, as many artists have their own personal preferences. Here are the most common choices:
As a conservation grade varnish, Winsor & Newton ConservArt Gloss offers high clarity and the low-molecular weight acrylic/ketone resin ensures long-term remove-ability. In addition, UV stabilizers ensure film durability.
Artists’ Original Matt Varnish is a removeable ketone resin/beeswax varnish that dries to a matt finish.
Artists’ Gloss Varnish and Artists’ Matt Varnish are removeable, non-yellowing and can be blended to achieve an intermediate gloss level.
For acrylics, the vast majority of acrylic emulsion (water-based) varnishes on today’s market are – just like the acrylic emulsion colour – fully waterproof and non-removeable when dry. Winsor & Newton is the only manufacturer that makes three acrylic emulsion varnishes (Galeria Gloss Varnish, Galeria Satin Varnish and Galeria Matt Varnish) that are complemented with the Galeria Varnish Remover. When used properly, this alkali-based formula is specifically formulated to reverse Winsor & Newton acrylic emulsion varnishes without damage to the acrylic paint film beneath.
Artists’ Gloss Varnish & Artists’ Original Matt and Conserv-Art Gloss & Artists’ Matt Varnish can be mixed to provide varying degrees of satin.
When to Varnish
When varnishing an oil painting, it’s essential to wait until the colour layer is fully dry and oxidized. That can require from six months to a year (or longer), depending upon the thickness of the film. How can you tell if the painting is ready to varnish?
Acrylic paintings will dry and be ready for varnishing once water has fully evacuated from the film. Depending upon film thickness, that will require anywhere between two days and a number of weeks.
How to apply Varnish
Here are eight simple steps to varnishing success:
- Use a 1”- 4” flat wide, soft, tightly packed, varnishing brush (such as the Winsor & Newton Monarch glazing/varnishing brush). Keep it clean and use it only for varnishing.
- Place the work to be varnished flat on a table - do not varnish vertically
- Apply the varnish in 1-3 thin coats, rather than 1 thick coat. A thick coat will take longer to dry, may dry cloudy, drip or sag during application and has a greater chance of showing brush strokes when dry.
- Thinned varnish is more susceptible to producing bubbles. Do not be vigorous in your application.
- Apply in long even strokes to cover the surface top to bottom while moving from one side to the other. While working, inspect the varnish layer at all angles for bubbles. Even them out immediately.
- Once you leave an area, do not go back over areas that you have done. If you do, you risk dragging partially dry resin into wet, which will dry cloudy over dark colors. If any areas were missed, allow to dry completely and re-varnish.
- After varnishing, we recommend that the surface should be shielded from dust with a protective plastic film “tent”.
- For a matte surface, apply the first layer(s) using gloss varnish. Because multiple layers of matte varnish will cloud, only the final layer should consist of the Matte varnish.
|


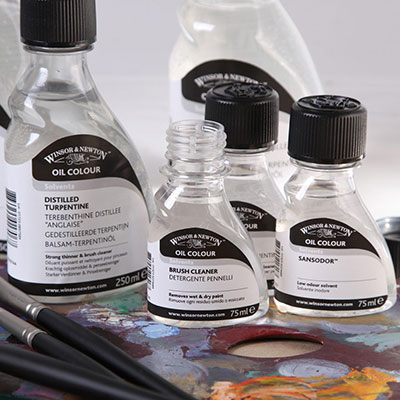 Solvents Tips & Techniques
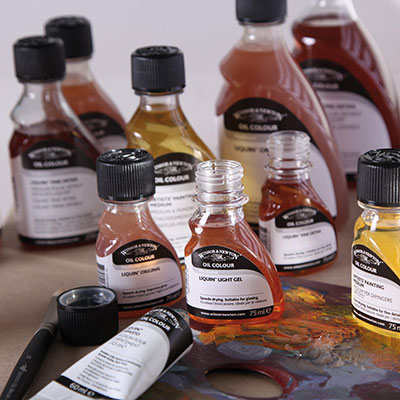 Oil Medium Tips & Techniques