Derwent Chromaflow Feathers Tutorial
This tutorial is part of our month long celebration of Derwent’s pencil range. Artist Rosie Wallace has written these step by step instructions for drawing birds feathers using Derwent Chromaflow. Rosie has selected drafting film as her surface as the Chromaflow pigment lays down smoothly and blends beautifully on it’s surface.
Materials needed for this tutorial
- Derwent Chromaflow pencils (available individually or in sets) specific colours used have been highlighted in bold and listed here:
| Coffee Bean | Raisin | Light Blue | Blue Orchid |
| Iris Blue | Orchid | Magenta | Spice |
| Pastel Mint | Pear | Grass Green | Basil |
| Cactus | Green Meadow | Lemon Lime | Obsidian Green |
| Black | White | Platinum |
- Drafting Film
- Slice Ceramic Knife
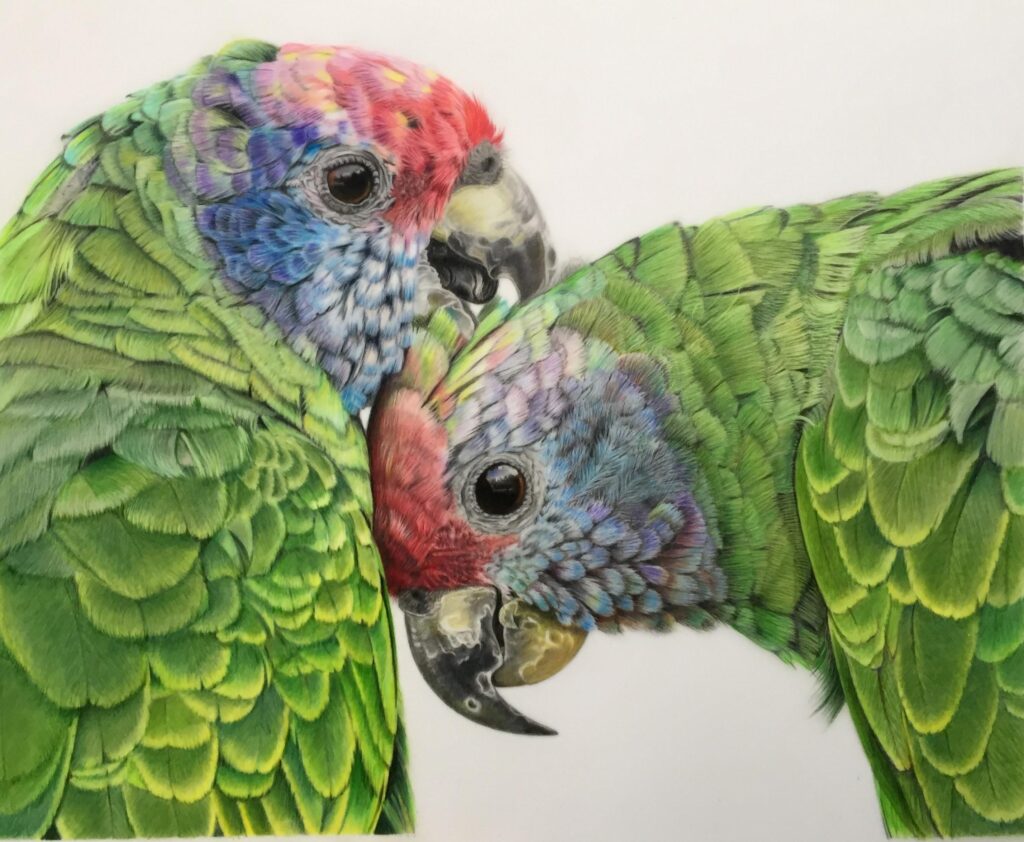
For context, the drawing on the left shows the full image, which I previously created using a variety of different pencil brands.
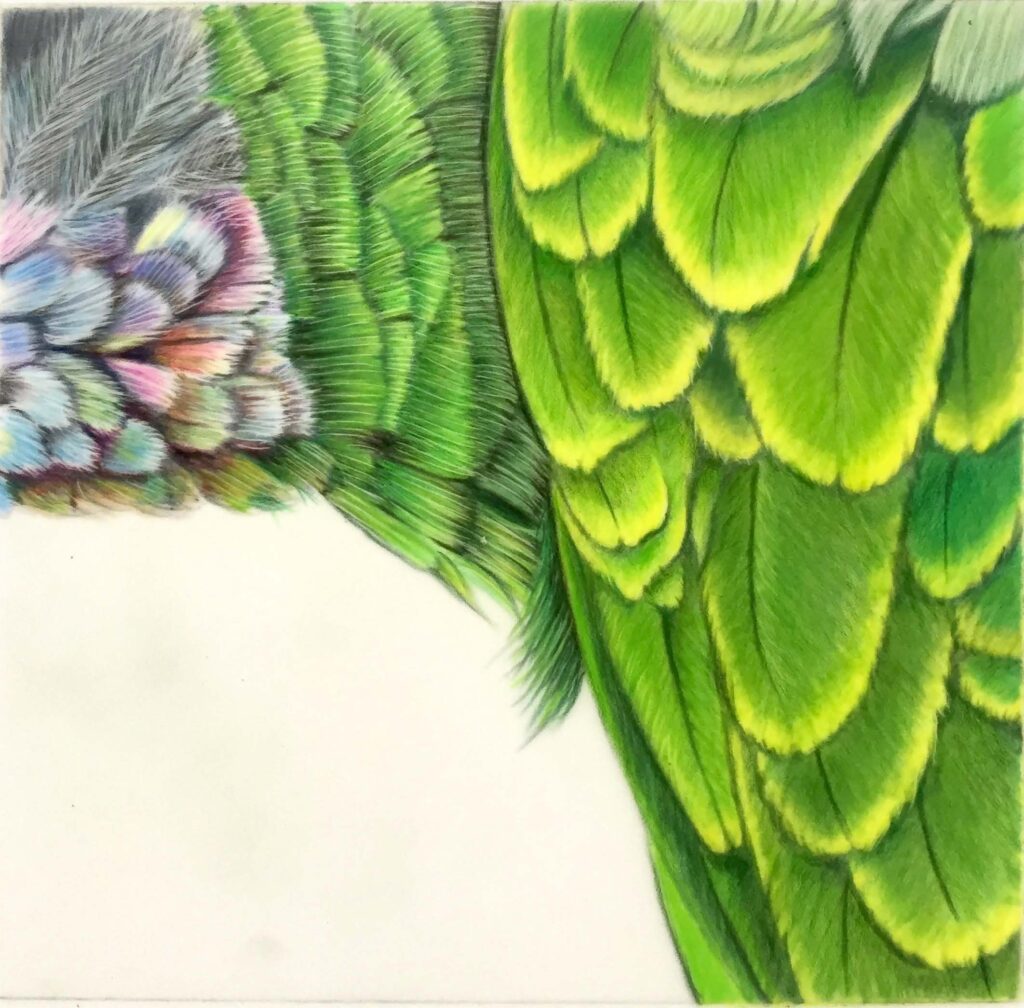
The drawing above and the demonstration that follows has been produced using Derwent Chromaflow pencils exclusively.
Step 1 – Map out the basic sketch outline
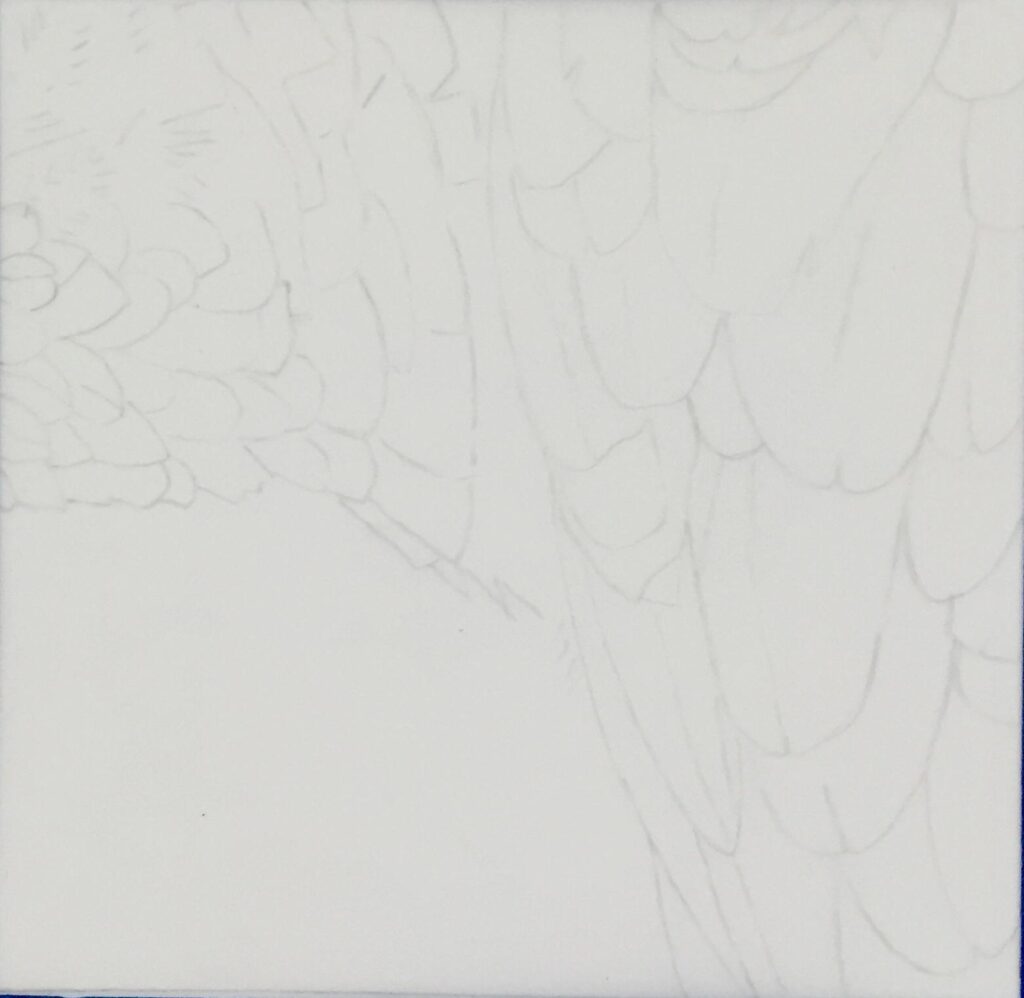
Use a Platinum pencil to lightly map out the feather outlines.
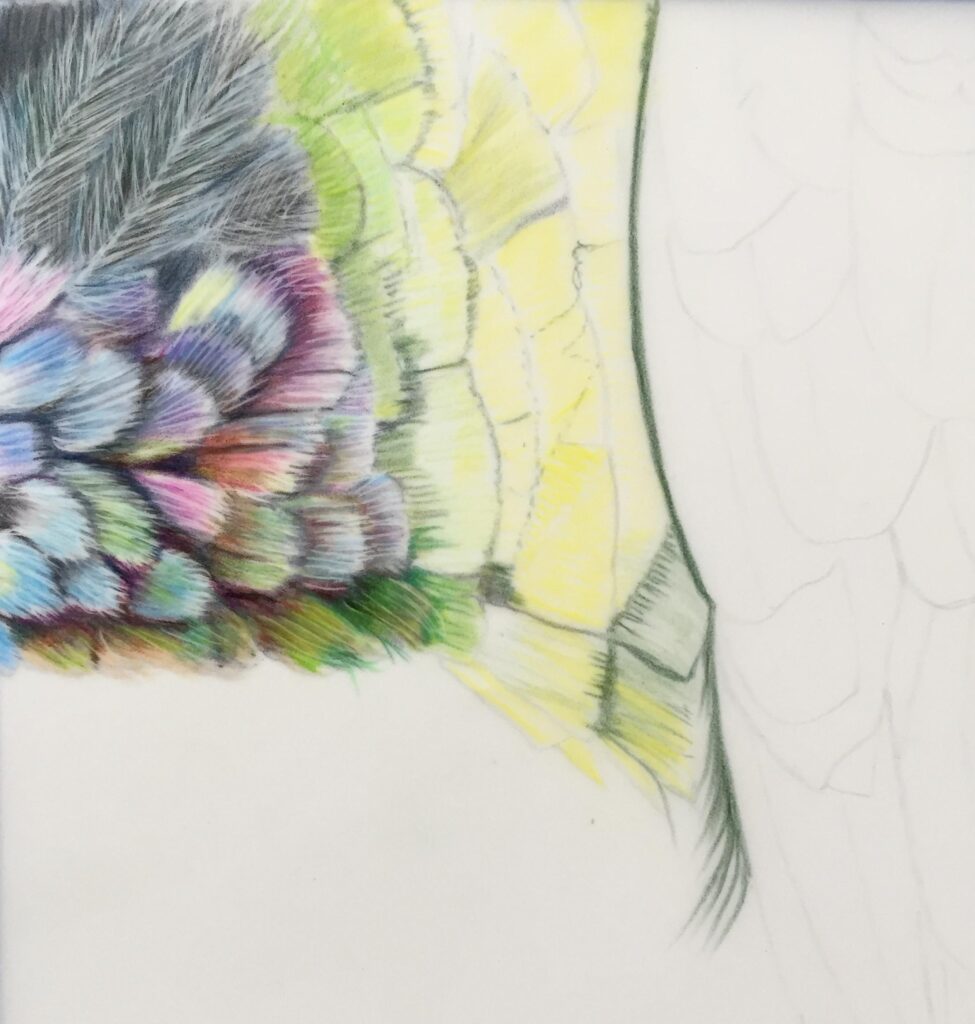
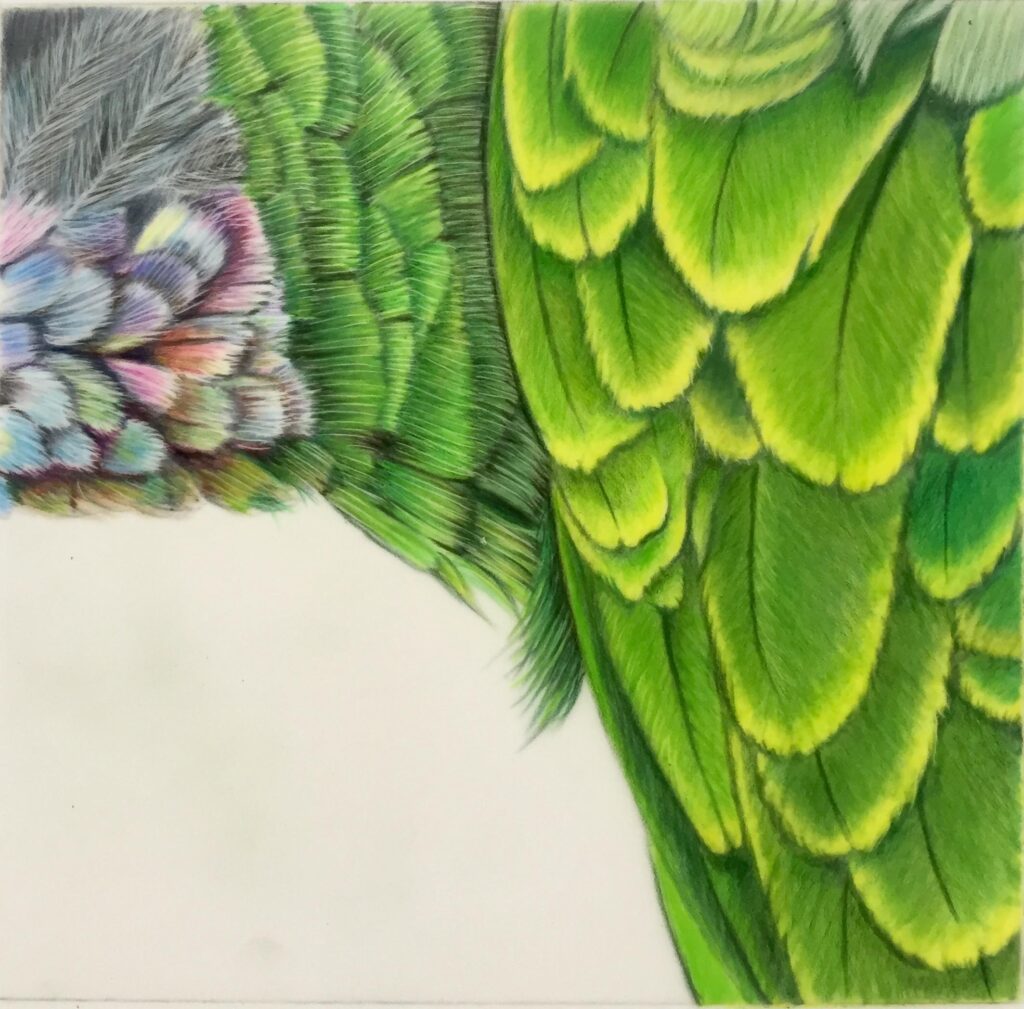
Step 2 – The colourful fluffy cheek feathers
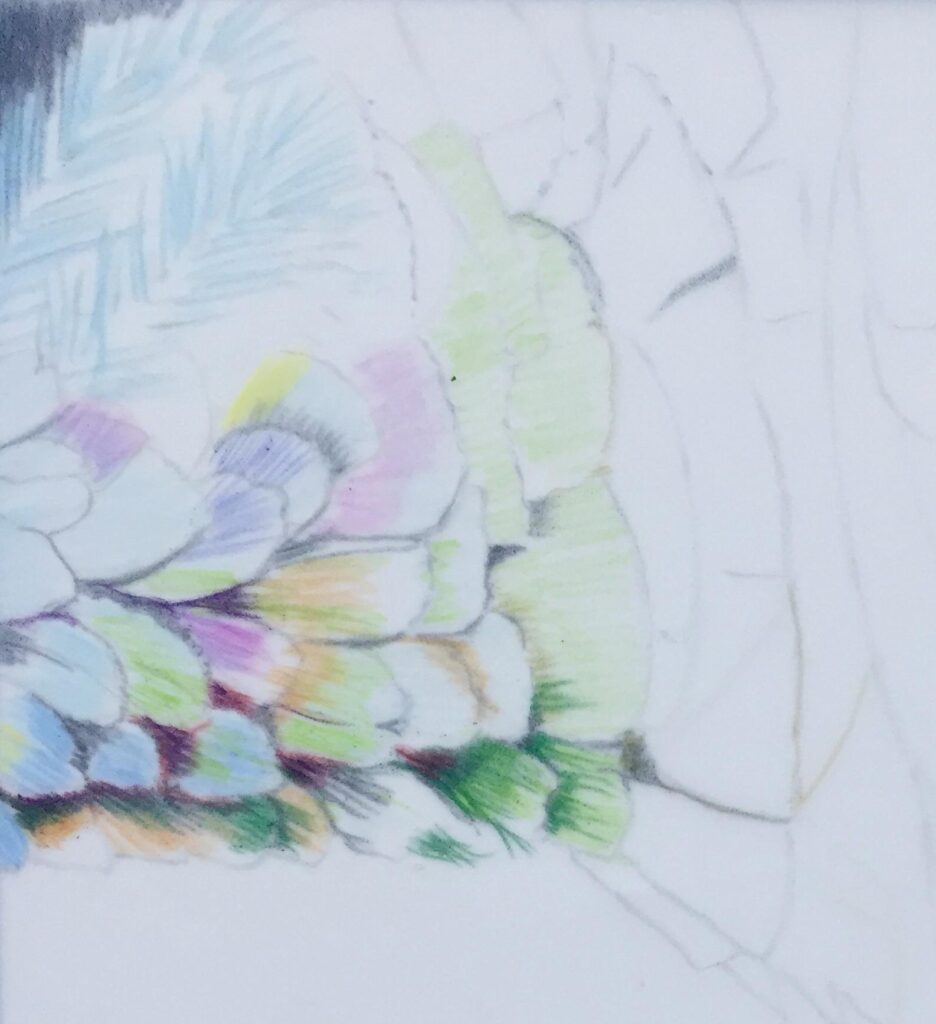
Start by defining the dark areas between the feathers using Coffee Bean and Raisin, then roughly plot in the various colours. I’ve used Light Blue, Blue Orchid, Iris Purple, Orchid, Magenta, Spice, Pastel Mint, Pear and Grass Green.
Also lightly define the first line of green neck feathers so that it is clearer to see where these start.
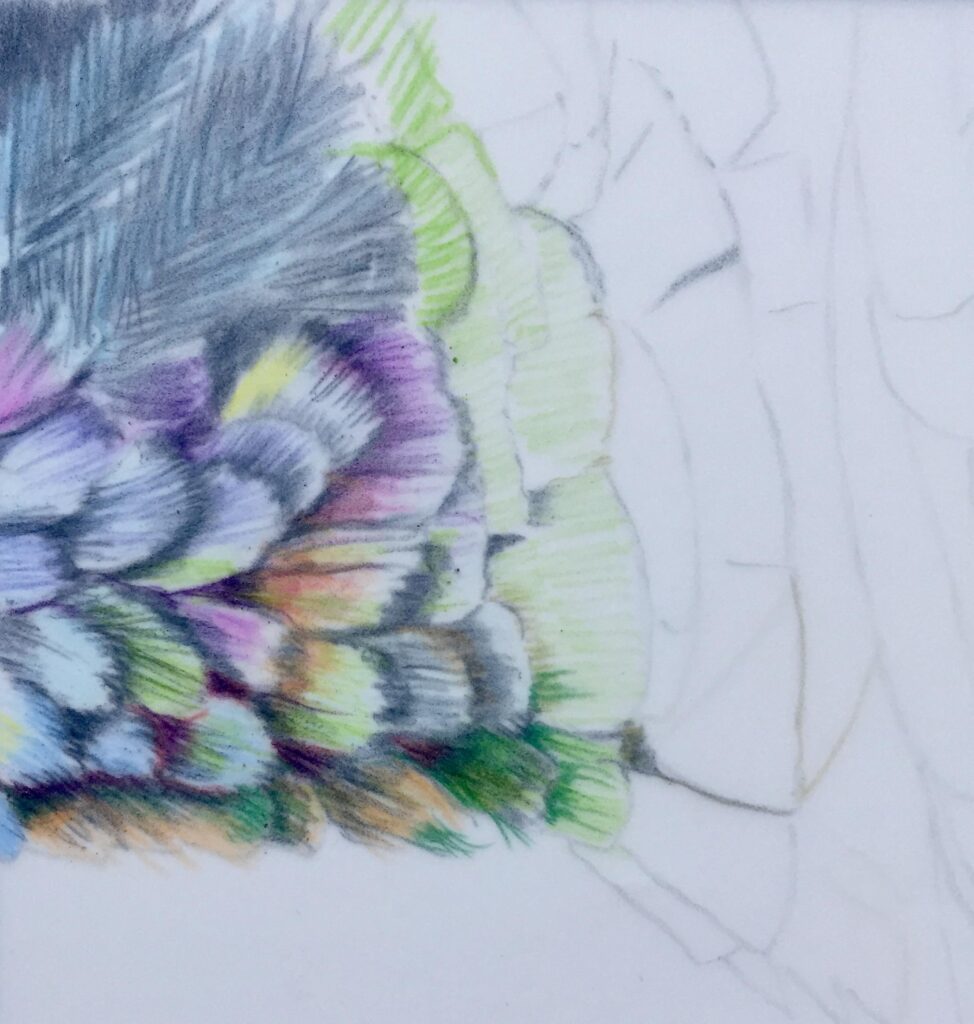
Strengthen the feather outlines using Slate Grey and Raisin. Roughly create the ‘V-shaped’ lines of the fluffy feathers at the top left, using Slate Grey.
It will look pretty rough at this stage, but we will start to soften things up in the next step!
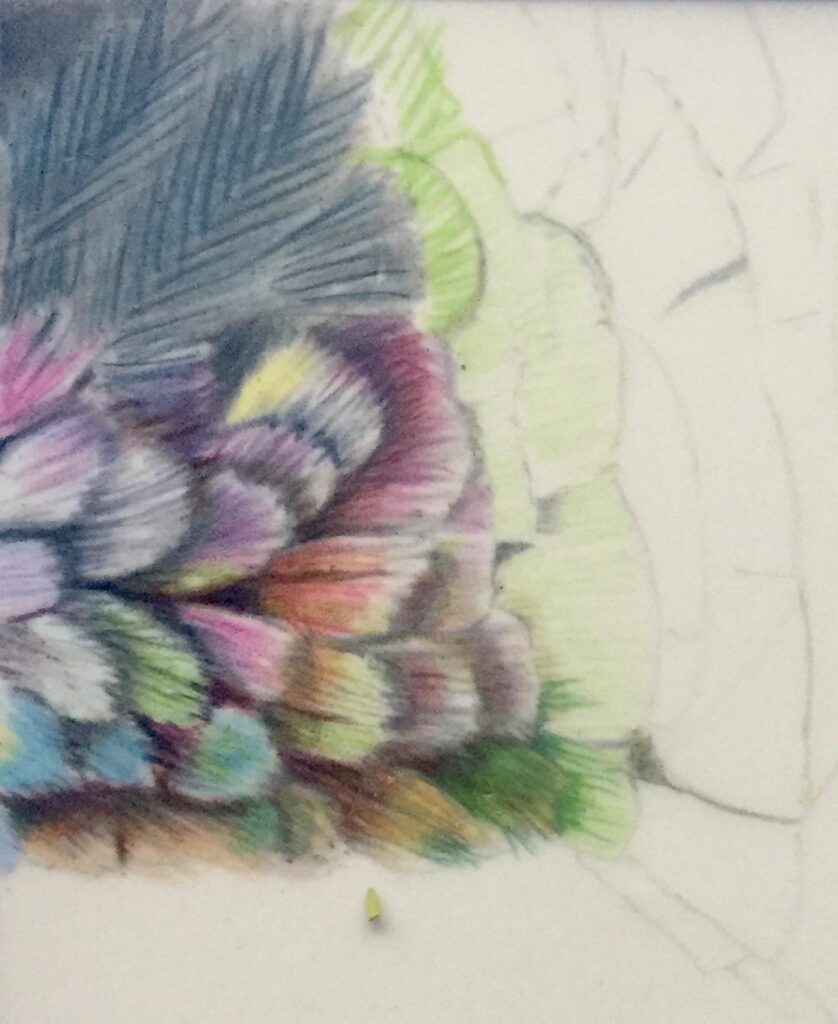
Continue to add layers of colour, as above, blending them together to create a smooth finish.
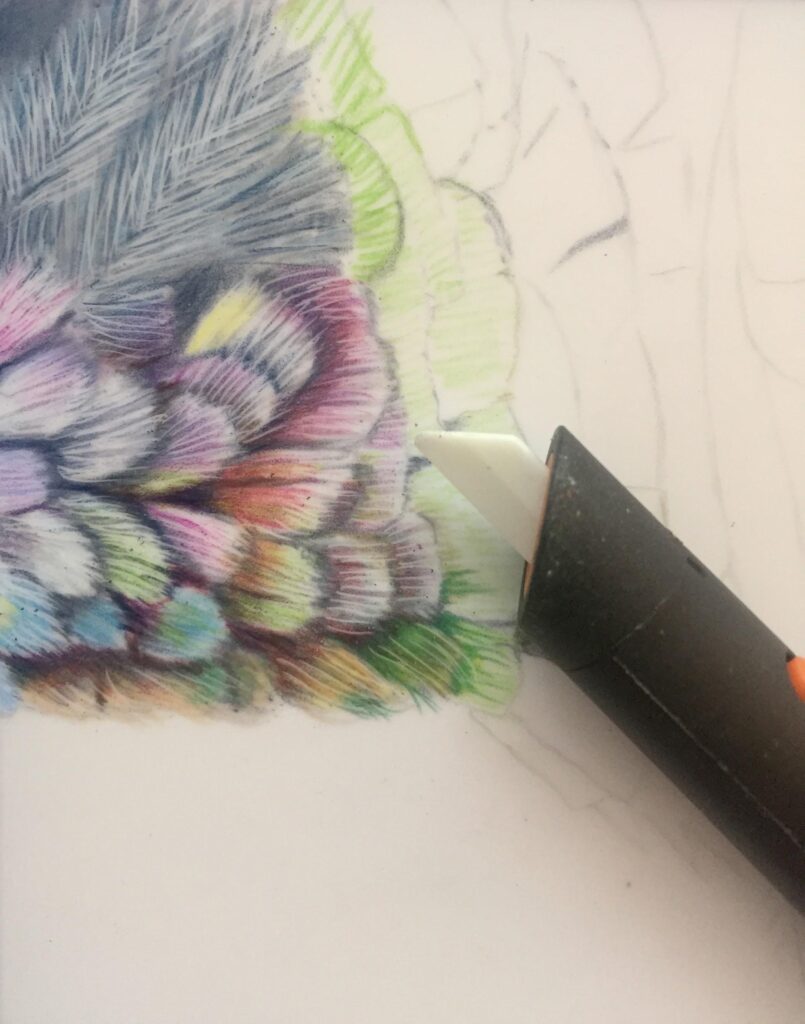
The next step is to create some texture using a ‘Slice’ blade. Use the side of the rounded blade to gently scrape away the top layers of pigment to create the feathery texture.
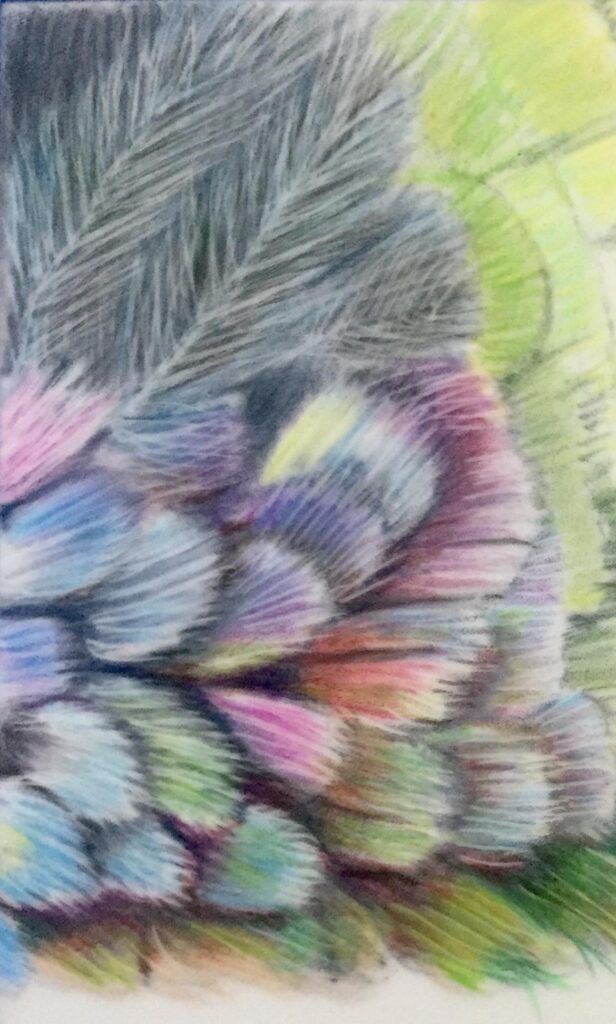
Next, use White over the whole area in order to blend and soften the pencil strokes further.
Add further depth by gently applying a touch of Black in the darkest areas. Skim over the ‘v-shaped’ feathers at the top very gently with Black. You will find that the pigment naturally settles between the ‘grooves’ to create an impression of depth.
Step 3 – The bristly neck feathers
Very lightly outline the edge of each feather with Obsidian Green, then roughly shade the neck area with Lemon Lime.
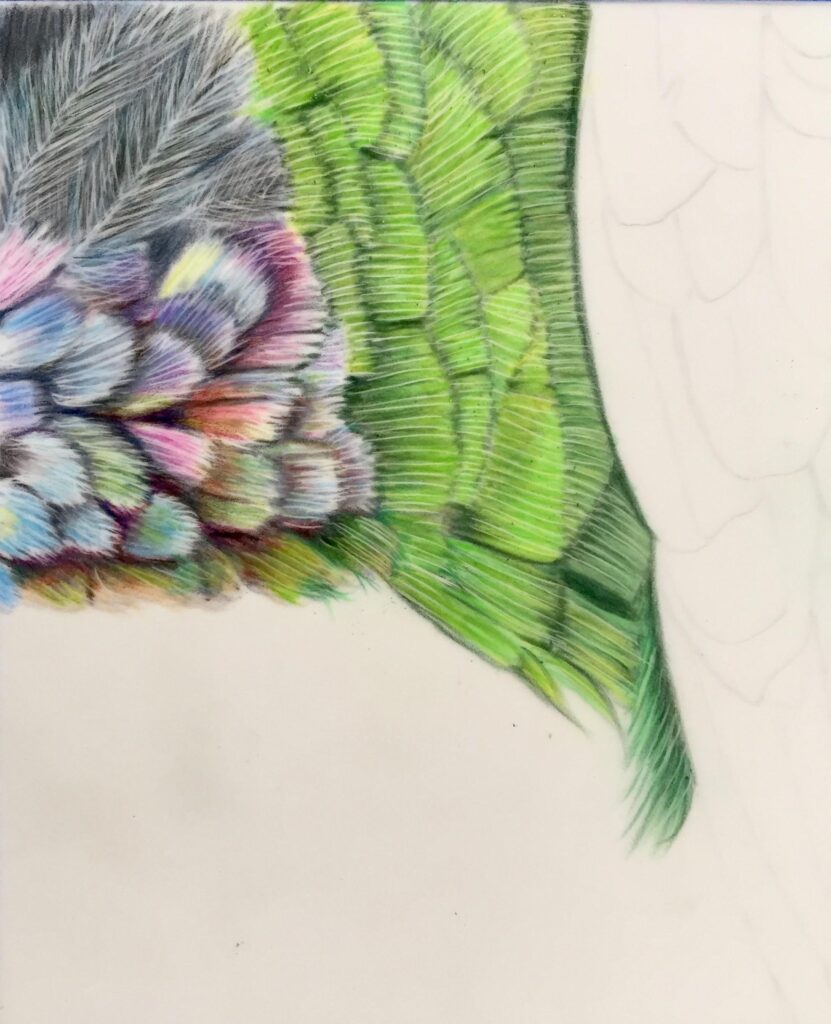
As with the cheek feathers, darken the shadow areas between the feathers, where they overlap. Use Obsidian Green and gently blend it out into each underlying feather. Next, go over the Lemon Lime with Green Meadow. Work from the shadow areas outwards, using smooth, straight, strokes and fading the colour outwards towards the end of the feather.
For the darker feathers closest to the wing area, use layers of Cactus and Basil. For the wispy feathers at the bottom of the neck area, use Basil, Green Meadow and Cactus.
Use Obsidian Green to strengthen the shadow between the neck and wing area.
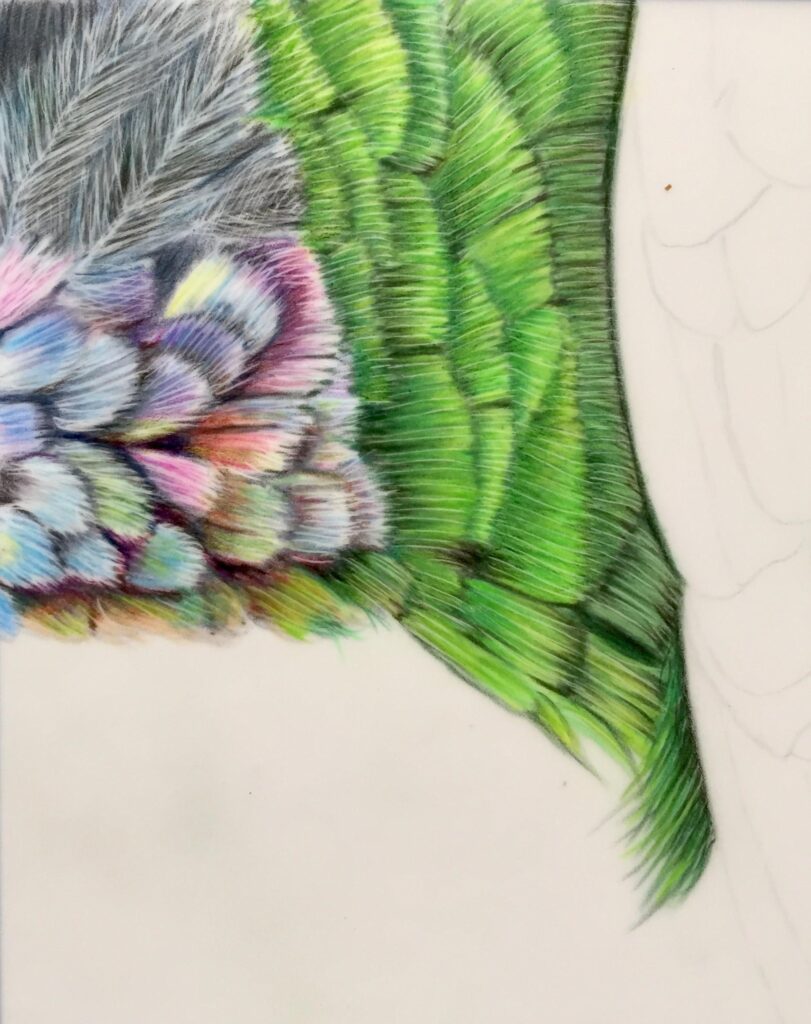
Deepen the shadows between the feathers further with Obsidian Green. On top of which layer some Basil and blend through with Cactus.
As with the cheek feathers, add some textural lines using the Slice tool. Then add a layer of Pear over the top to blend and soften the layers
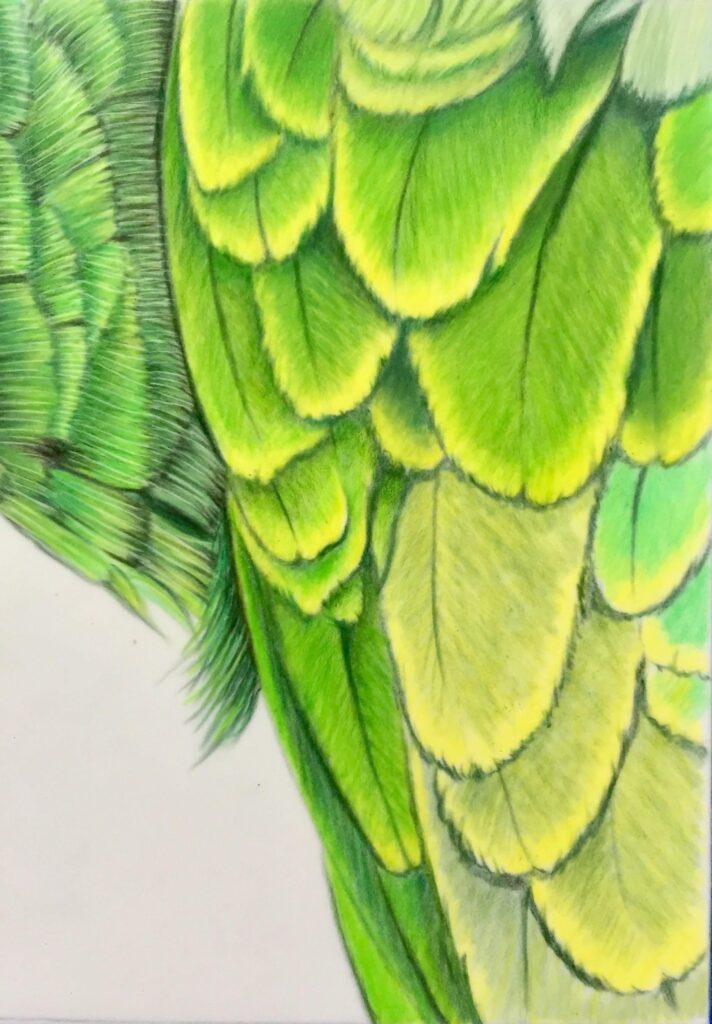
Step 4 – The smooth overlapping wing feathers
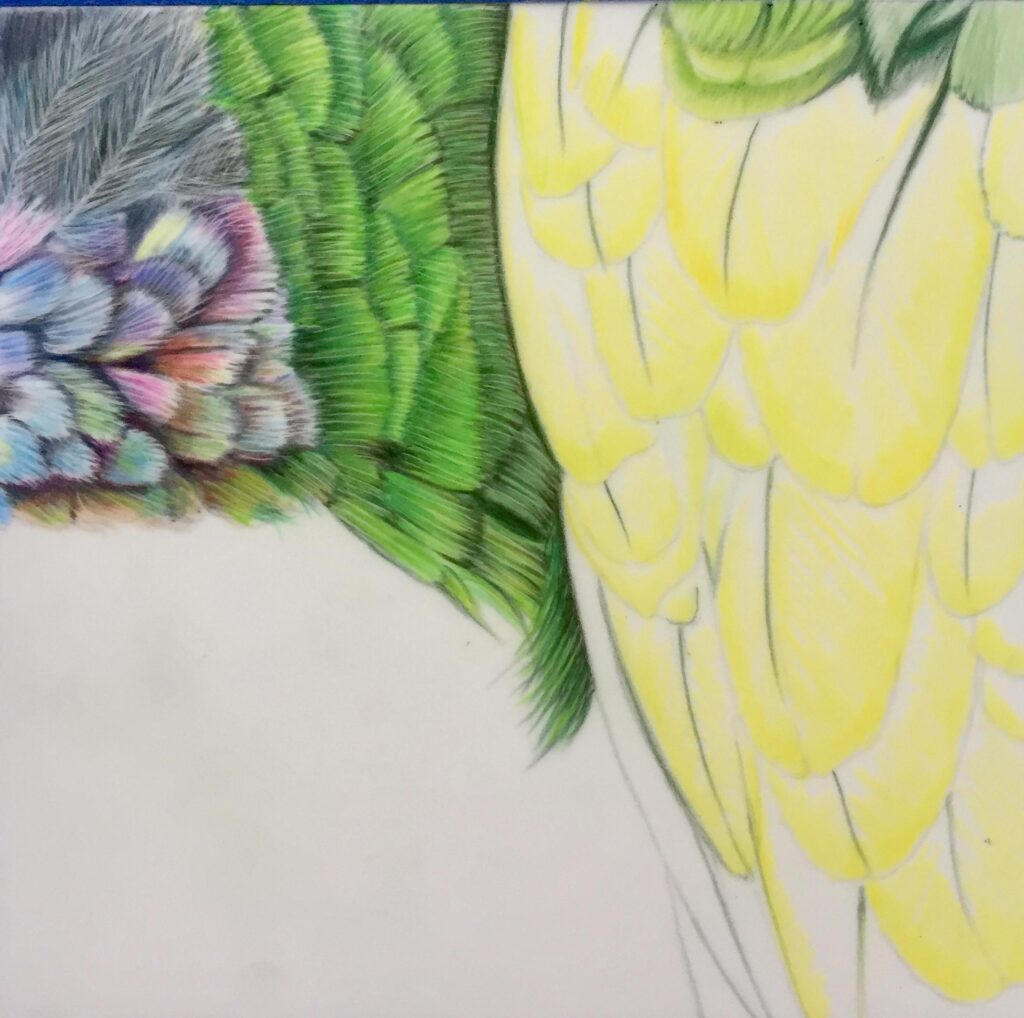
The feather at the top right is created using a base layer of Pastel Mint blended with a layer of Cactus.
For the large wing feathers, apply Citrus Yellow to the tip of each wing feather, dragging the colour from the tip upwards in long diagonal strokes, from the outer edge to the central shaft.
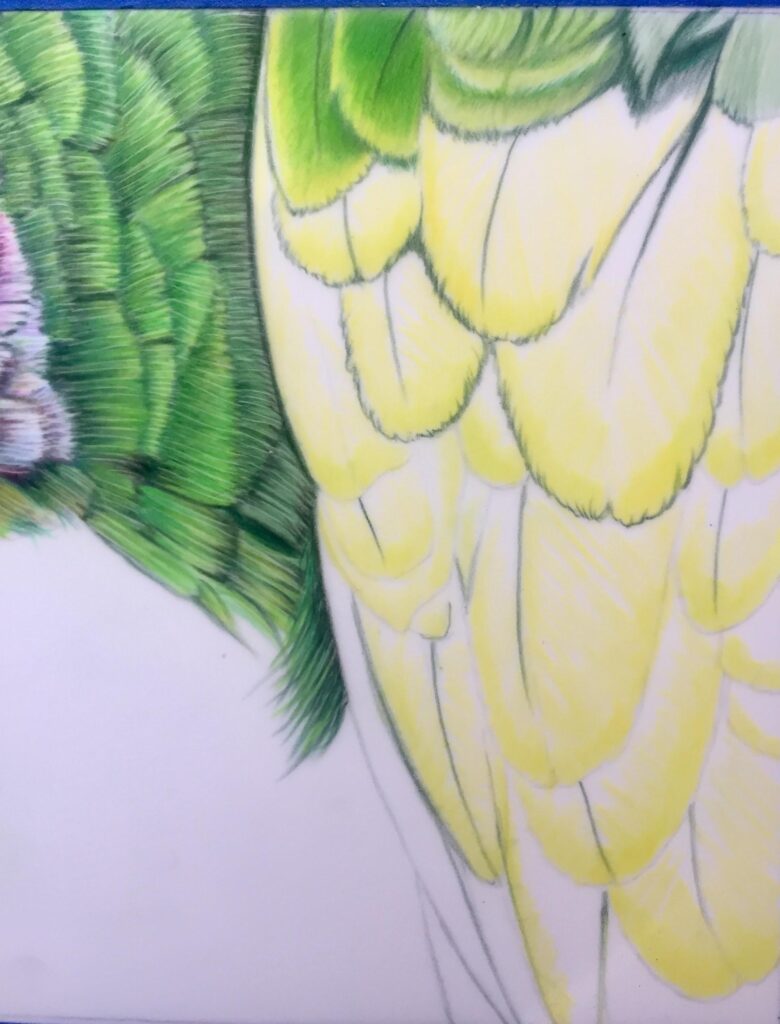
The next step is to outline each feather with Obsidian Green. Push the pigment up into the yellow edges to create a broken outline.
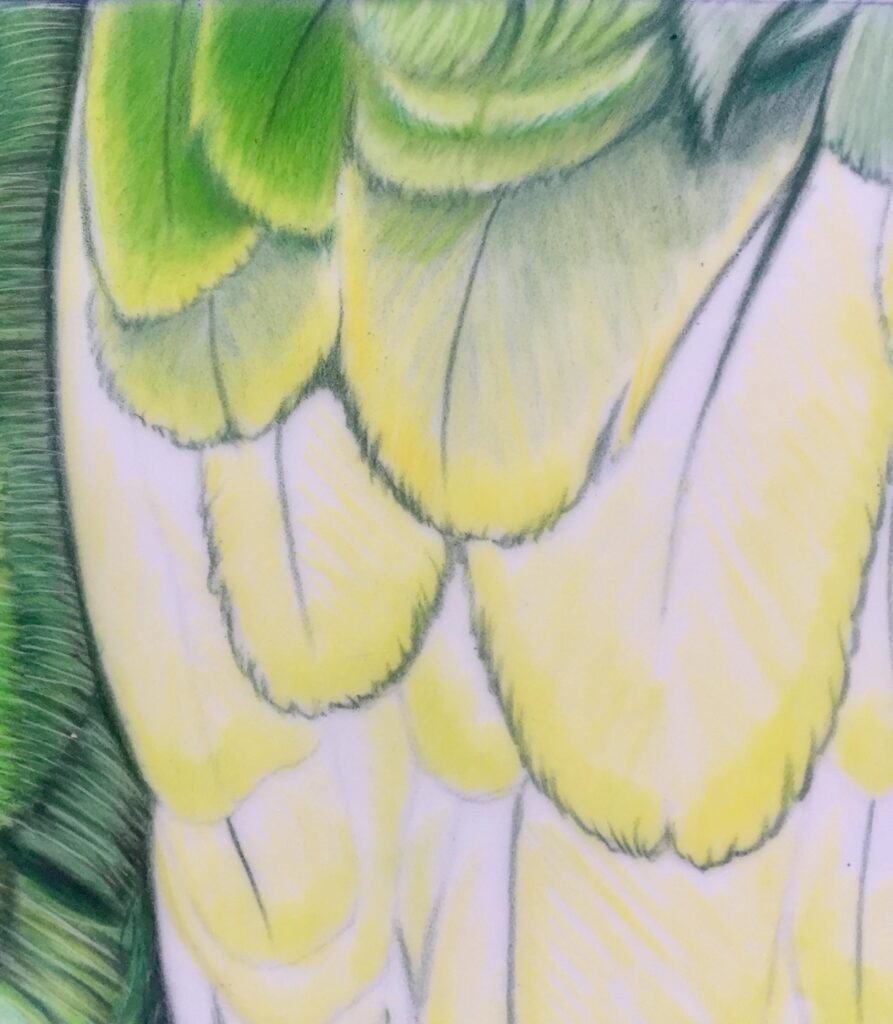
Starting from the top of each feather add a layer of Cactus, using long diagonal strokes which fade out towards the yellow feather edges. Then follow with a layer of Green Grass in the same way.
Continue working downwards, layering the greens using diagonal strokes and blending them into the yellow.
Here, the remaining feathers have been outlined in Obsidian Green. Don’t worry about this looking too heavy – it will blend in nicely with the following layers of green!
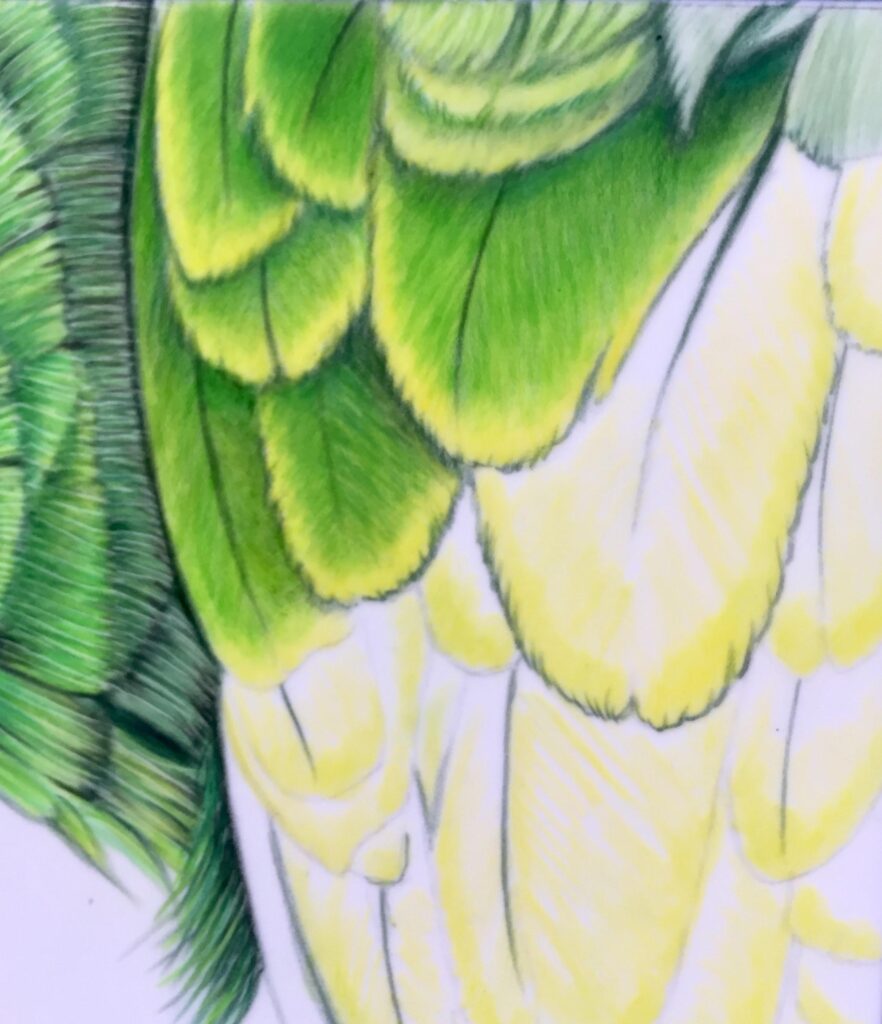
Continue as before, with a layer of Cactus on top of the yellow.
To create the feathers on the right hand side that are a brighter green, use Green Meadow instead of Cactus on top of the yellow.
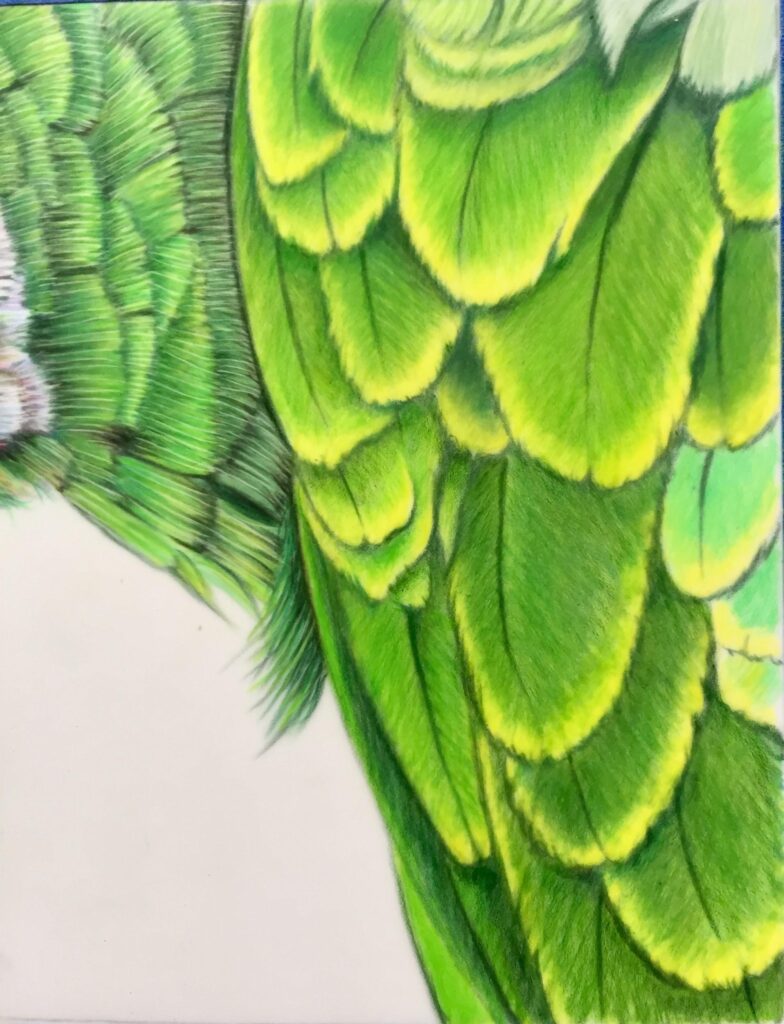
For the lower feathers that are a slightly darker green, add a layer of Basil on top of the Cactus, followed by Grass Green. Then add a touch of Obsidian Green.
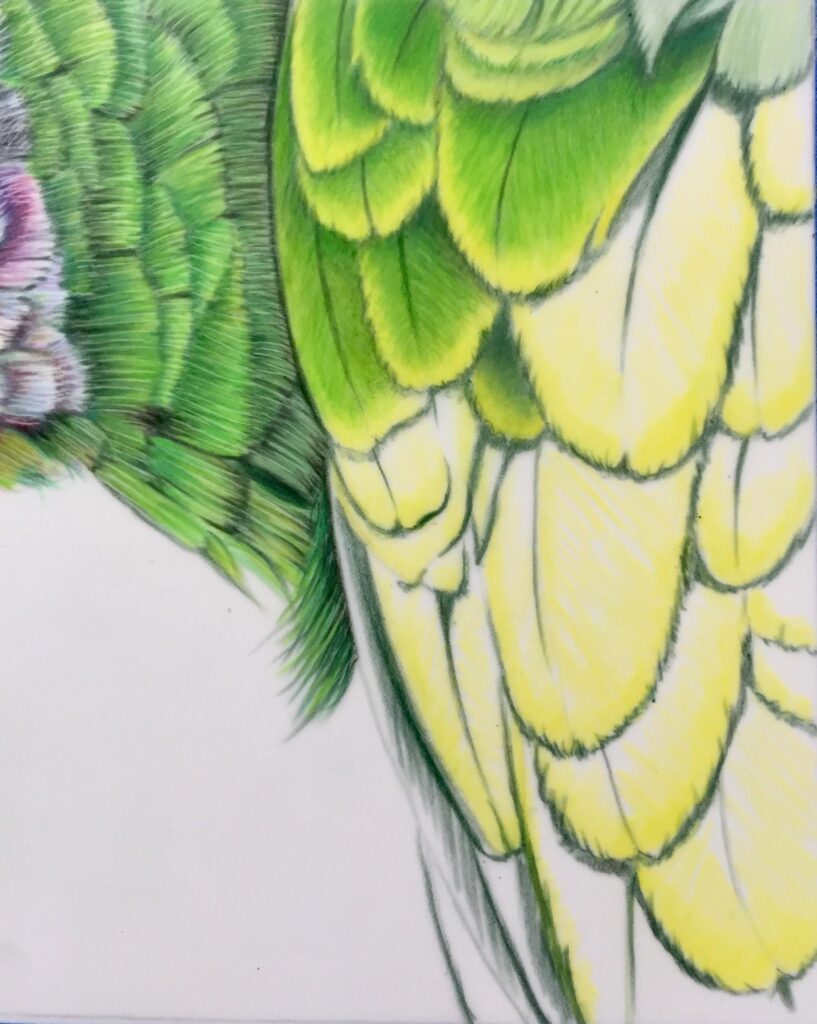
To blend in the darker shadow edges around each feather, blend Basil over the Obsidian Green to soften the outlines. Then go in again with Obsidian Green, pushing it up into the yellow tips to maintain the jagged edges.
Brighten the tip and edges of each feather by reapplying Citrus Yellow, using harder pressure, to blend it smoothly into the green.
To finish, to blend and soften the feathers further, add a light layer of Pear over each feather, maintaining the diagonal direction of the pencil strokes.
Finally, strengthen the dark central feather shaft using a sharpened Obsidian Green. Starting at the top of each feather and with hard pressure and lifting the pencil at the end of the stroke as it runs into the yellow tip.
You might be interested in Rosie’s first tutorial about drawing a cat’s eye with Derwent Chromaflow and you can read more about Chromaflow here.