Painting A Portrait With PanPastels Tutorial
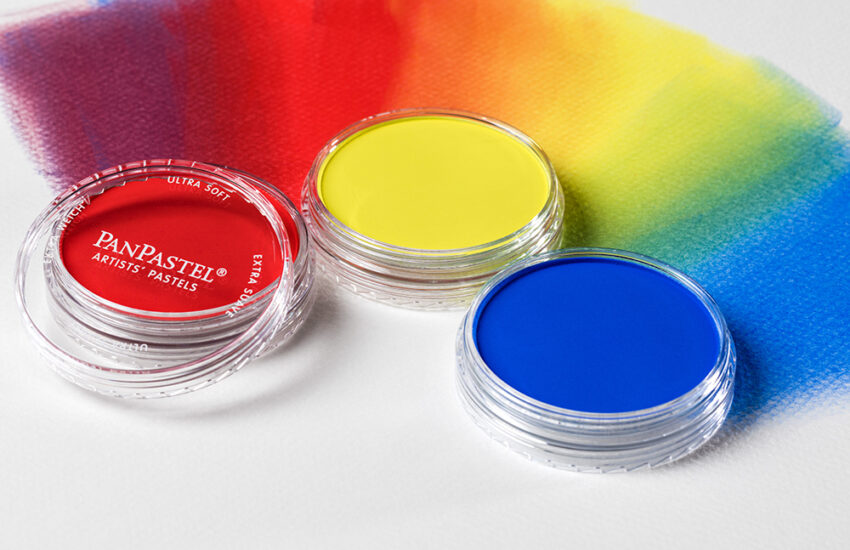
Although I’ve been aware of PanPastels for some time, I haven’t had an opportunity to try them out before, so I was looking forward to a chance to experiment with a portrait as the subject matter. My first impression of the pans and the tools supplied with them is their obvious similarity to make-up. Having used soft pastels and pastel pencils in the past the PanPastels were clearly going to require a different approach.
Materials used

The set of 20 PanPastel Portrait colours also contains a few basic tools specially designed for their application. For this portrait I have used these colours from the set:
Payne’s Grey
Rum Umber Shade
Red iron Oxide Shade
Diarylide Yellow Shade
Chromium Oxide Green Shade
Neutral Grey
Titanium White
Burnt Sienna
Burnt Sienna Shade
Raw Umber
Permanent Red
Turquoise Shade
Orange Tint
I have also used black from another set
PanPastel make a set of Sofft Tools designed specifically for use with PanPastel, I used a combination of the knives and the sponges.
The paper I have chosen to use is a ‘China Grey’ paper by Canson Mi-Teintes. Using a mid-tone colour as a starting point allows you to judge the lightest and darkest tones far better than starting with a white surface. I used the smoother, reverse side of the paper.
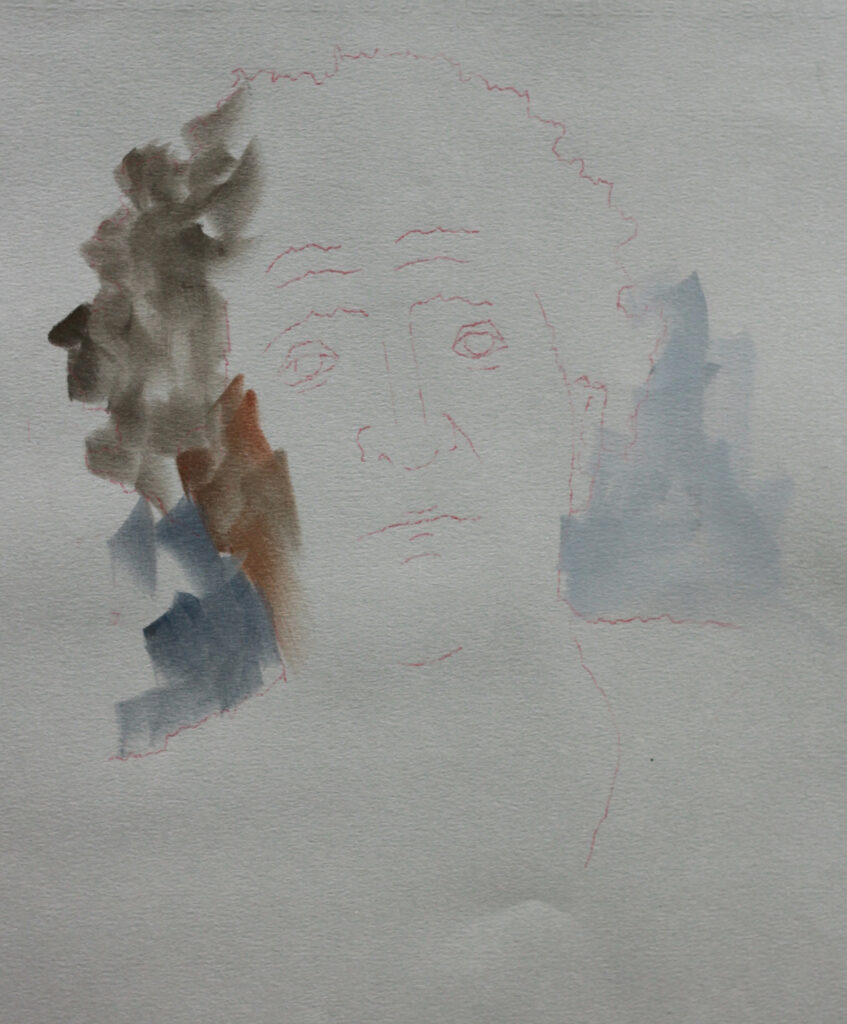
Stage 1

The image was drawn out lightly with a red pastel pencil. I then tested some of the colours on a scrap of the same Canson paper. The colour is picked up by swiping the tool across the pan. Then applied directly onto the image itself or mixed on a separate piece of paper first. A few tentative marks were applied with the Payne’s Grey, Red Iron Oxide Shade, and Raw Umber Shade using the larger tools.
I began with my usual approach, which is to add some colour over the whole image before attempting any detail. The image is 12” x 10”, and it immediately became clear to me that I should have chosen a larger size. Although the tools can produce some reasonably small marks, they will not be able to paint details like eyes on such a small scale painting.
Stage 2
A good range of skin tones can be mixed using a combination of Burnt Sienna, Orange Tint, Diarylide Yellow Shade, and Red Iron Oxide Shade. This man is rather swarthy and the image has some rather dark shadows, so I added black to the mix to create a dark enough colour. The darkest tone I could make from the set was by mixing Payne’s Grey with Red Iron Oxide Shade, which wasn’t quite dark enough.
Stage 3
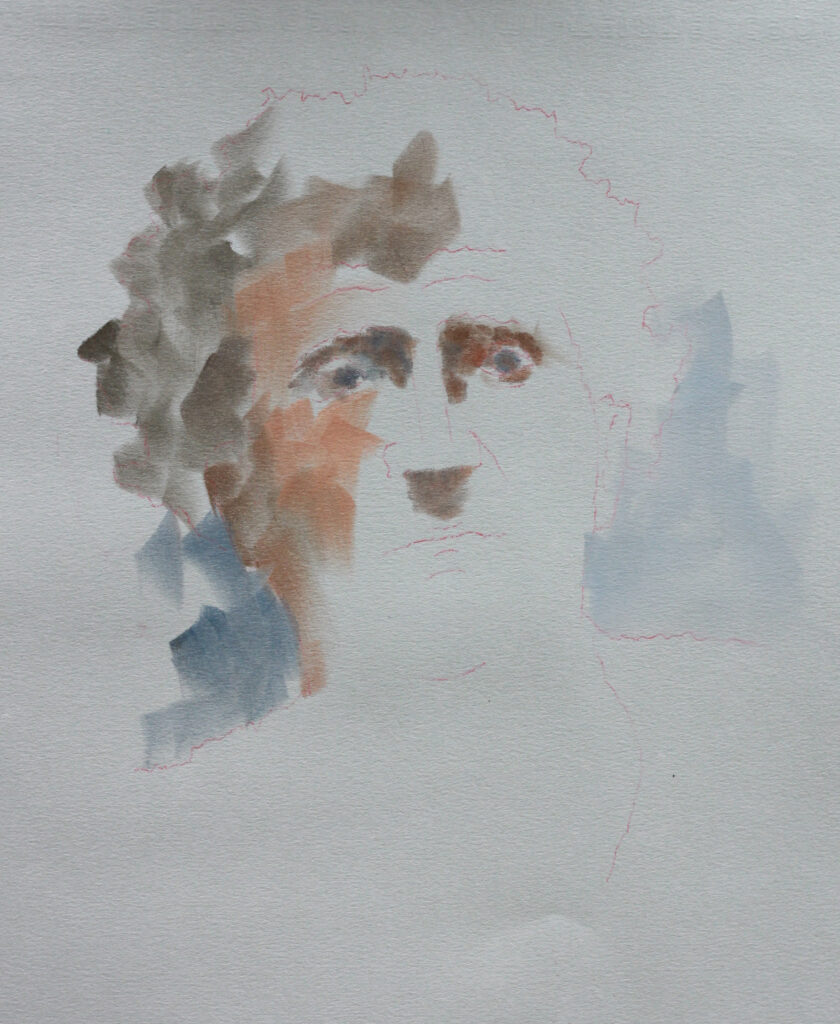
Lively gestural marks were made using the larger tools, especially effective for the background. One colour can be laid over another to create some subtle transitions in tone. As with other types of pastels there is a limit to how many times you can do this before it begins to disturb and pick up the underlying colour.
Stage 4

Some details were added with the smaller tools by turning them at various angles to the paper. Colours were mixed on the scrap pastel paper before being applied to the painting. Some of these colours were left unblended on the image whilst others were blended into those already laid down. I instinctively rubbed some areas with my finger to merge the colours as I would do with soft pastels, I found the PanPastels resistant to blending in this way. PanPastel recommend blending with the sofft tools to retain the vibrancy of the colours and it is mess free!
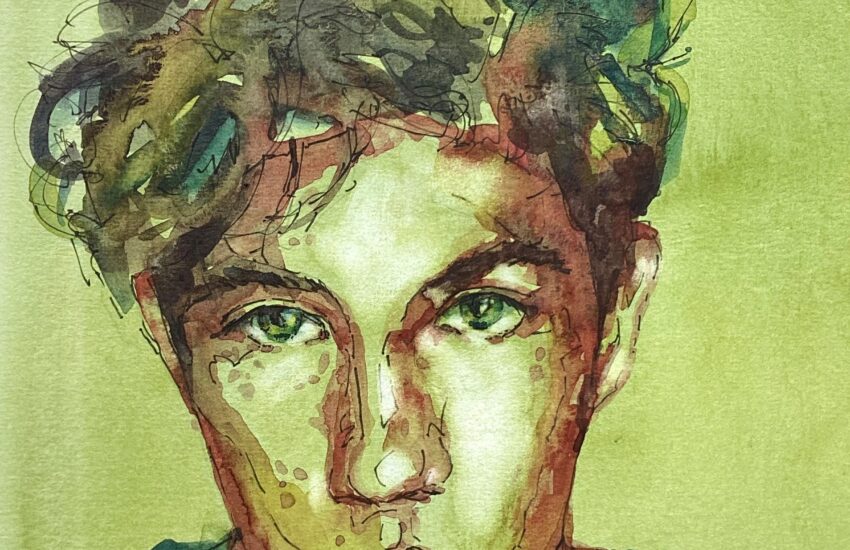
Stage 5
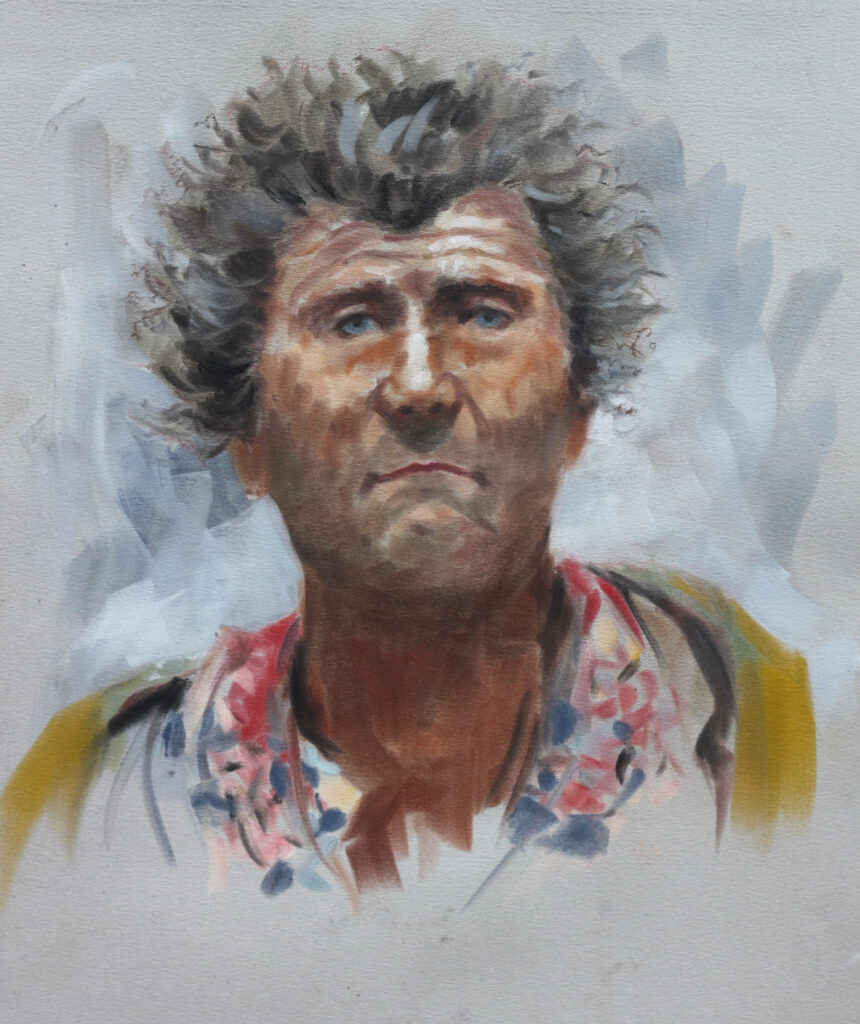
The time had come to add more detail and as I expected even the smallest tools weren’t small enough when it came to painting the eyes. I experimented with pastel pencils for this but as with ordinary soft pastels this wasn’t successful. Pastel pencils are quite hard so just dig into the softer PanPastels. I tried to pick up some of the colour from the pans with a small brush to paint the finer details, but this didn’t work. I experimented with dissolving the colour so that it could be applied with a small brush. Water wasn’t a success but distilled turpentine to a certain degree worked well enough to allow me to paint the eyes. PanPastel have advised that fine detail can be achieved with the use of coloured pencil and they have shared this tutorial.
Conclusion
The colours are rich, opaque, and vibrant. The PanPastels are excellent for laying down smooth areas of colour, which can be blended together to produce a range of subtle tones. They are very effective for covering large areas very quickly without any fuss. They are also perfect for the underpainting of an image.
Because of the nature of the tools used for their application they are particularly suited for making rapid gestural marks. I would use them for larger paintings where detail is of a lesser importance. I would also use them in conjunction with soft pastels. There is no need to use fixative with the PanPastels.
They are great for mixed media paintings, as they can be used over wet or dry mediums. Try layering over graphite, coloured pencil, charcoal, oil pastel, oil sticks, cold wax. Or layer over oils, printmaking ink, watercolours and acrylics.