Bright & Colourful Poppy Watercolour Tutorial
Poppies are some of my favourite flowers in all their colours and forms. Their apparent delicacy defies their ability to thrive in some of the most difficult positions. They of course also have important significance for many people around Remembrance Day. As poppies are one of my most popular workshops it seems apt to produce a blog explaining how I paint poppies that you can follow along.
Materials Needed
200lb Bockingford NOT Watercolour paper
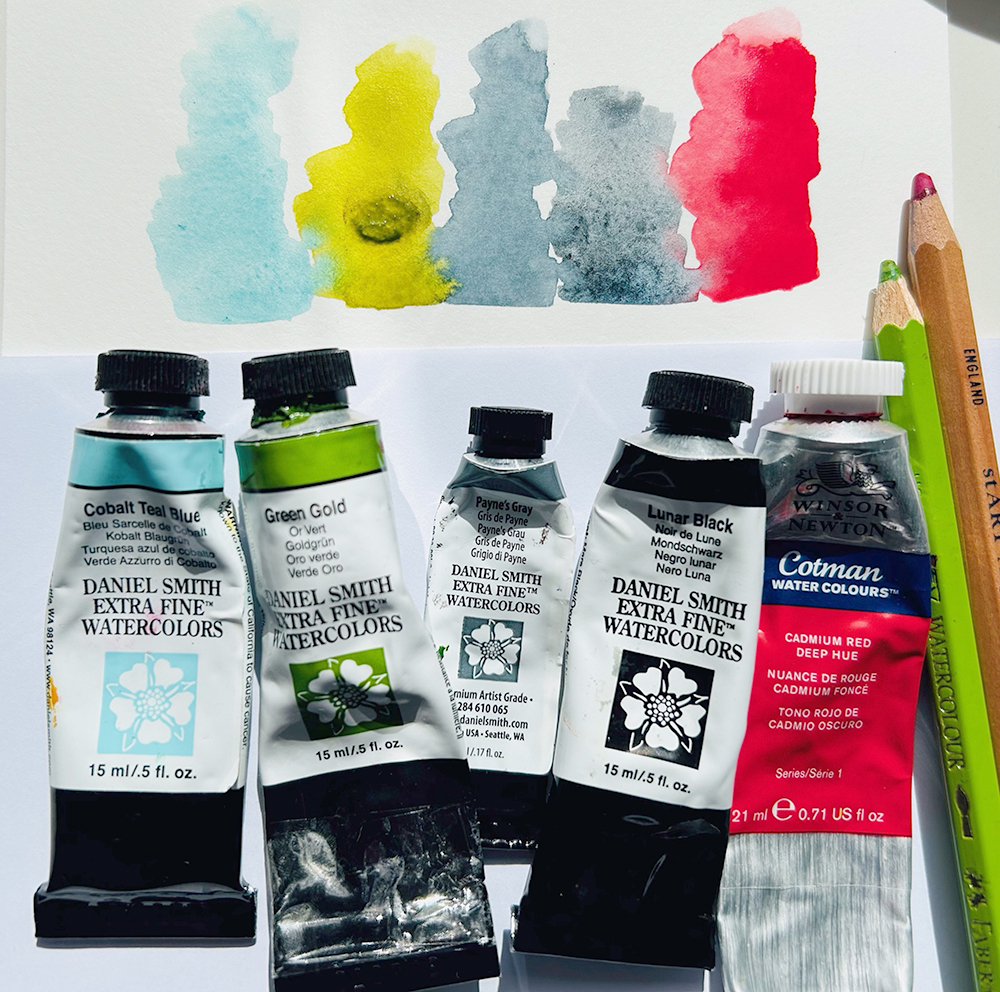
Winsor & Newton Cotman – Cadmium Red
Daniel Smith – Lunar Black, Payne’s Grey, Green Gold & Cobalt Teal Blue
Watercolour pencils (optional)
Step 1
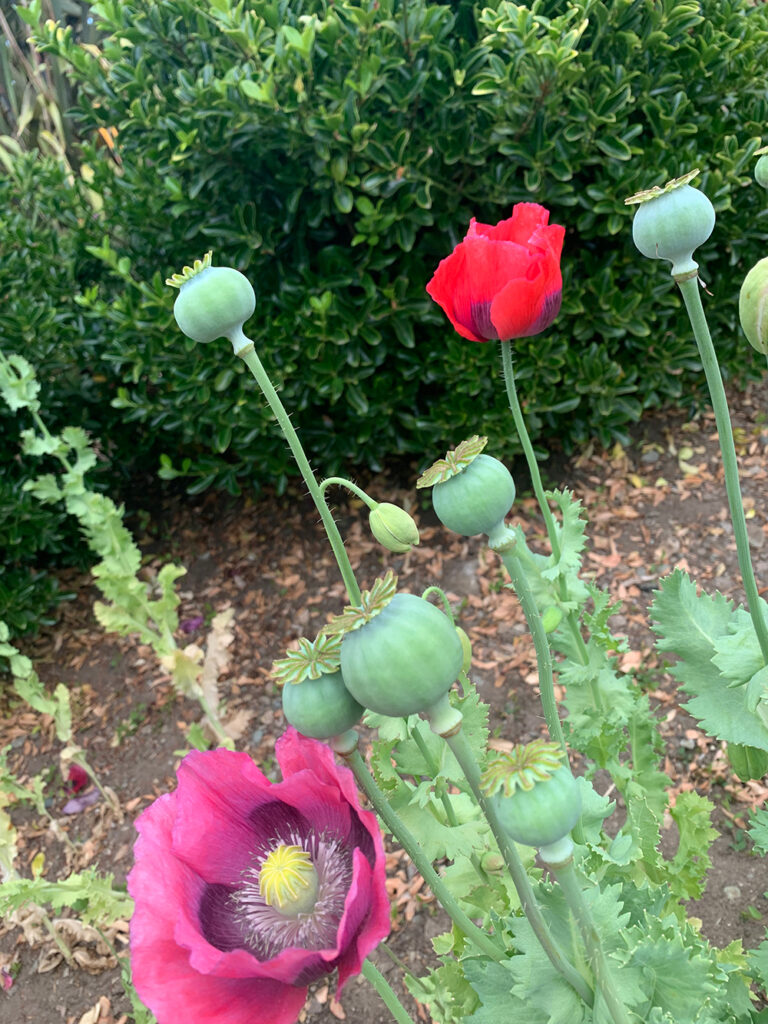
I’m using this photo taken of the poppies in my garden as I like the fact it has poppies shown from different angles as well as seed heads and buds.
I usually paint poppies without drawing them first. They are roughly circular in shape and as a flower are very forgiving in terms of variety of shapes that can be turned into a believable poppy.
So I encourage you to try painting without drawing first. This is an approach I regularly take and it frees you to concentrate on placing the paint and gives a feeling of energy in the finished work. You will also paint in a loose style and use the wet in wet technique (adding more colour when the paint is still wet). It works particularly well in this piece.
So load up your (large) brushes with lots of juicy colour and let’s paint our poppies.
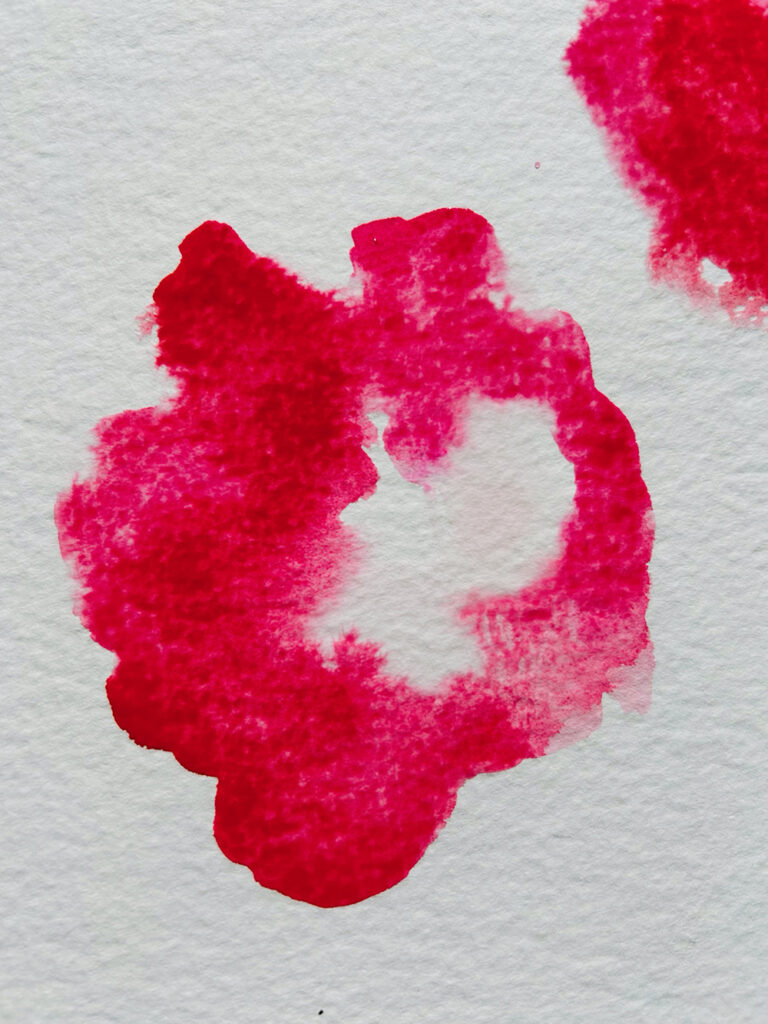
Using the photo to guide you, load up your brush with nice rich red paint and paint in the approximate shape of the poppy. Note that it has wavy, uneven edges which describe the petals but you aren’t trying to produce a botanical image just the general shape. Leave some white paper in the centre. If you’re painting the second poppy the steps are the same.
Step 2
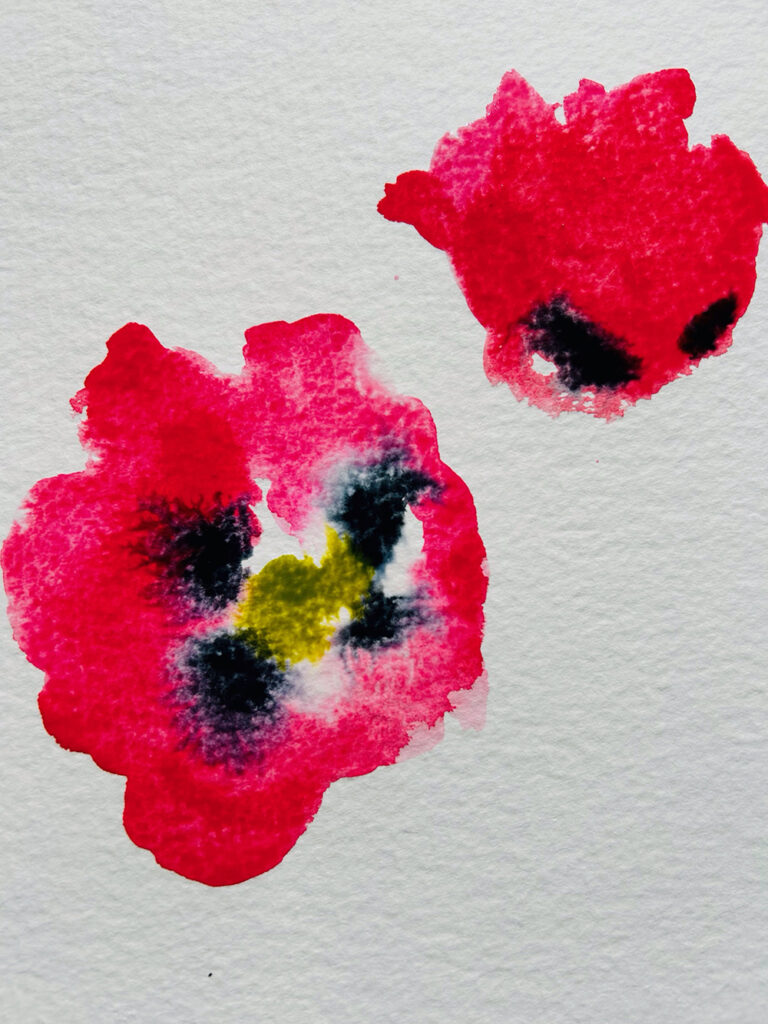
Whilst the red paint is still wet drop in some black paint, you will get some stunning effects by allowing it to run into the red paint. Don’t be tempted to go in with your brush to tidy up – leave it alone to do its magic!
Then drop some green paint into the centre to represent the middle of the flower and allow this to touch and run into the black a little but don’t fiddle.
Step 3
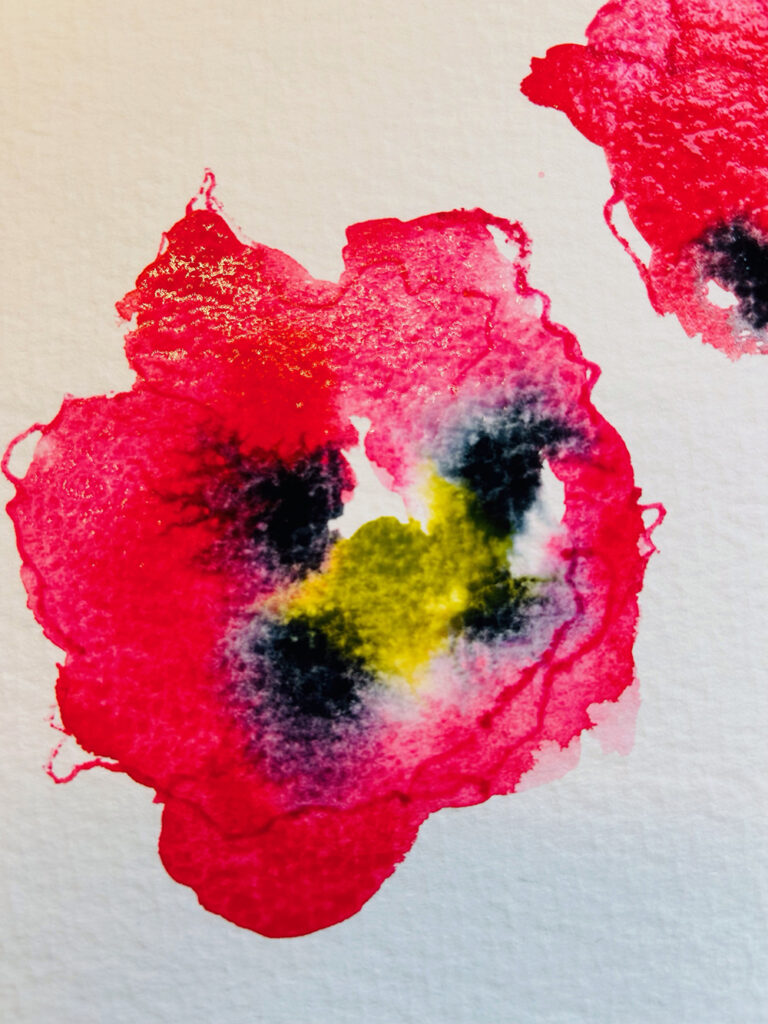
At this stage, whilst the paint is still wet, I like to use a red watercolour pencil to quickly draw in some ruffled edges. I like to work fast and take the pencil through the wet paint and drag some of it along too. It gives some nice detail to a loose painting, but of course you can skip this stage if you want to.
Step 4
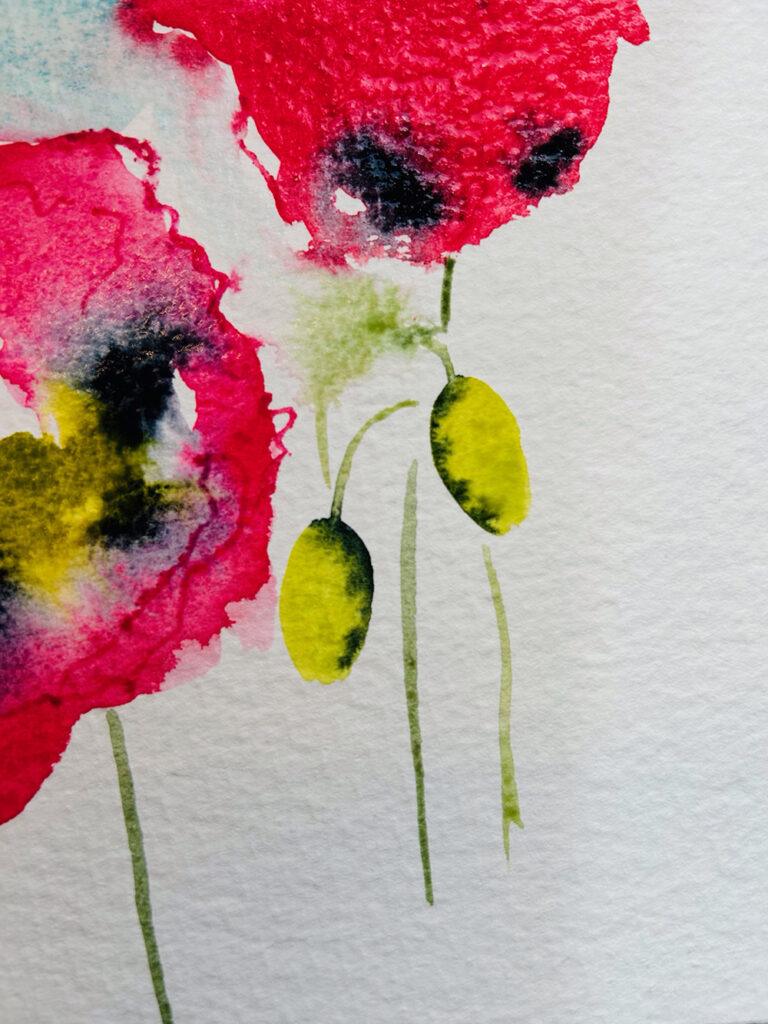
You can now use the green to paint in a couple of flower buds. Add some Payne’s Grey whilst the green is still wet to create a shadow. The buds have beautiful, curved stems as shown in the photo. Add these at this stage.
Step 5
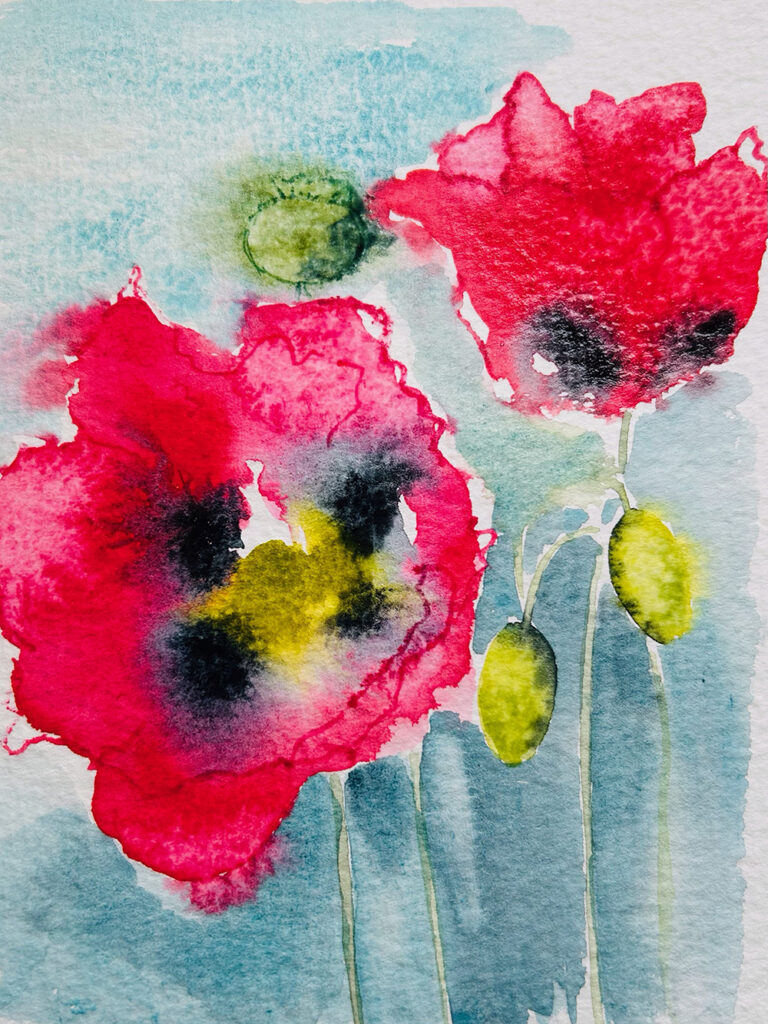
Take some of the Cobalt Teal paint and paint in a background to suggest a bright summer sky. This is one of my favourite colours for skies. Allow it to touch the wet paint to give some interesting colour runs, the paint will be drying so shouldn’t run too much.
Mix the Cobalt Teal with some Payne’s Grey to create a darker blue to paint the background lower down the image to create a bit of interest. Work quickly to get an interesting background rather than trying to create a perfect image.
Step 6

If you like you can also use the green paint to add in a seed head. I did this when the background was still wet then added detail with a green watercolour pencil. I also used a green watercolour pencil to add some detail to the centre of the main poppy.
Step back and decide whether your painting is finished. Err on the side of caution as you don’t want to overwork your piece. If in doubt stop.
And there you have it – a glorious poppy. Why not try it in different colours too to see which you prefer. I’d love to hear any feedback and see what you create.





Love the Poppies. I’m definitely going to give this subject a try. I’m also keen to try the fields of Namaqualand daisies.
As a new student to watercolor this was very informative.