
Get The Most From Your Stencils & Masks
Traditionally used in interior design, stencils and masks have evolved and are now a firm favourite with fine artists and craftists alike! Used prolifically by the likes of Banksy, Blek le Rat and Logan Hicks we look at how you too can incorporate stencils and masks into your art work.
What are stencils and masks?
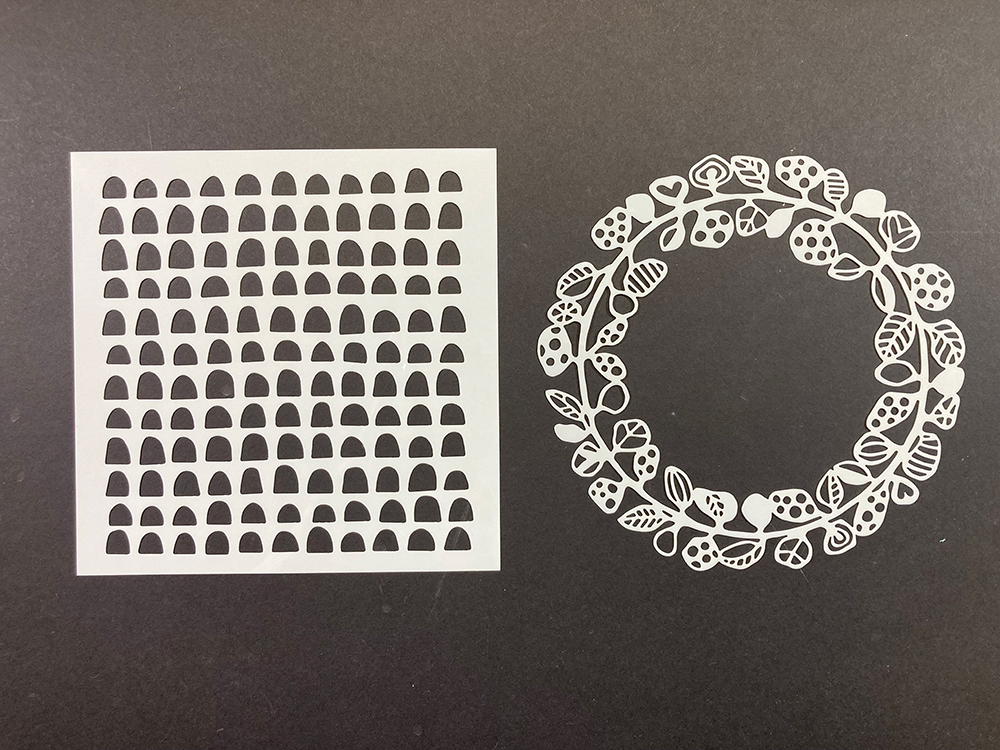
Art stencils and masks are made from Mylar, a semi transparent polyester film. Mylar sheets are laser cut to create many different designs. A stencil or mask is a template that allows you to transfer a pattern by brushing, spraying, rolling or airbrushing media through the open areas of the stencil. They are great for creating background textures and patterns for both fine art and craft applications. Cleaned with soap & water stencils and masks are completely reusable.
A mask is basically the reverse of a stencil. Rather than being a design cut out of plastic film, a mask is the piece that has been cut out. So, instead of creating a design or pattern it creates a negative image – the reverse of a stencil.
How can I use stencils & masks?
Stencil & masks are the one treat that I will keep buying because I can use them with any of my art materials and I can use them over and over again. I employ them in numerous ways on many different surfaces – paper, canvas, wood, ceramic, stone etc. I use them to create a textured pattern, to make collage papers and to create layers directly onto a painting or onto the gel press plate. You can even use them on fabric with inktense pencils or fabric paint. Pounce, roller, spritz colour – the possibilities really are endless!
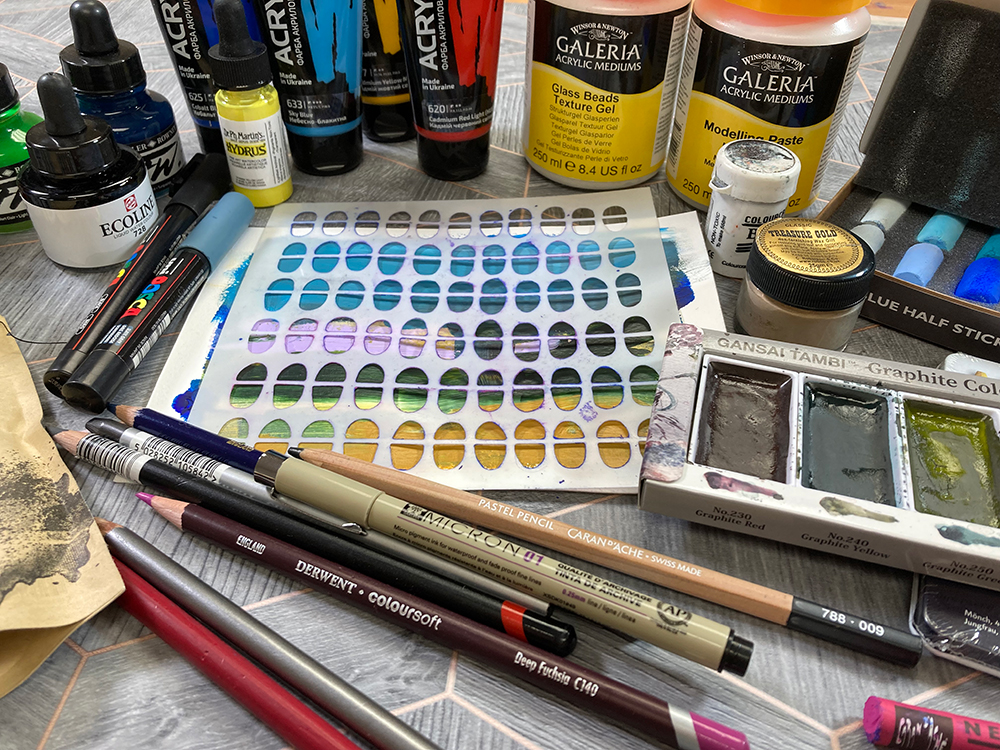
What materials can I use with stencils & masks?
The list of media that work well with stencils and masks is a long one. I have not come across a product that I cannot use with them yet!
• Paint – acrylic, oil, watercolour, fabric
• Inks – acrylic, watercolour, inktense blocks, alcohol inks
• Pens – fineliners, watercolour pens, acrylic markers
• Pencils – graphite, coloured pencil, pastel, inktense, charcoal
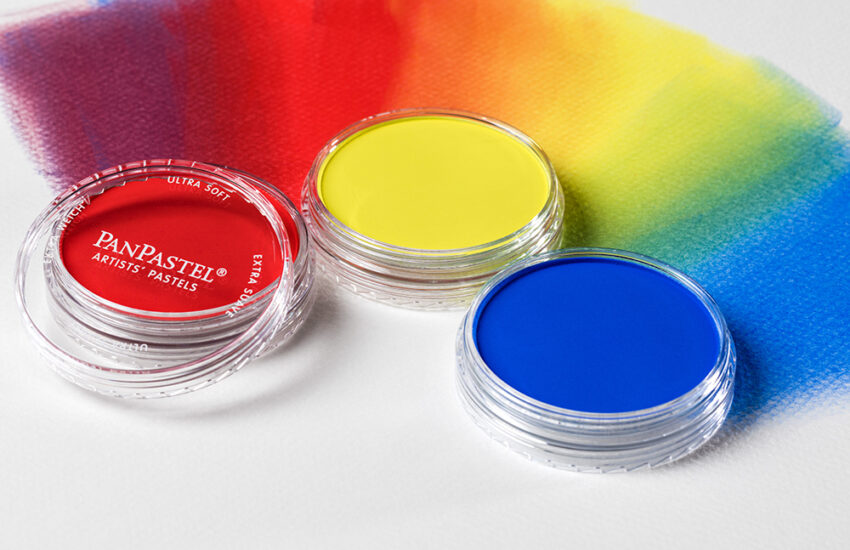
• Pastels – soft, hard, oil, pan pastels
• Charcoal
• Waxes
My top techniques
I have outlined below some of my favourite techniques for using stencils & masks. I have started with a couple of basic techniques easily achieved with what you will have to hand in your art supplies. The beauty of stencils & masks is that they are highly versatile so you can adapt techniques to suit the materials that you have.
1. Create an outline with your stencil

Outlining a stencil is a quick and effective method to either add detail to your art work or use it as a focal point and build on it. I simply placed my stencil onto my surface and drew around the cut out bits with a fineline pen. I have then adhered collage pieces on top, added some watercolour, ink and acrylic paints for a quick mixed media study.
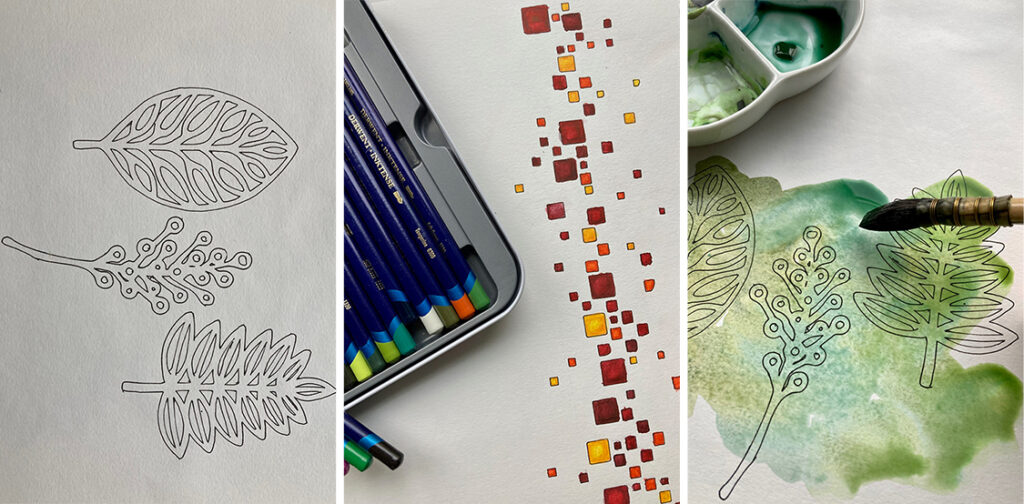
You could also use pencil, charcoal, watercolour pencils, inktense pencils or acrylic markers to outline. Try painting a loose watercolour wash over the top, or be more precise and colour in the design. Adding extra lines will result in an interesting zentangle piece.
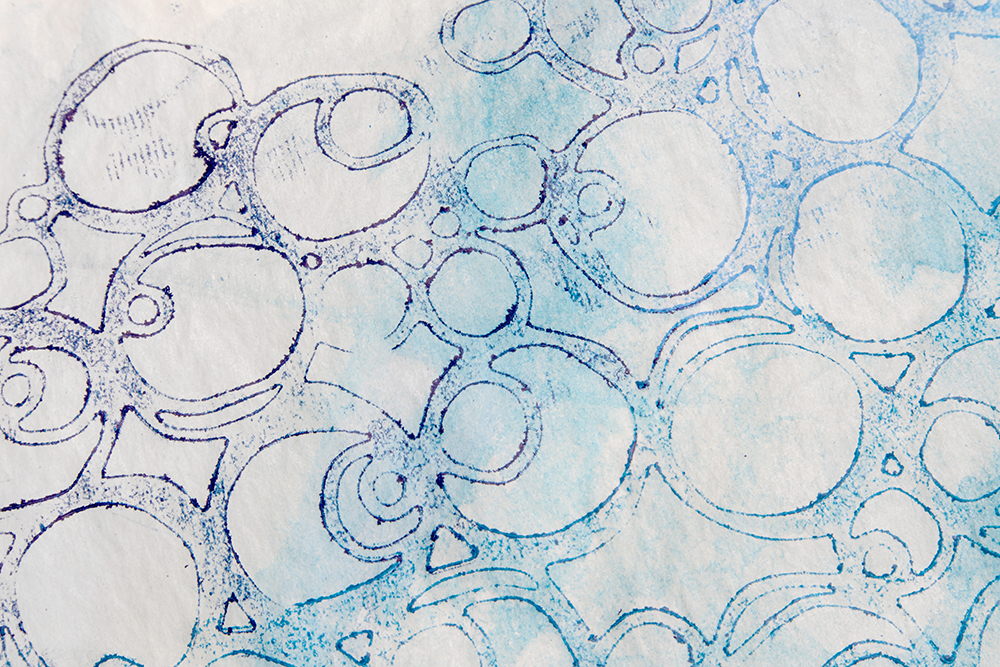
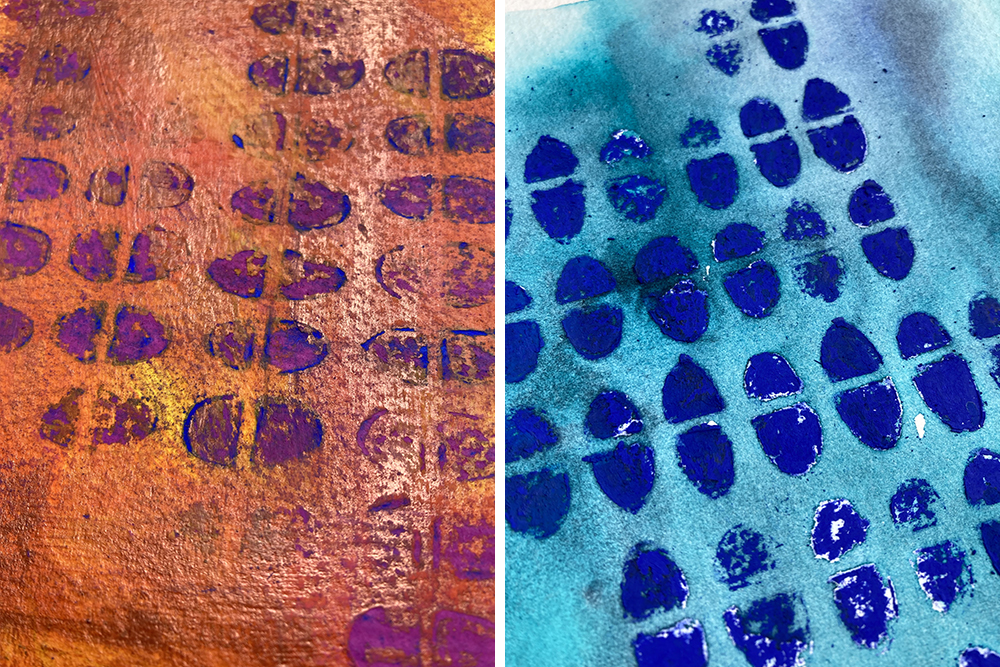
2. Colour in your stencil

In the left hand image above I have scribbled Neocolour II Water-soluble Wax Pastels through a stencil. Then I used a damp stippling brush to activate and blend the pigment. Don’t waste the product left on the stencil, spritz this with water and then flip over onto a piece of paper for a nice reverse image (middle image).
Try dabbing paint through the stencil or mask with a sponge (right hand image), or a stiff brush or spray a liquid ink through the stencil for a more subtle effect. Use watered down brusho or inktense blocks to make your own inks if you haven’t any to hand. Be careful when spraying that the spray doesn’t go over the edges of your stencil, you might need to mask off the edges with some scrap paper beforehand.
3. Use your mask as a stamp
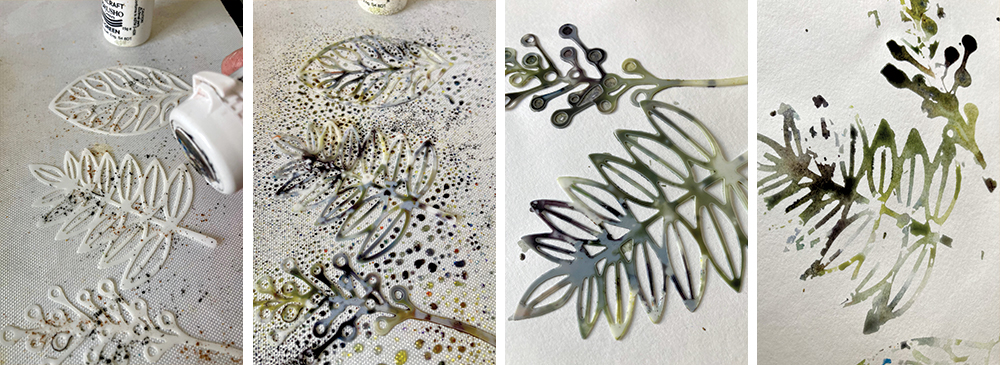
For this technique I lightly sprinkled the back of the mask with brusho, sprayed lightly with water and then flipped the mask over onto my surface. I then pressed the mask down with a piece of kitchen roll and then carefully removed. You could try this technique with any type of liquid ink, stamping ink or acrylic paint.
4. Create texture
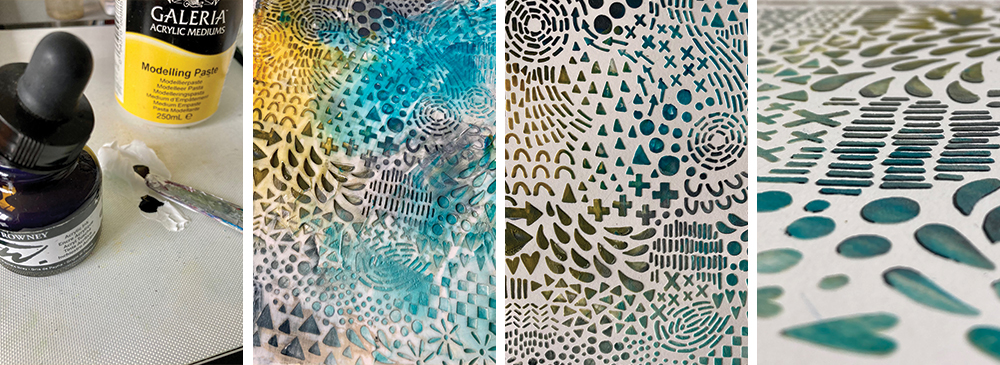
One of my favourite ways to use a stencil is with acrylic mediums. There are a whole host of different mediums to choose from to create some exciting raised texture in your artwork. I use a palette knife to spread Modelling Paste through a stencil, remove the stencil and leave the design to dry. I often use the paste straight from the tub or sometimes I decant some and then colour it with acrylic paint/ink or inktense blocks or brusho. You can of course paint over the pattern once the paste is dry or even rub in some gilding wax. You don’t need to limit yourself to acrylic paints – watercolours, inktense and pastels can be used.
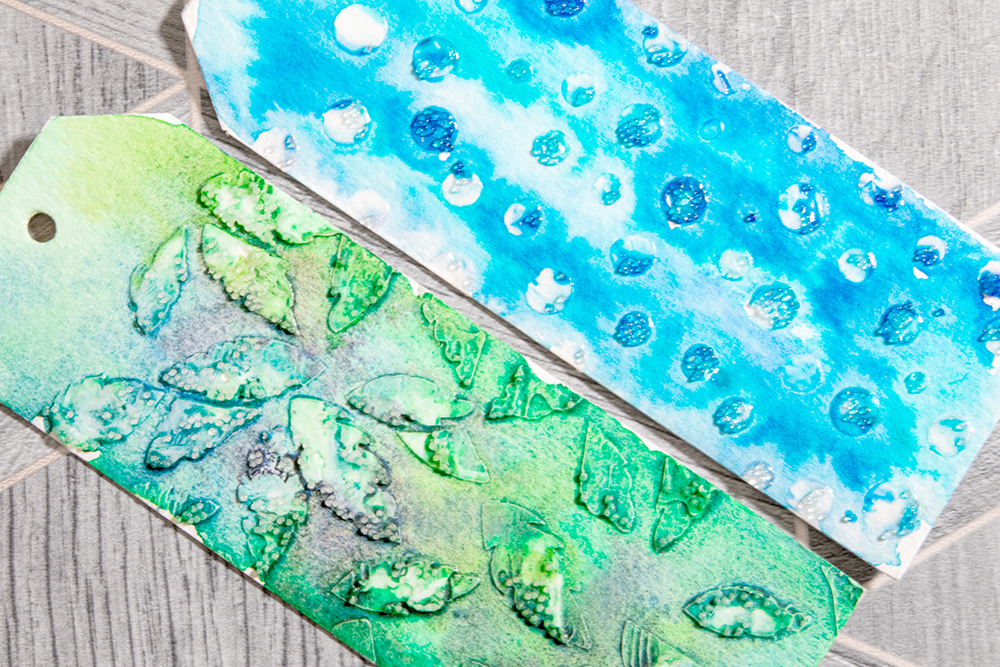
Another medium to try is Glass Beads Gel which I think works particularly well with seascapes as it enhances the ‘wet’ look. Just use the same process I have outlined for modelling paste. I’ve also mixed modelling paste and glass beads gel together and I loved the effect. The beads became semi transparent nestled into the modelling paste – it looked great as a background on my floral watercolour painting.
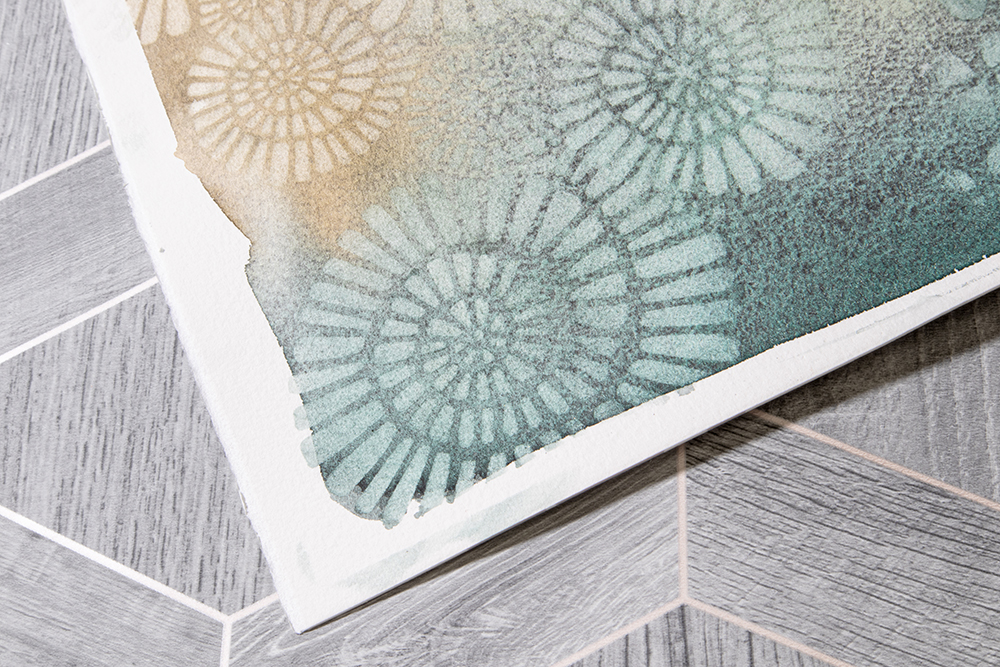
5. Make a rubbing
Do you remember rubbing coins at school? Masks are also great for making a rubbing from. Here I have placed parchment paper on top of a mask and then rubbed a neocolour wax pastel over the top. Because the wax pastel acts as a resist I was then able to paint with water based media over the top and still see the pattern from the mask. I use this as collage material and incorporate it in my mixed media landscapes. You can use this technique directly onto art work if you are using thinner drawing & watercolour papers as your surface.
6. Sand-back
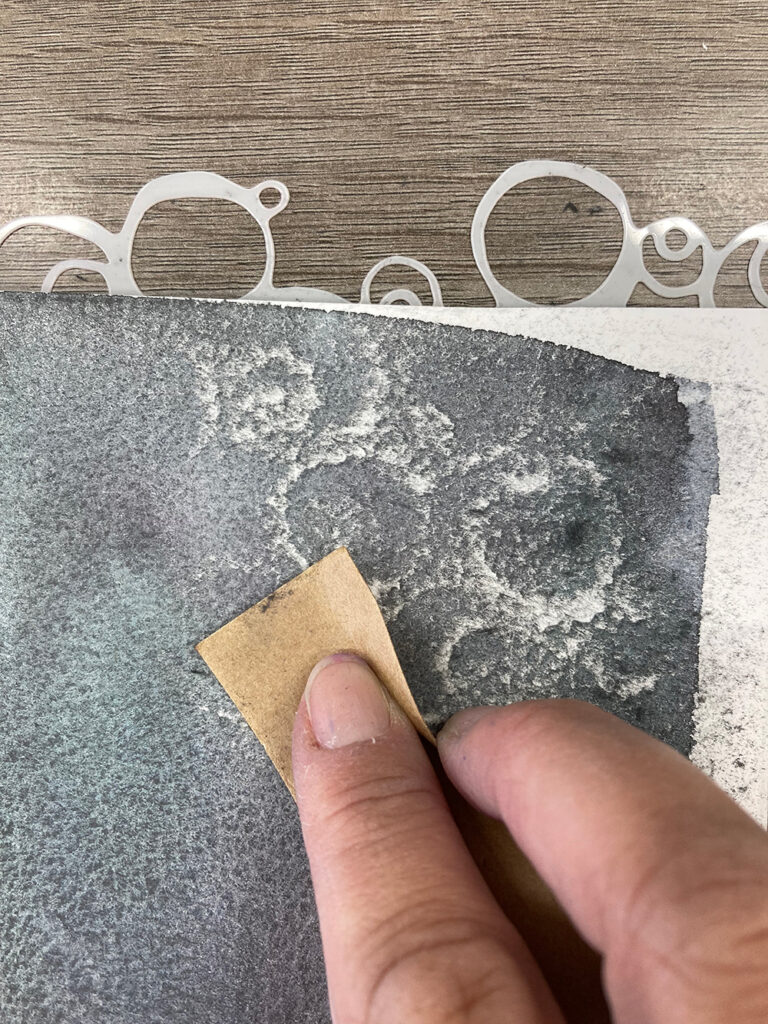
I use this technique on my mixed media paintings. It works most successfully on paper and this method will add lots of intriguing texture with lost & found edges. If I am painting on paper I simply pop my mask under the painting and then sand the painting back over that area using a sanding block or emery board. Make sure that your paint is dry first otherwise you will rub rolls of paper off. You might find it helpful to use low tack tape on your mask to keep it in place.
7. Resist or subtractive
I’ve added these two techniques together as they achieve the same end result just done in different ways.
The resist technique
The resist technique applies a medium to the surface which will then resist any future water based layers applied. In this case I have used oil pastel and scribbled it through the stencil onto my surface. I’ve also tried this resist technique with brushable wax resist, children’s wax crayons, Neocolour I and Brusho Wax Resist Sticks. After I apply the resist I then build up layers of water based based media. You will always see the layer immediately under the resist. This gives you plenty of freedom to apply either at the beginning to the bare paper or part way through over a coloured layer. When I use acrylic paint in my layers I simply scrape or sand the areas where I applied the resist to uncover the layers underneath.
The subtractive technique
The subtractive method involves removing pigment once it has been applied. I enjoy using this technique to create interesting backgrounds for watercolour still life paintings. Once my background has dried I place my stencil over the area I want to apply a pattern to, I then pounce through the stencil with a damp sponge. Providing you haven’t used a ‘staining’ watercolour pigment like Prussian Blue, Sap Green or Dioxazine Violet etc the colour will lift out. The subtractive technique is best used with watercolours or water soluble graphite. If you are using acrylic paints then you are able achieve a similar effect using the sanding technique mentioned above.
I hope you have enjoyed my whistle-stop tour of stencils & masks and are inspired to give them a go. If you’d like to stock up on your stash of stencils, masks & stamps we have reduced prices on our Carabelle collection whilst stocks last. We have just added Dina Wakley Media Stencils & Masks to our range too.


This was brilliant and something I had never considered. Thank you so much.
Thank you for this piece, it is so instructive and has inspired the me.