Drawing A Cherry In Coloured Pencil
As part of our series of articles about using coloured pencils, artist Cherry Ferris shares with you a step by step tutorial on how to draw a cherry using Derwent’s Procolour pencils. This tutorial is ideal for beginners starting out in pencil and also artists who are interested in botanical drawing.
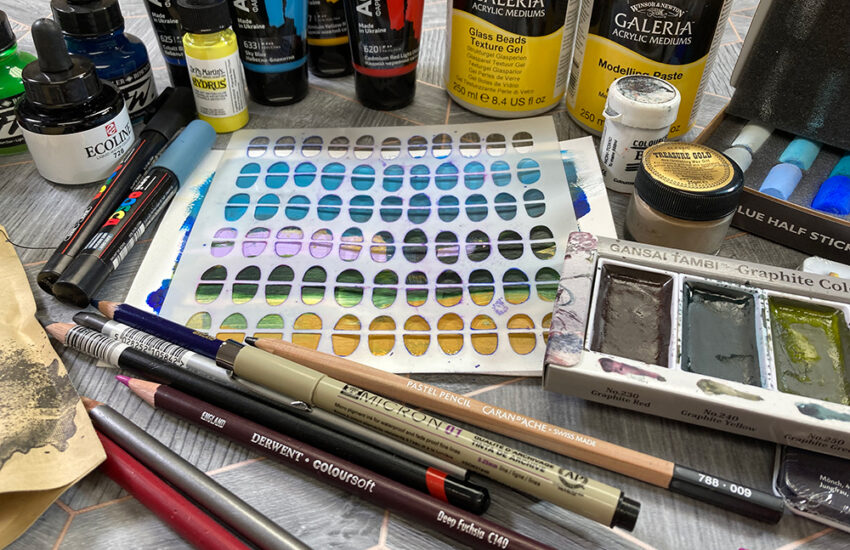
Materials needed for this tutorial
- Derwent Procolour – Primary Red (12)- base colour, Plum (15), Crimson Lake (14), Geranium Lake (13), Imperial Purple (26)- light tones, Dark Violet (27)- dark tones, Buttercup Yellow (03), White (72).
- Sketchbook
- Derwent Graphic pencil
Step 1 – Draw the shape
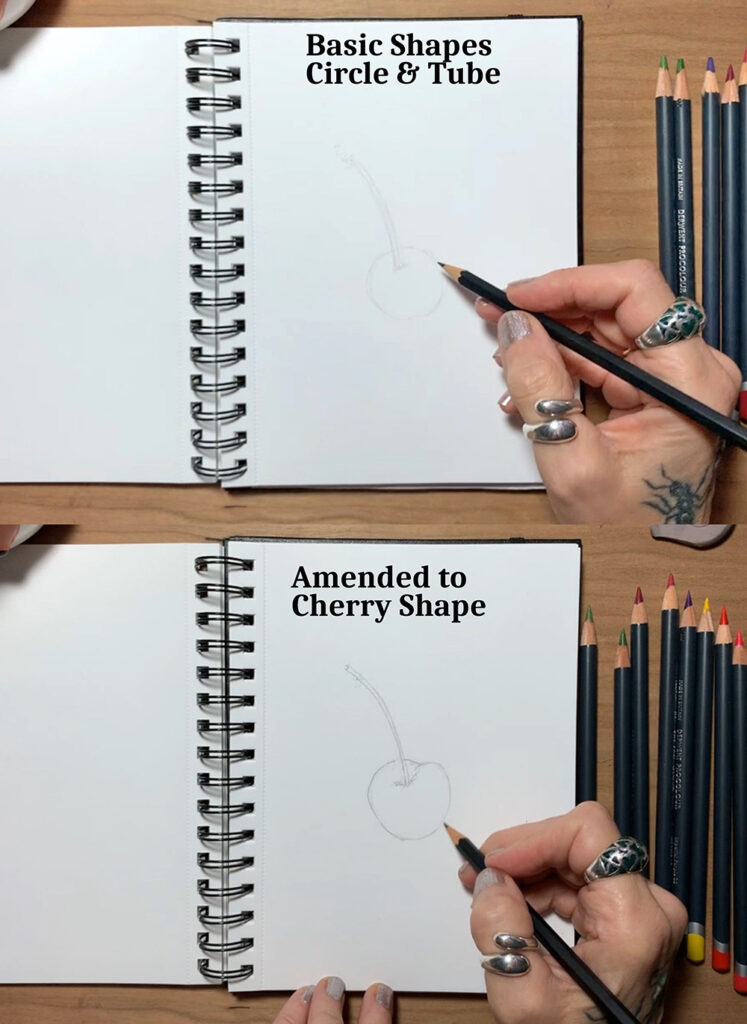
For example the cherry in the reference photo above is basically a shiny red sphere connected to a thin green tube. Draw a basic circle and tube shape in your sketch book, then amend the base shapes to create a cherry.
Step 2 – Lightly shade
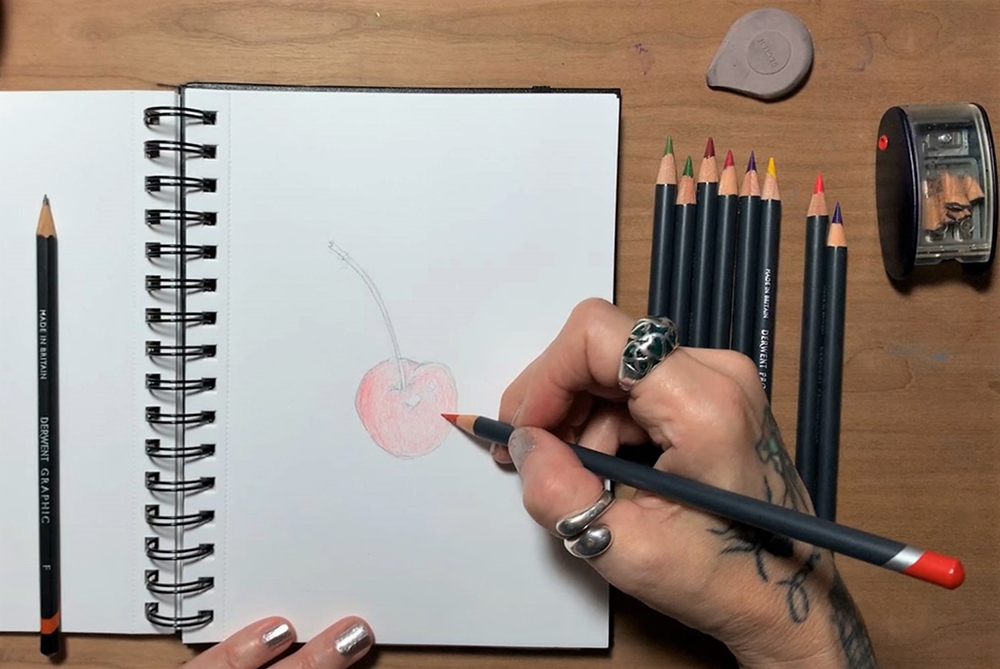
Next – lets try and create the illusion of a sphere. Don’t worry about the exactness and detail at this point… Cut yourself some slack and just have fun rendering form and playing with colour. It’s through experimentation that we get to know the pencils and types of paper that we like to use. Identify the main base colour of the cherry.
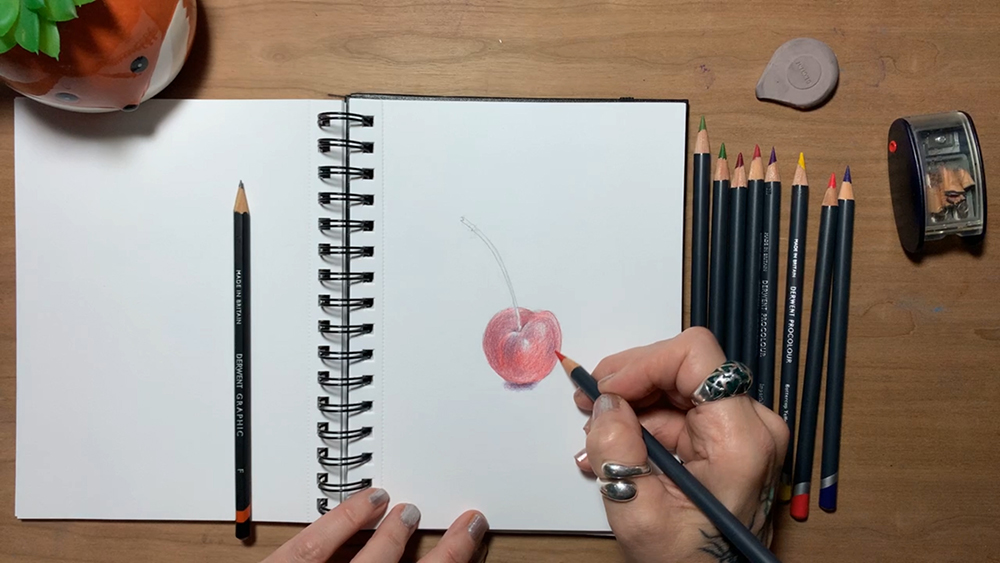
Begin by lightly shading your cherry and establishing the base colour (Primary Red). Be mindful to reserve the lightest areas and try to keep your shading following the form of the cherry. You are going to be building up the shape of the cherry in a number of layers so don’t press too hard and fill the tooth of the paper.
Step 3 – Add deeper tones
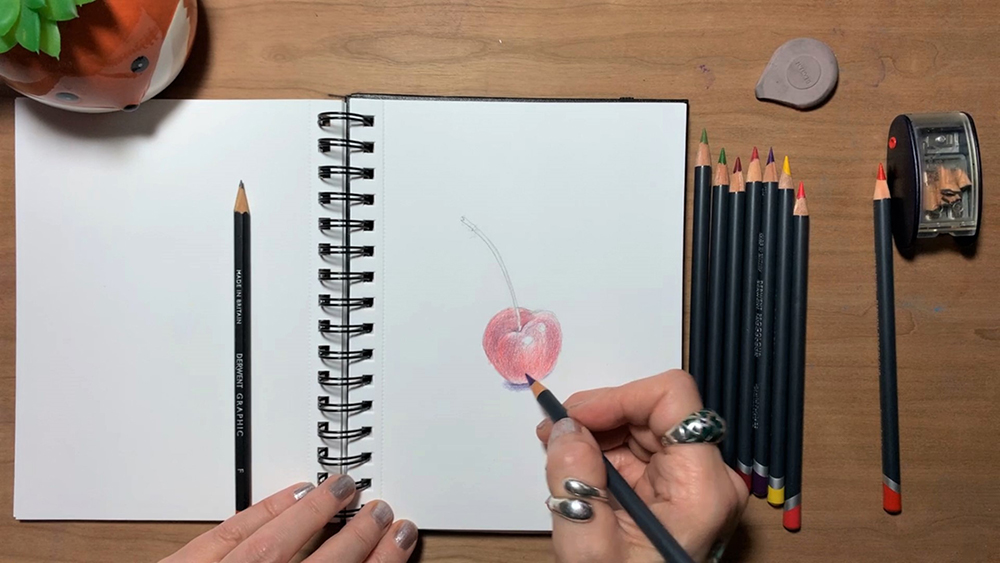
Next take a darker red and begin adding the deeper tones to the cherry (this will begin to give it shape), use the base colour to blend that in. Then take the Imperial Purple and add the cast shadow beneath the cherry. Drop in some red into that shadow to warm it up. Gently dust the imperial purple along the shadow line where the stalk meets the cherry.
Step 4 – Render the lighter tones
Begin to render the lighter (warm and cool) tones within the cherry with Geranium Lake and Crimson Lake. Take your shading over all the existing darker layers to unify and enhance the colours making it more juicy.
Step 5 – Warm it up
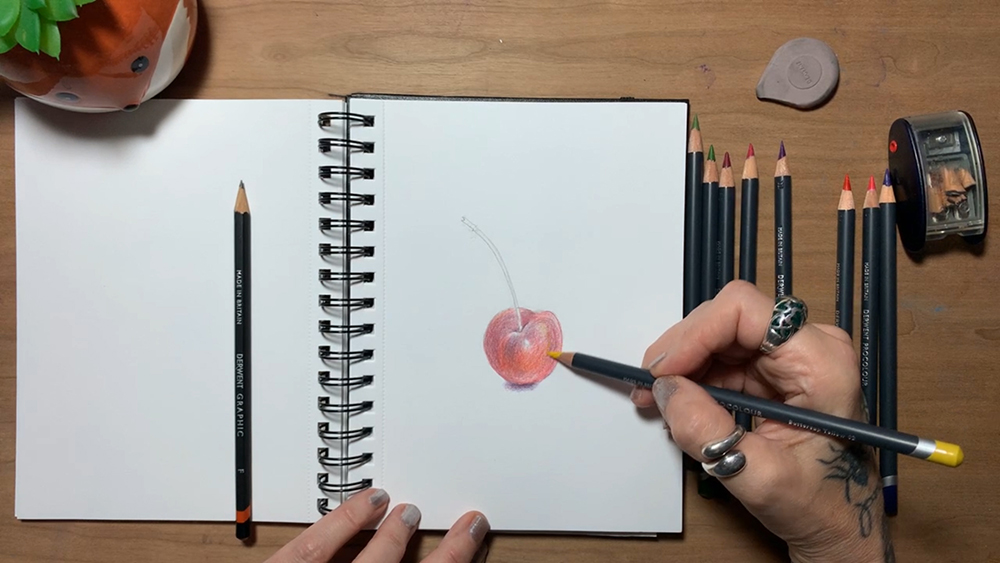
Add a little Buttercup Yellow to the lighter areas to warm it up and bring in a lovely sheen across that central area.
Step 6 – Add in the stem
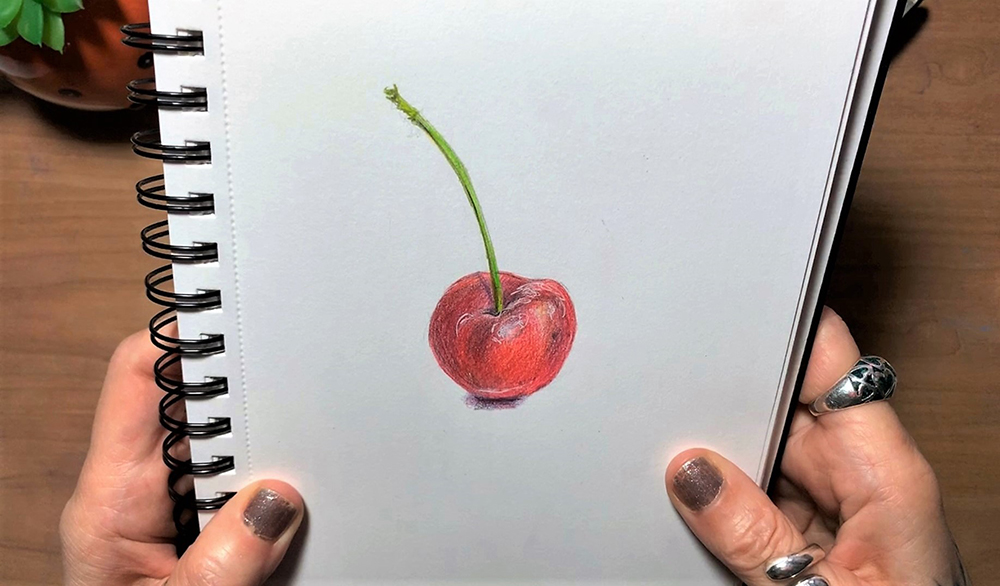
At this point assess your drawing against the reference and adjust the tones accordingly with the pencil selection you’ve chosen. Everyone’s will be different. When you’re happy with your cherry, move on to the stem.
Select the greens in the same way we selected the reds with a base colour and light and dark tones. I’m using Grass Green as my base, Cedar & Racing Green for my darks and a Buttercup Yellow as my light. (see Botanical Textures, Tips & Tricks in Coloured Pencil for more details)
Begin to create the stem in the same way using the base colour and building up the layers. Amend the tones with the other pencils. Finally add in those white highlights to the brightest areas.
Moving Forward
Think about the basic shapes, shadows and highlights of the other three fruits in the reference image. Explore rendering their basic geometric shapes, form and colour in your sketchbook… Make a note of your colour recipes…
I have also written two other articles you may be interested in reading ‘Scribble Drawings With Derwent Pencils‘ and ‘The Magic Of Derwent Inktense‘.