Using Different Pencil Strokes
This is my third article in a series of blog posts about using colour pencil. In my previous articles I covered the differences in Derwent’s pencil ranges and how to find your pressure. It is now time to move on to some of the other things that can influence how your pencils work. We will be looking at different pencil strokes and, in my bonus video, I cover how your choice of surface can alter how your artwork looks.
It’s all about different strokes
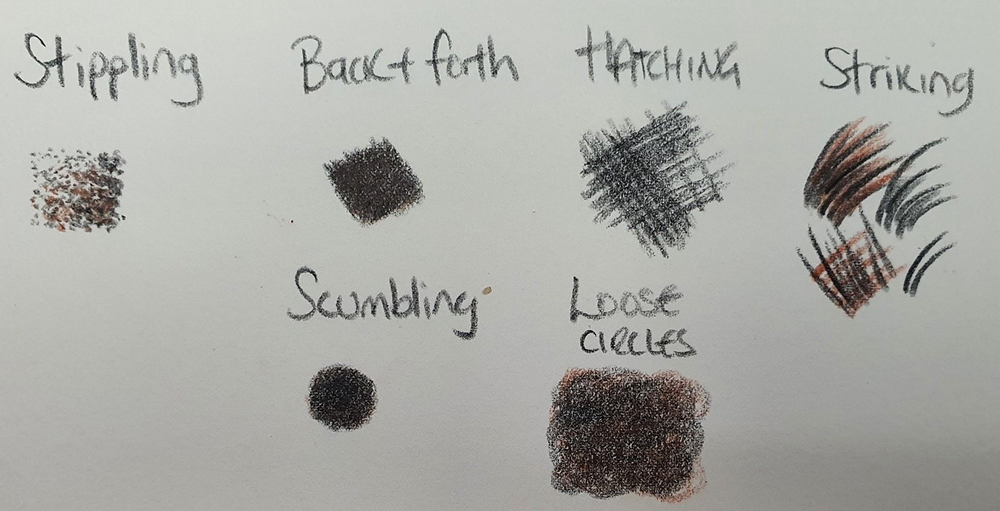
Colour pencils can be used to create the ultimate realism in your work or can be loose and painterly. It is all about the different strokes that you use to apply the pigment that makes the difference as to the textures you will achieve. Once again it is important to practice these techniques so that you understand which ones to use where and when.
Stippling
Stippling is achieved simply by dotting or tapping your nib to the support. A sharp nib will leave small dots whereas a blunt or rounded tip will leave bigger marks. You can vary your pressure and also combine different colours into the stipples.
I would use this technique on something like a dog’s nose.
Scumbling
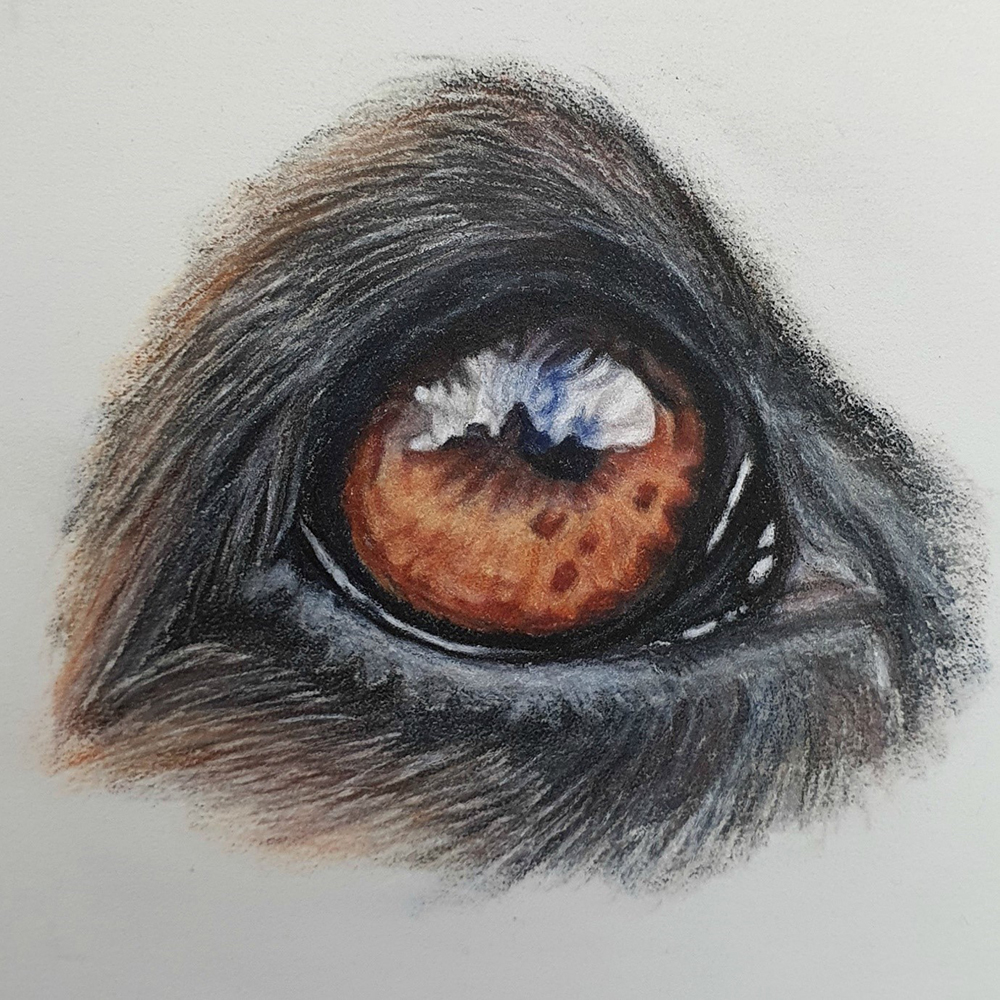
When you want to create a smooth texture then strokes such as back and forth or scumbling are perfect for this. Back and forth is simply that. You move the pencil in a back and forth motion using a consistent, even and tight laydown with a standard pressure. Gradually the layers will build up to develop smoothness.
Scumbling is exactly the same technique but using a tight circular motion when laying down the pigment. I will use this technique anywhere that I want smoothness or a shiny, glassy effect such as on eyes. Here you can see I built up the shiny eye using a combination of the two strokes until I achieve the finish I am aiming for.
Hatching & Cross Hatching
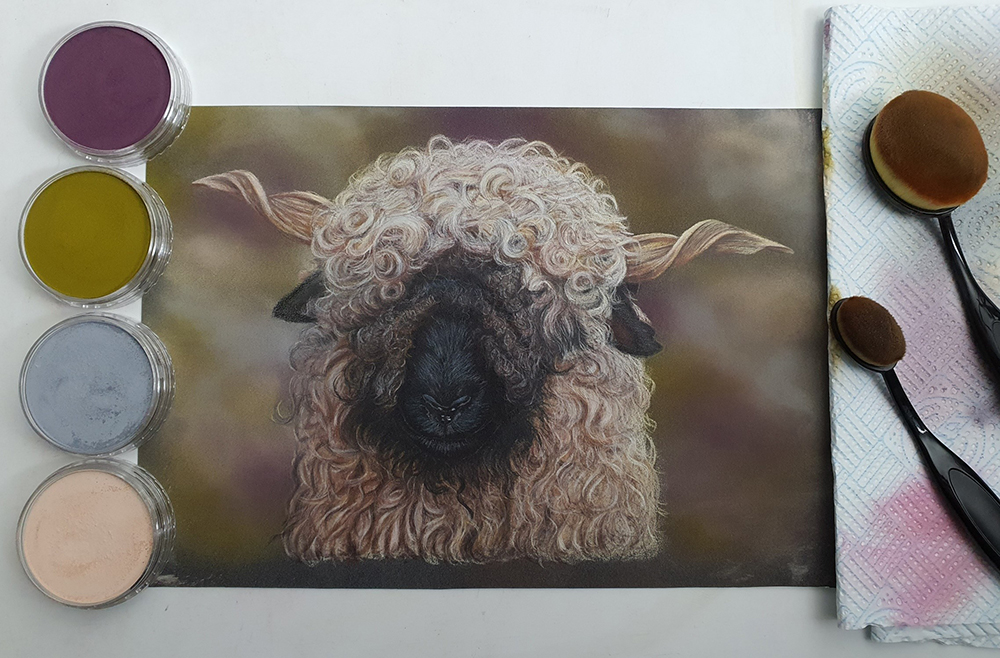
Hatching and cross hatching is a great way of working loosely and creating different types of texture in your work. This pencil stroke involves the laydown of lines parallel to each other. You can vary the thickness, width between and the pressure of these lines. You can also then do a cross hatch which is another layer of hatching overlaid at a right angle across the initial layer. Loose circles are also a great way of quite literally creating more looseness in your work. It also builds up an effect quite quickly. Once again you can vary the pressure and the size of your circles working both clockwise and anti clockwise. This is great for loose curls like in a poodle or for example on this sheep.
Striking stroke
The stroke most associated with creating fur texture is the striking or tapered stroke. As with the other strokes you can vary the pressure, direction and also most importantly the length of these strokes. This will create a myriad of different fur textures. Use a firm pressure at the base of the stroke and then simply lift and flick away to create the taper. This is definitely one to practice and to combine with the other strokes mentioned above.
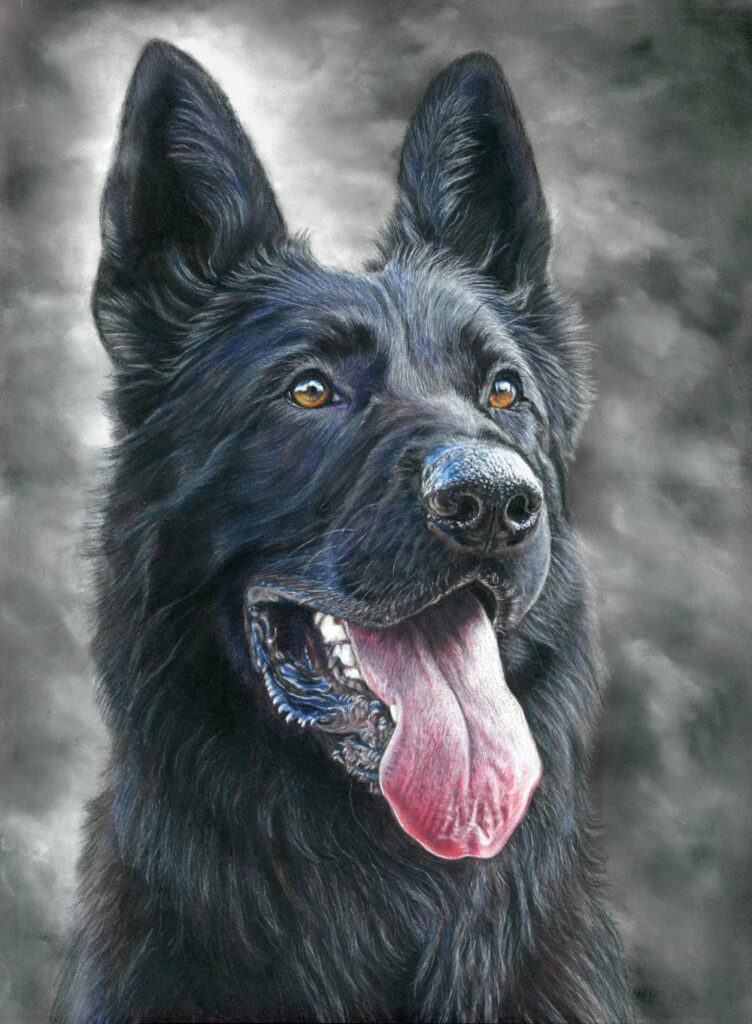
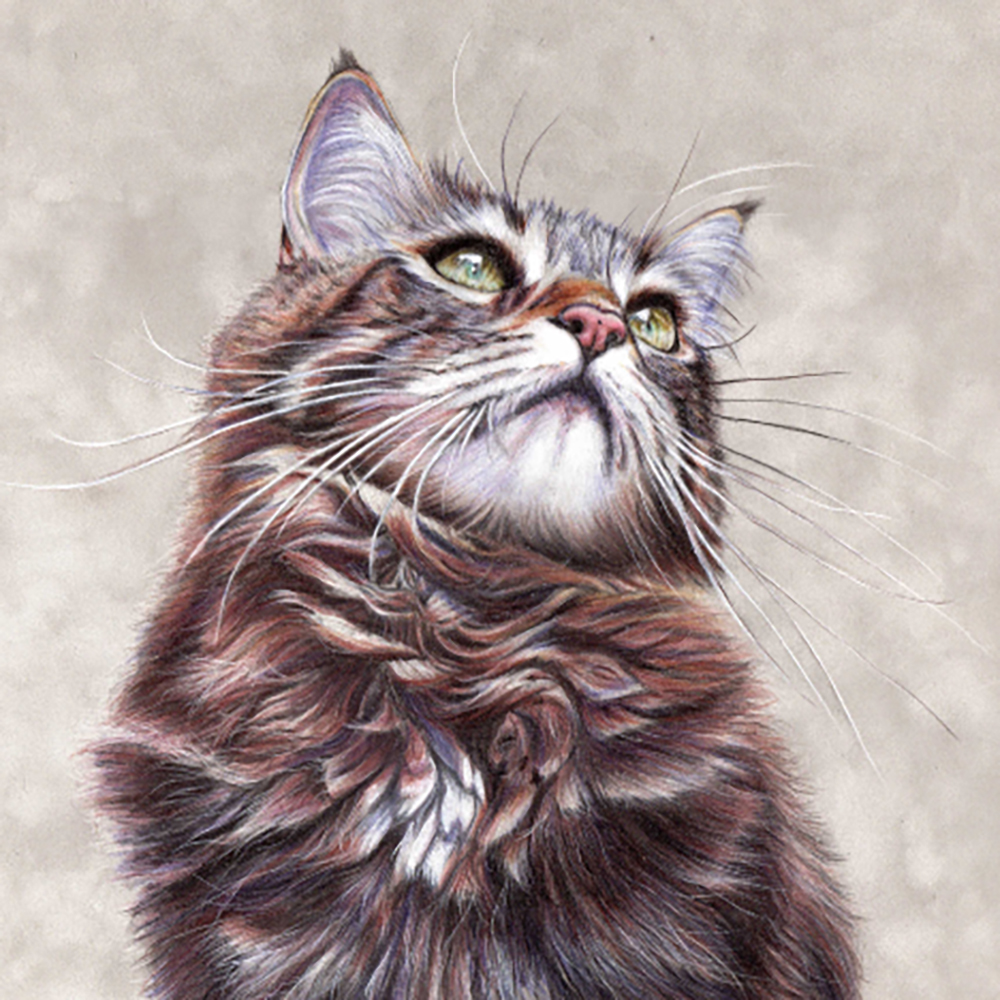
Practice makes perfect and it also helps to build your confidence in your work which in turn shines through in the finished piece. Aura here is a perfect example of a mix of scumbling strokes for the eye, back and forth for the chunks of fur and then many, many fine tapering strokes for the texture.
Debossing or Indenting
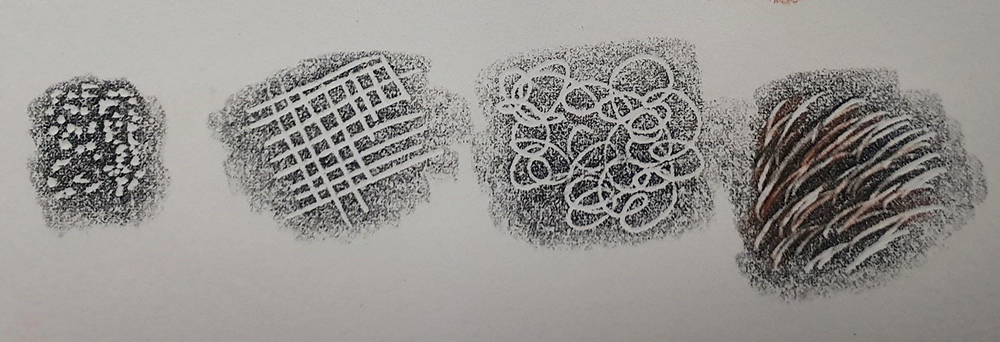
One spin on these techniques is to substitute your pencil for a stylus and then you can indent these marks into your support ahead of adding any pigment. This can then lead to even more texture and depth to your work. The best way to learn more is to take a look at the video below to view all of these strokes in action.
Watch the video
Watch a bonus video about surfaces
As you can see from the information so far, there is much that can influence the end result of a work created using colour pencil. Putting it all together let’s take a look at one last factor that is as big a part as that of our choice of pencils to use. This is the paper or support that you choose to use. Thanks to the invention of things like grounds and primers it means that nowadays you can use pencils on any surface from wood to metal. In this final video of the series I will how you a few of the differences between working on some of the best known papers used with colour pencils today. These are often referred to as either smooth or textured papers and I also include the difference between working on both traditional white as well as black.
You might be interested in my other blog post about My Essential Derwent Pencil Range & The Colour Pencil Pressure Test.





I’m interested 😁
so much intresting