
The ‘Flemish Technique’ explained & how to paint this way
Introduction & history
When one thinks of the art of oil painting one may immediately think of the Italian masters such as Leonardo da Vinci or Michelangelo Merisi da Caravaggio. This would be understandable, however, if we look at the origins of oil painting, we will see that it did not originate in Italy.
In the traditional sense of oil painting, it was first used to glaze on top of egg tempera painted panels. As egg tempera is fast drying medium this was a fast and productive way of producing panels which to all intents and purposes looked like an oil painting. It was the 15th century equivalent of painting with acrylics and then glazing with oils.
The draughtsman-like portraits of the 15th-century Flemish painter Jan van Eyck were done in this way. He developed a technique of visually describing the world so accurately that he was called the ‘conqueror of reality’.
In the history of oil painting it is Jan Van Eyck who is regarded as the inventor of oil painting.
At a time when most artists were working with gesso or tempera, Jan Van Eyck wanted a smoother medium which was slower drying so he could have time to work more realistically. The earliest surviving work by Jan Van Eyck is the Ghent altarpiece completed in 1432.
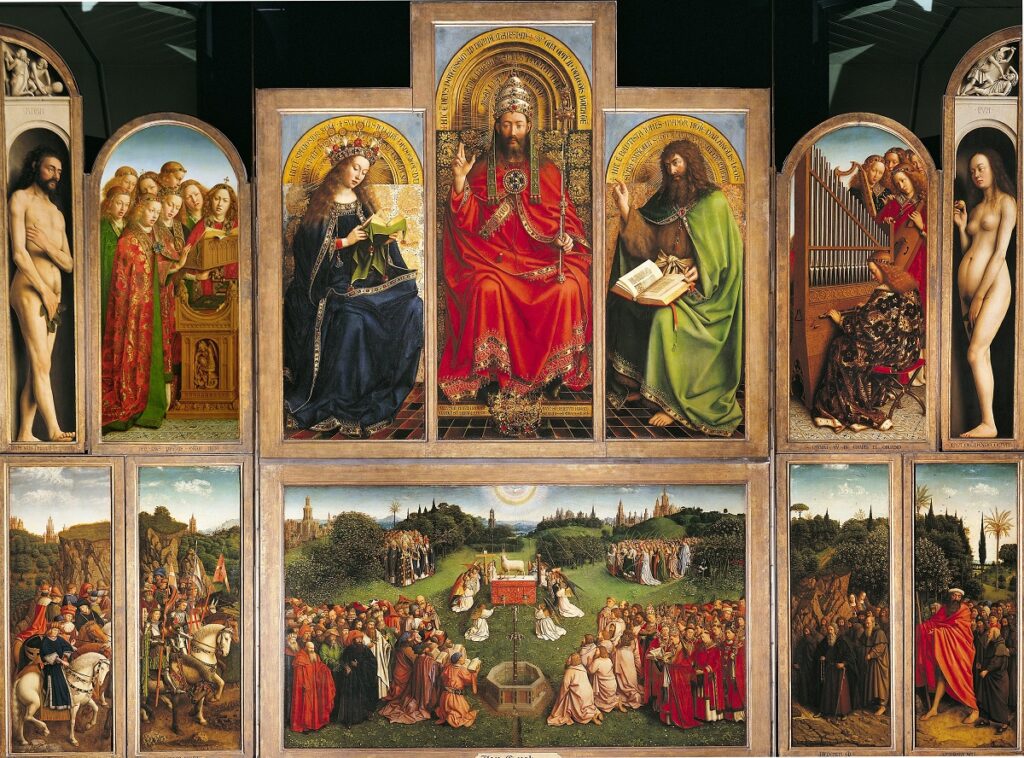
In this painting you can actually see individual hairs on the beard of John the Baptist.
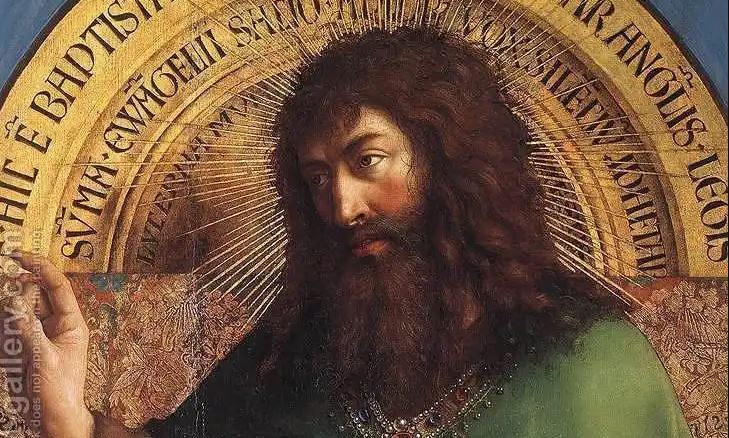
In 1432 this level of realism was only possible because of the invention of the Flemish oil painting technique.
It wasn’t until the 16th century that oil colour emerged as the basic painting material in Venice. By the end of the century, Venetian artists had become proficient in oil painting, particularly in their use of successive layers of glazes. Linen canvas, after a long period of development, replaced wooden panels as the most popular support.
Relevance for today
The Flemish painting technique can seem daunting, as would the technique of any of the old masters. However, if one understands the technique and the method used, this can make the painting process much easier. This is because each step is not only the completion of that part of the process, but forms the preparation for the next step. Each subsequent step has a foundation to build upon until the painting is completed, thereby making the whole painting process easier to follow.
In some modern artistic circles having such a process and structure to follow may seem creatively restrictive. However, artists who practice this technique can find that having a clear method frees them up artistically. This is because they do not have to solve problems occurring from their technique and as a result can be focused on their artistic expression and creativity.
One can also incorporate these techniques into one’s own painting process and develop one’s own method.
This will give the freedom to make the most out of the oil painting medium and your own creativity, in a way which works for you.
Use and practice
What materials are used and what is this process?
This is a brief overview which will be beneficial to form a basic understanding of the principles, materials and process followed. By following these techniques one can achieve such beautiful depth and richness of colour. The result is quite stunning!
1. Support
As we read earlier the Flemish painters used wooden panels. These would typically be single or folding panels (triptychs) in oak or mahogany. Today panels tend to be made of poplar and can be purchased pre-gessoed or blank. One can always use good quality plywood or a modern non-archival support such as MDF board.
Limitations of wooden boards were size. They needed to be joined together, however when joined together they would split and crack. They could be braced on the back with cloth, however this never really worked, probably due to the use of animal glues.
2. Grounds
This depends on the nature of surface and the painting manner to be used. If one is painting classically then ground comprises of glue and powder. If using a canvas, consider the flexibility of gesso.
One of the major problems with gesso is its absorption. This can be controlled by a simple sizing of glue.
An acrylic ground comprises of PVA plus Whiting (Calcium Carbonate). A traditional ground would be whiting plus Rabbit skin glue (some books say there should be a first layer of glue). This ground or glue seals the support and by this one can also manage the absorption of the initial layers of the oil paint.
People say quite rightly that acrylics are a fast drying medium and that oils are slow but by managing the painting mediums used with oil paints and the absorption of the surface you can cause oil paint to dry just as quickly as acrylic.
You can even paint a line and by the time you have finished painting that line the beginning of the line is already dry. It can also stay wet for days in order to continue to work into wet paint in an area. This control along with the richness of the colours achieved, is the beauty of painting in oils.
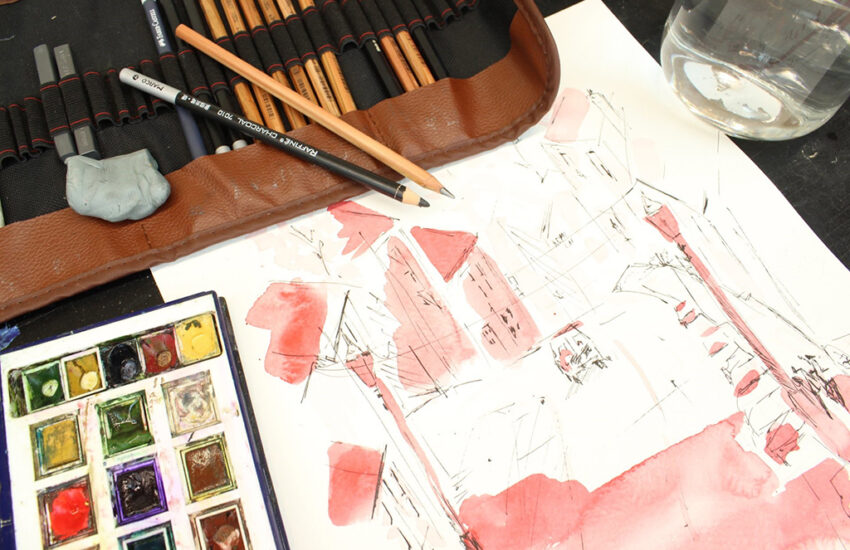
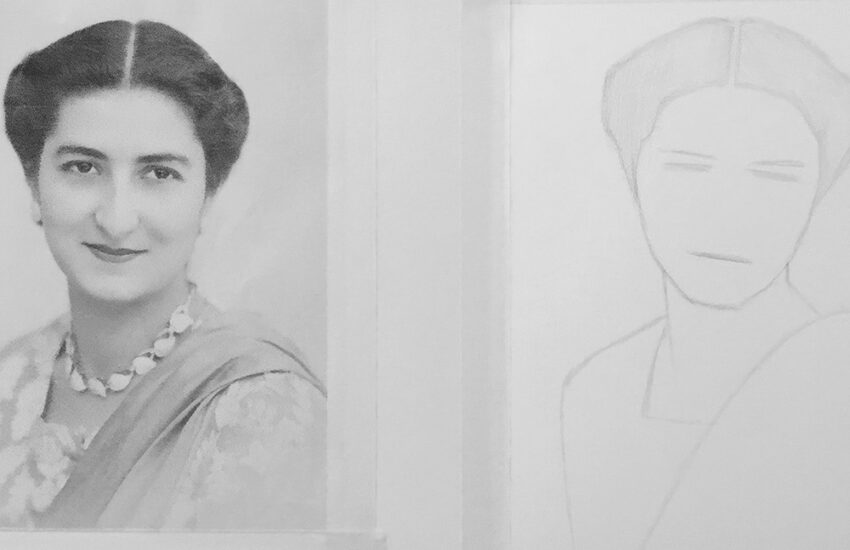
3. Preparatory drawing (drawing for a painting)
One can interchange the earliest stages of the process in that one can prepare the support or complete the compositional work first in order for them to be brought together at the right time.
We then need to compose an image and make a drawing towards a painting. This is different than making a finished drawing as an artwork. In fact, it is a structural drawing or a very precise line drawing of the composition to be used to transfer on to the support.
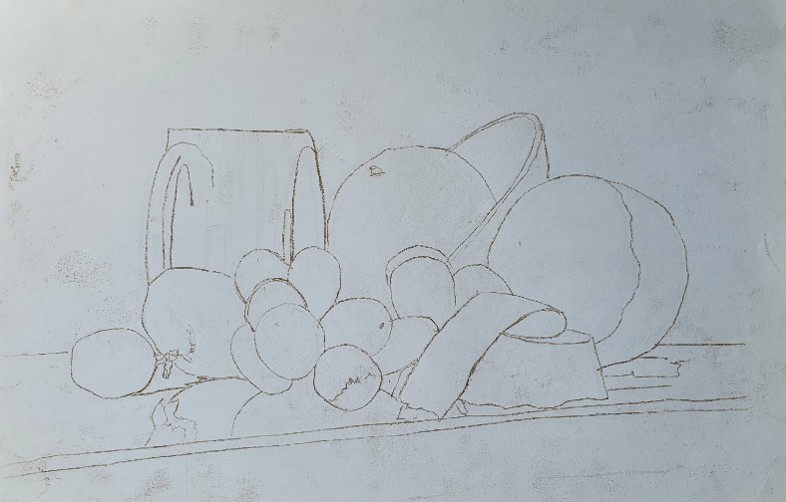
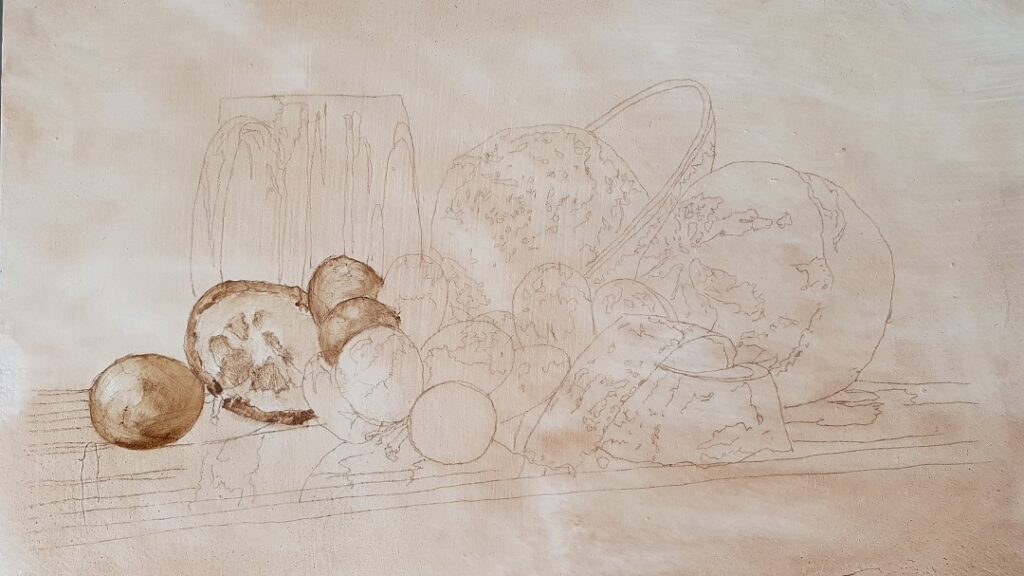
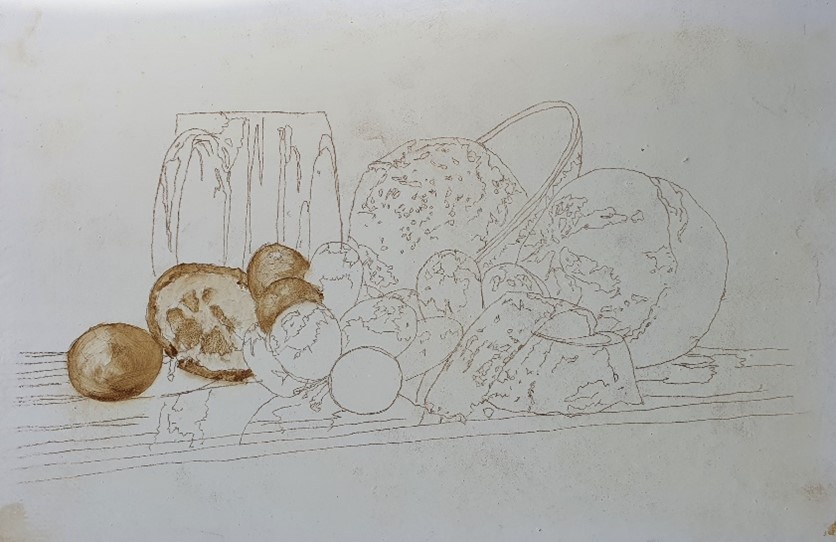
4. Transferring the image
Having prepared the support, the next stage is to transfer the image of the drawing onto the support. You can draw this directly on the support or by covering the back of the drawing with charcoal. After removing the excess charcoal, you can then trace over your drawing thereby leaving the outline on the support. Fix the drawing and outline the image using diluted raw umber making a thin paint. This will be fast drying. A thin paint is a paint diluted with a suitable solvent.
As mentioned it is recommended that you use an earth colour such as an umber as they are faster drying oil paints. I use burnt umber or raw umber diluted with odourless mineral spirits. In the 1400’s they would have used turps but be careful as this is very toxic and there are safer modern alternatives.
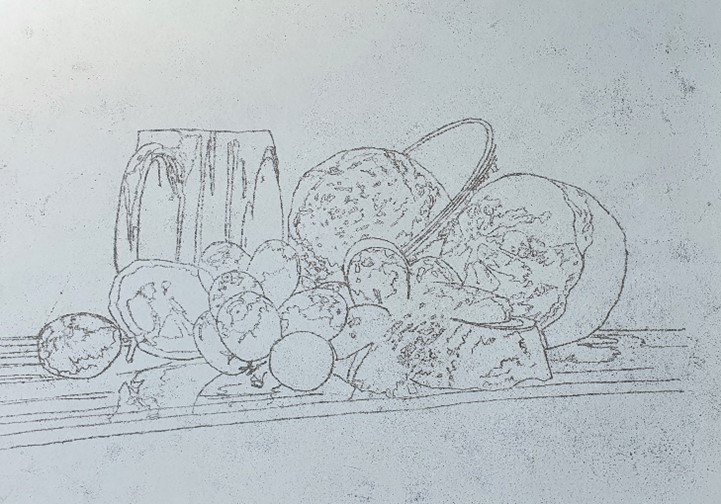
5. Imprimatura
This is an initial stain of colour painted on a ground over the drawing which should be visible through the imprimatura. It provides the artist with a transparent toned ground, which will allow light falling onto the painting to reflect through the paint layers, and it should be transparent enough to see the painted transferred image through the imprimatura. This also provides harmony and a unity to the painting.
6. Under painting
The next stage is to make an underpainting which is built on the drawing on the surface which one can see through the imprimatura. This is a painting in a monochrome colour such as burnt umber and a tonally completed version of the work.
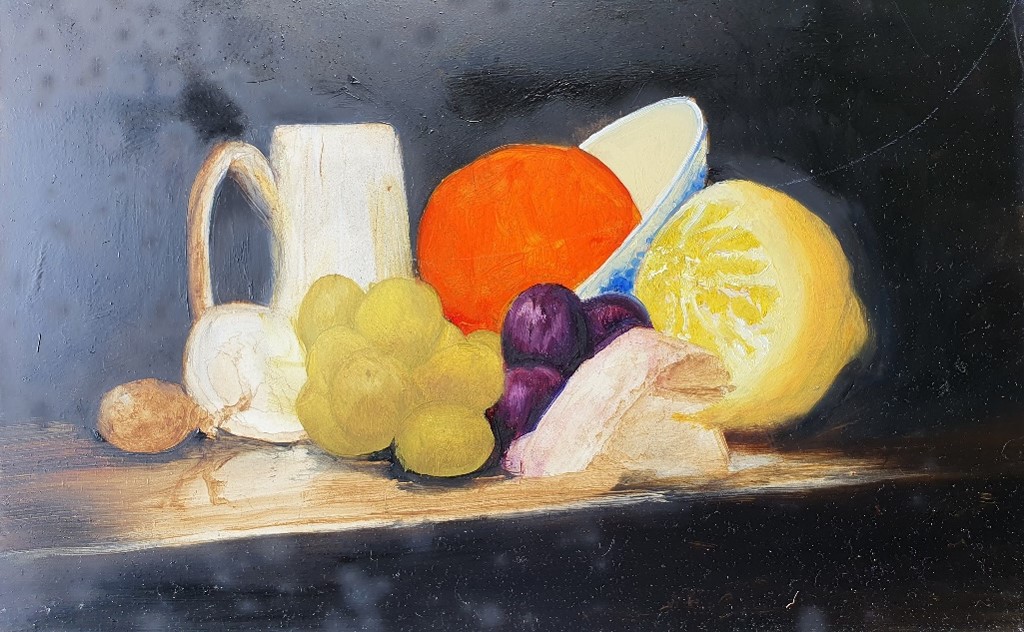
7. Painting to completion
There is a very important principal in the technique of the old masters which should be understood.
The initial ground is white due to the use of whiting. With the use of an imprimatura and then subsequent layers of thin transparent paint (glazes) light is allowed to travel through the transparent glazed colours to the reflective white ground.
The light then reflects back through the layers of paint to the eye of the viewer producing such rich and vivid colours that have a luminosity and seem to have light shining from them. This is because the colours become optically mixed, rather than being opaquely mixed on the palette.
It isn’t that one doesn’t use opaque colours but rather that by the use of the correct balance of opaque and transparent colours, one can create such richness and depth which can be achieved no other way.
Highlights were always opaque and added last. As an example, if one were painting a green grape there would be a refined line drawing followed by the transparent imprimatura, this drawing would then be firmed up if required with thin paint, then would come the monochrome underpainting, then successive glazes.
Each one should dry before applying the next glaze of transparent yellow then blue, then yellow then blue and so on. You are then optically mixing the green grape. This would then be finished off with the opaque highlight.
In this simple example we see the basic Flemish technique.
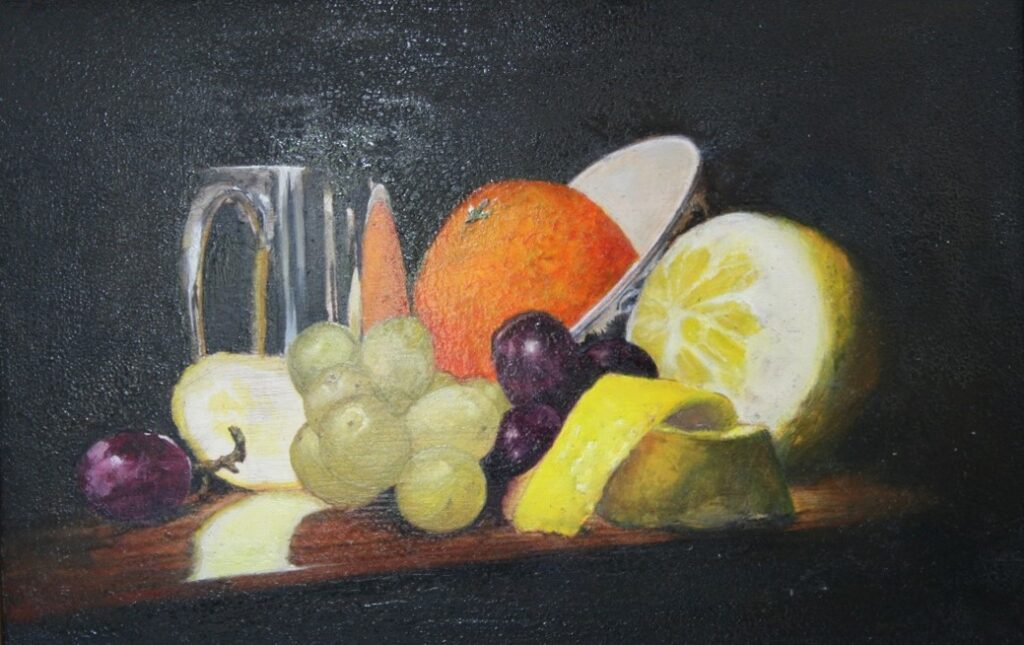
Although the above example needs some further refinement it shows how if one follows each step it forms the foundation for the next step and is a great aid. This makes the whole process of creating oil paintings more achievable and less daunting.
With all these elements involved it does give you a taste of the working life of the artist in the 1400’s.
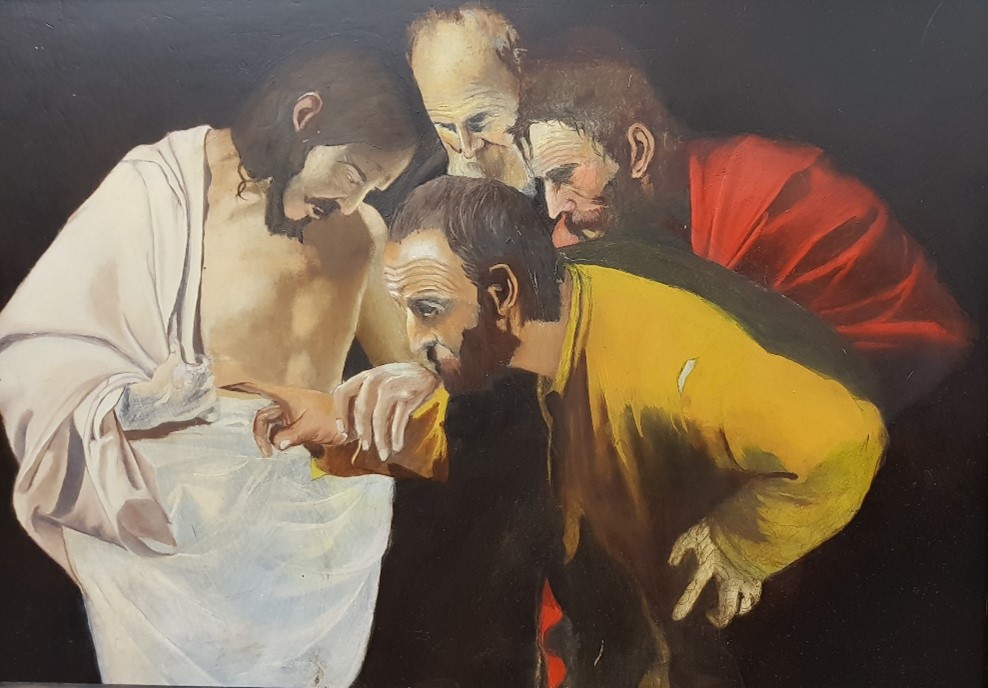
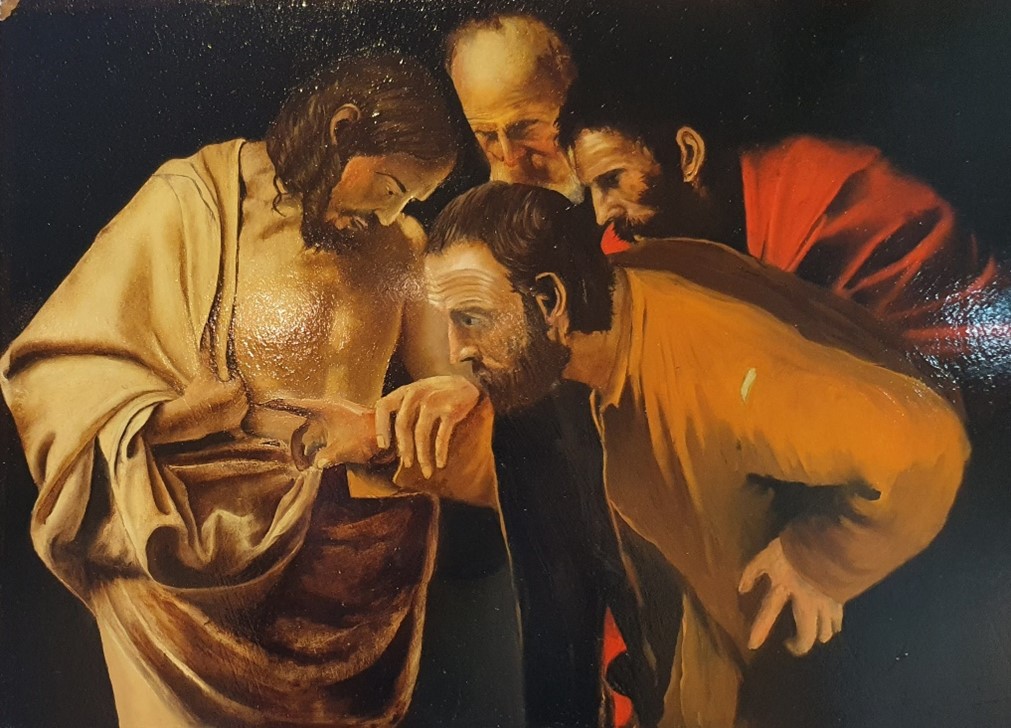
In this further example one can see the Flemish technique applied to the study of a Caravaggio.
Why not give it a go?
You will be surprised with what you can achieve and have great fun at the same time!
Sources:


Love this article!
Thank you
Your welcome Jay, Glad you enjoyed it.