
Top Tips & Techniques For A Successful Drawing
Last Updated on December 7, 2023
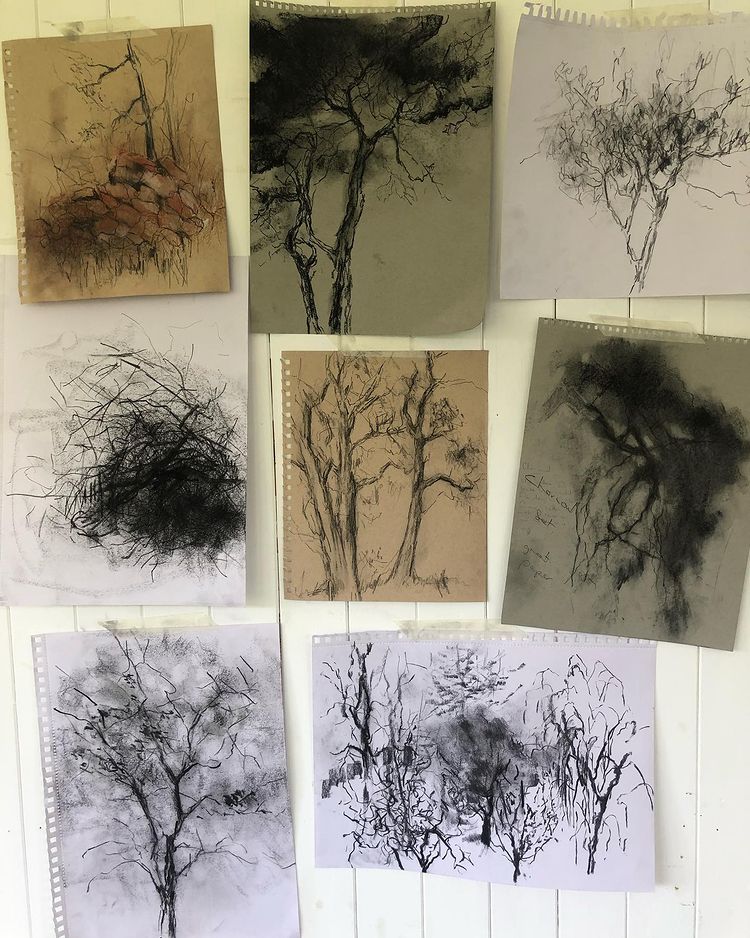
Joanna Farrow is a British artist, based in East Sussex. Drawing is core to Joanna’s work whether it’s out and about with a sketchbook, or experimenting in the studio with a view to sizing up ideas to a larger scale. Joanna works primarily on landscapes, notably trees, and draws inspiration from the beauty of her rural surroundings. In this post Joanna shares her top tips for a successful drawing.
My Tips for Successful Drawing
Mark making techniques
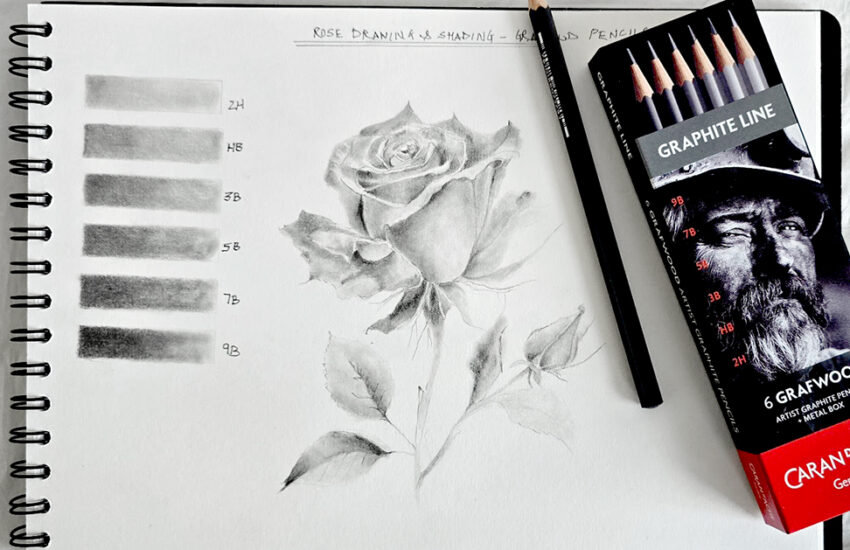
- Don’t think too much about detail as you start a drawing. Use softer charcoals and pencils to block in the structure or ‘bones’ of a drawing. Add detail with the harder pencils as your drawing comes together.
- Hold pencils at the opposite end to the sharpened tip. By having less control on the pencil, shapes that emerge will be looser and potentially more interesting. You can always add more controlled, detailed marks later on in the drawing.
- Tilt pencils and charcoal sticks at different angles as you work to achieve different, and unpredictable marks. Hold pencils and charcoal sticks sideways to the paper for softer, wider and less defined lines.
- A good practice before drawing is to work playful mark making exercises for a few minutes. ‘Take a pencil for a walk’, draw with your eyes closed, or use the hand you wouldn’t normally draw with. See how many different marks you can create on paper.
Building Up Layers
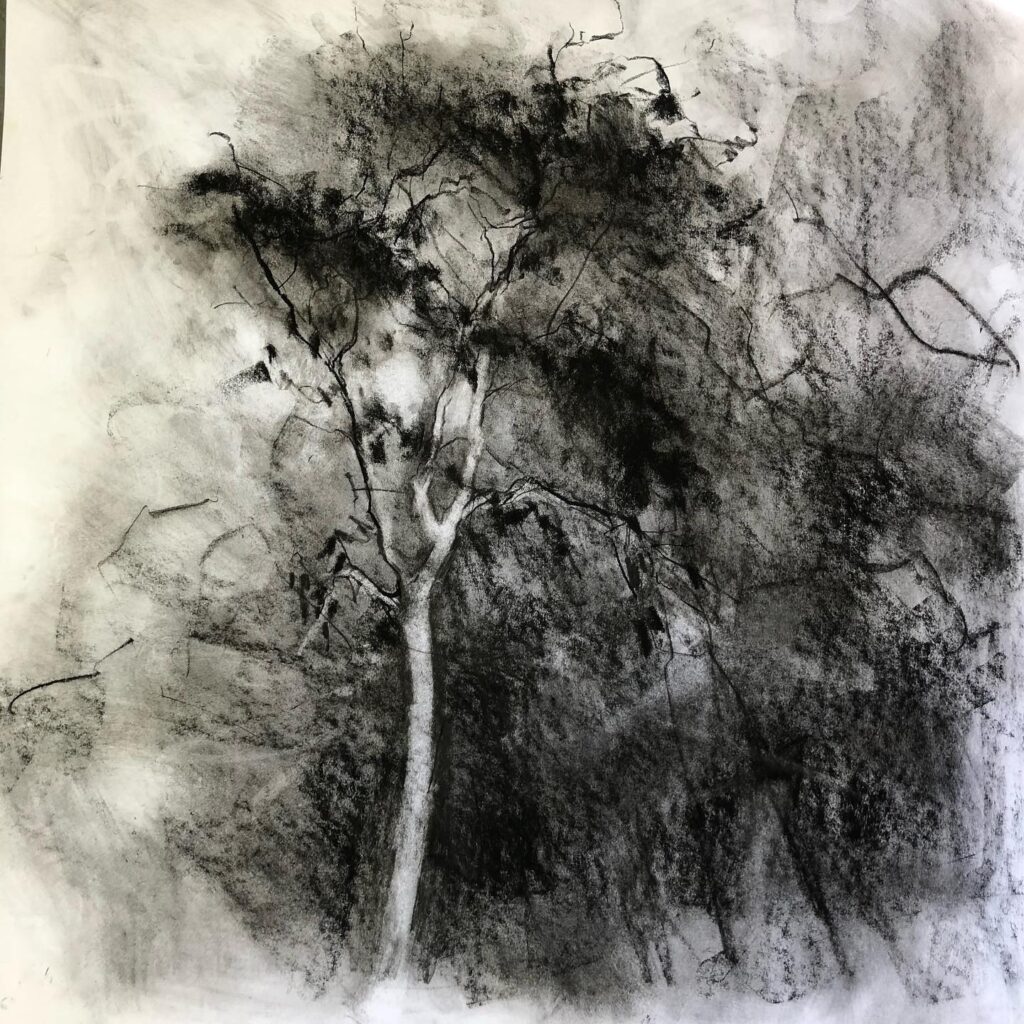
- Building up layers of pencil and charcoal adds depth to a drawing. Apply a soft outline of a structure, whether a tree, flower, animal or human form, then smudge through it. Use either with your hand or a paper blending tool. Draw again on top. This needn’t be over the first outline. Placing the object in a slightly different place builds depth, solidity and movement to a drawing.
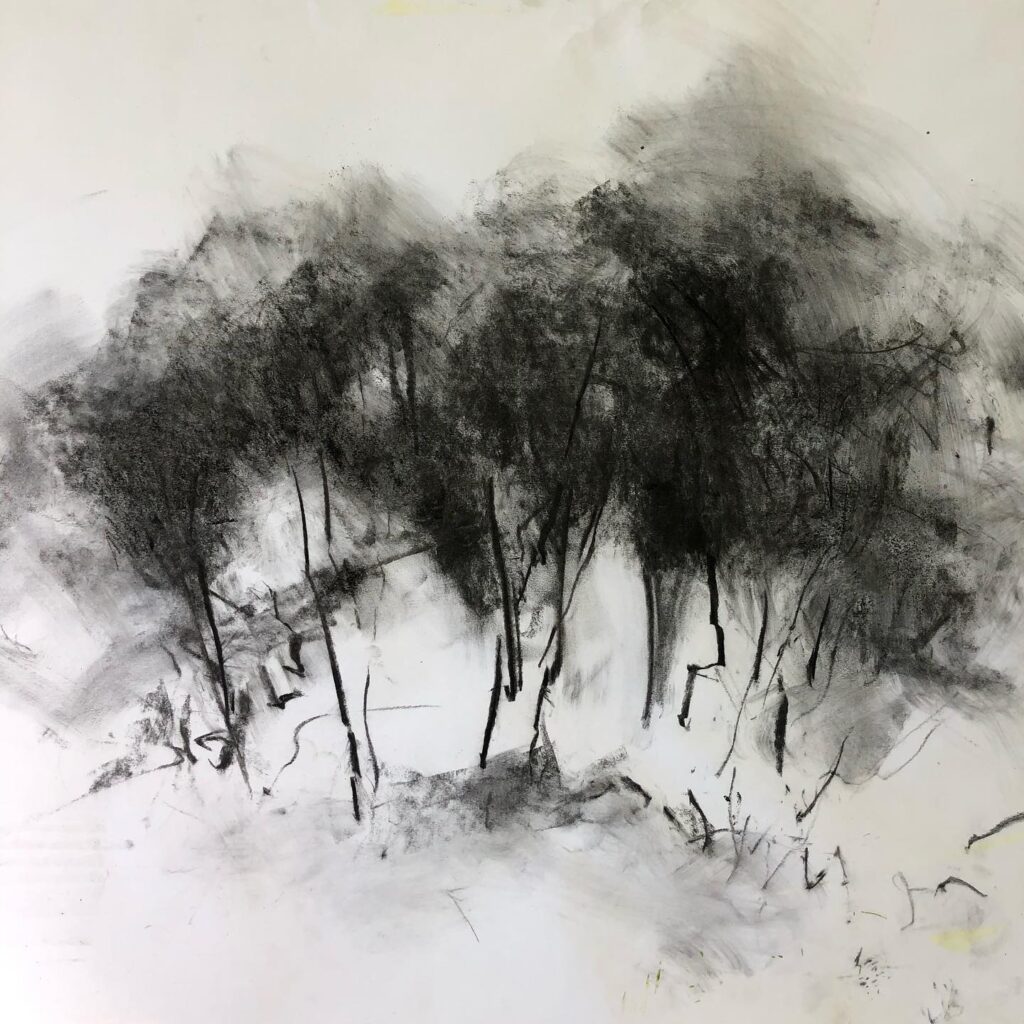
- Include contrast, space and a variety of marks in a drawing. Make sure there are light and dark areas i.e. shadow, light and space. Resist filling every inch of the paper with information, particularly with land and seascapes. As with a painting, the ‘quieter’ areas of a drawing allow the work to ‘breathe’ and direct the focus to what’s really going on. A particularly effective way of creating light in a drawing i.e. sunlight or lighter tones, is to rub out charcoal or graphite with the kneadable eraser.
- Use thick and thin, light and dark, strong and delicate marks to keep a drawing lively and interesting.
- Use your whole arm to work the pencil or charcoal onto larger pieces of paper. This will create a more energetic drawing.
Add some texture
- A small water mist bottle that sprays a very fine mist of water is a good addition to the drawing toolbox. Charcoal is very effective when used wet, particularly for softer areas of a drawing, such as the distant areas of a landscape. Work dry, spray with a mister and move the wetted charcoal around with a cloth, kitchen towel or paintbrush.
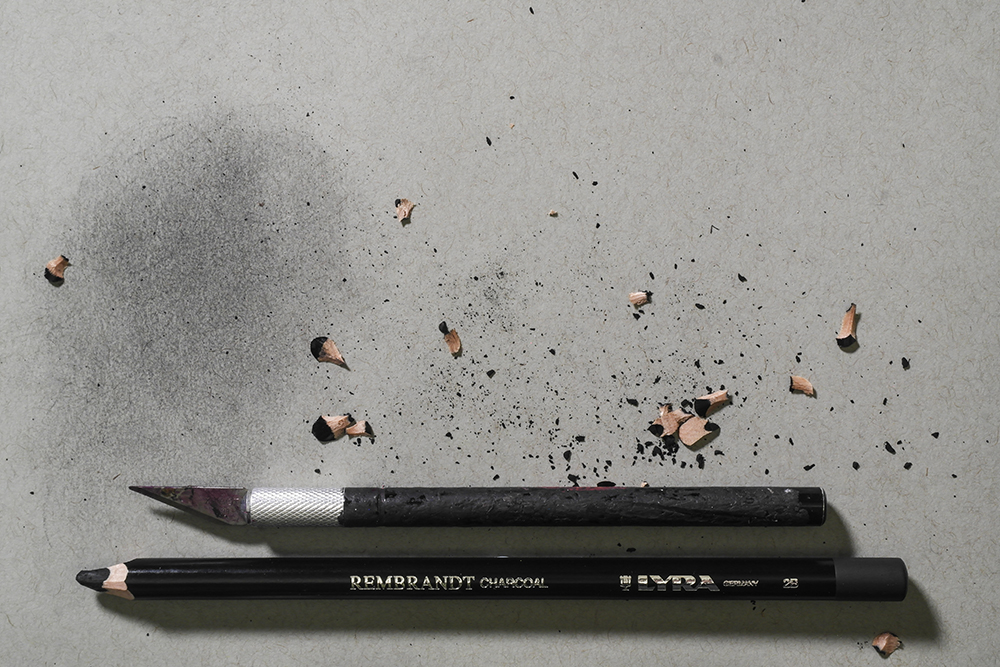
- Put pencil sharpenings to good use in a drawing if you’re wanting a loose, organic feel. Let the sharpenings fall directly onto the paper. Then smudge them into the paper using your hands or a piece of kitchen towel. Use crushed natural charcoal (particularly the ends of a stick) in the same way.
Protect your work
- Once you’ve finished a drawing, don’t forget to ‘fix’ it unless your drawing is entirely worked with oil pencils. Fix charcoal and carbon drawings which are more likely to smudge with a drawing fixative spray.
You might find my blog post On test: Lyra Rembrandt & Strathmore Series 400 Toned Paper helpful if you are looking to buy drawing supplies.


this is an excellent blog and is very helpful and very talented artist and its lovely to see how other artists work and inpart knowledge and are very generous with their time and talent and is great help to less experienced artists and hobbiests and what ever your level of experience you can always update your skils and learn something new and interesting well done ken for creating this great blog
Lovely, sketchy trees. I also love sketching trees. In fact among my arty friends I am known as the tree lady!
Very inspirational.