
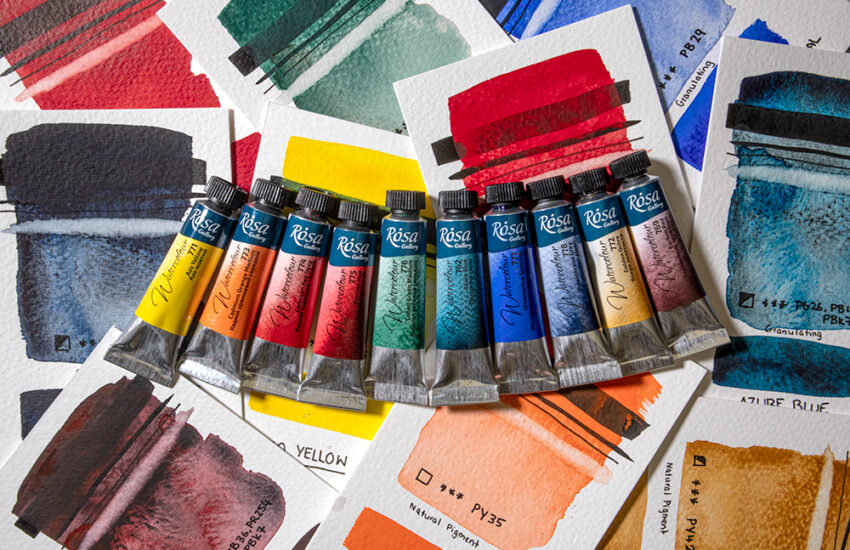
A Landscape Tutorial Using Rosa Gallery Acrylics
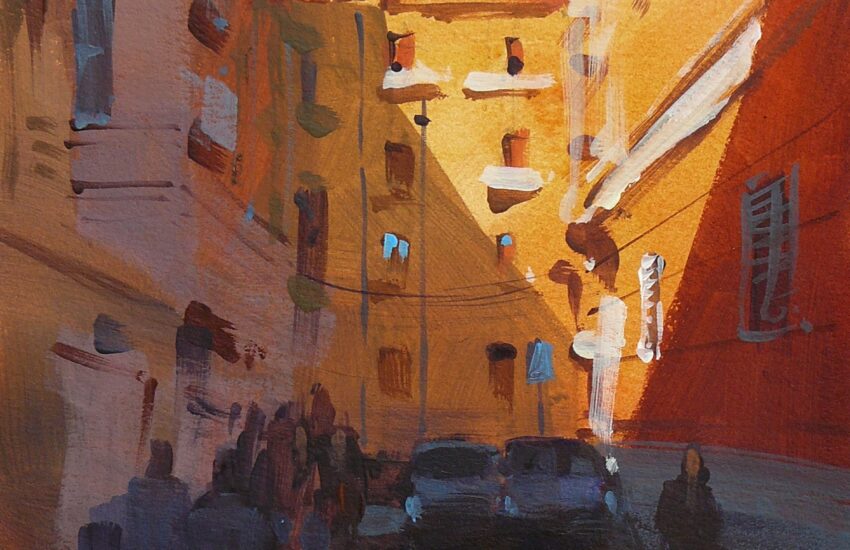
In this second part of my review of Rosa Gallery acrylic paint I am testing out the paint & medium on acrylic paper. I have produced a tutorial too, a Yorkshire Dales scene, if you would like to paint along with me. If you would like more details about Rosa acrylics be sure to check out my first blog post ‘On Test: Rosa Gallery Acrylics’. You can follow my tutorial included in the first post, a city scene, this time painted on watercolour paper.
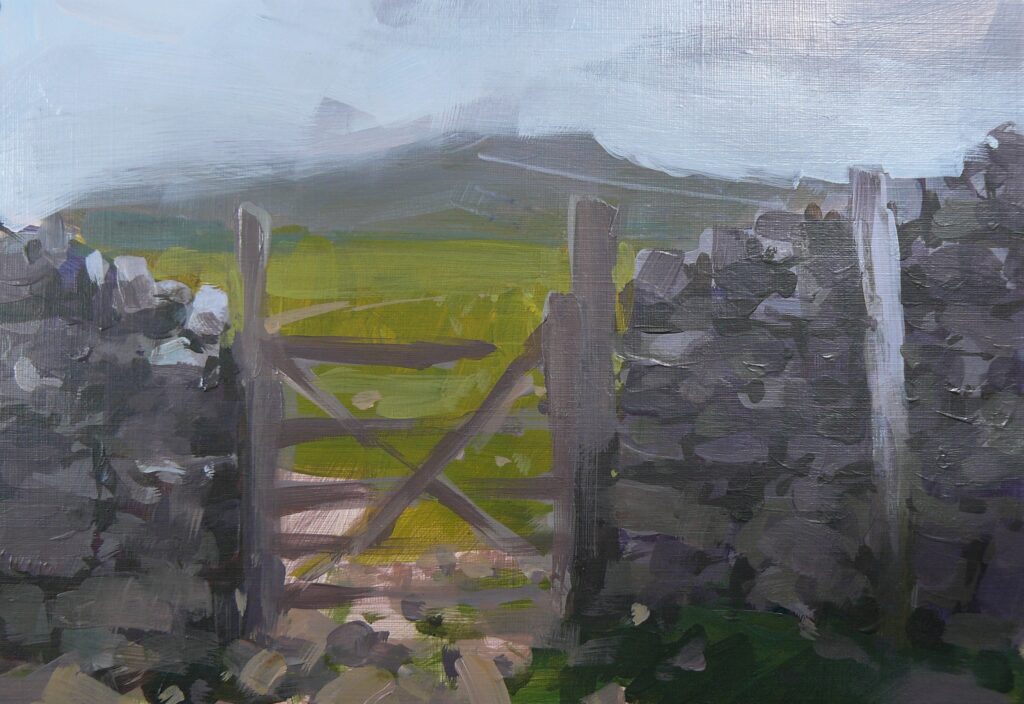
Gateway to Ingleborough Tutorial

My second venture with Rosa acrylics was on a piece of Winsor Newton Galleria acrylic paper. The paper is ready primed with a fine grain surface and is not absorbent in any way. As a result I was aware the acrylics would perform differently to watercolour paper.
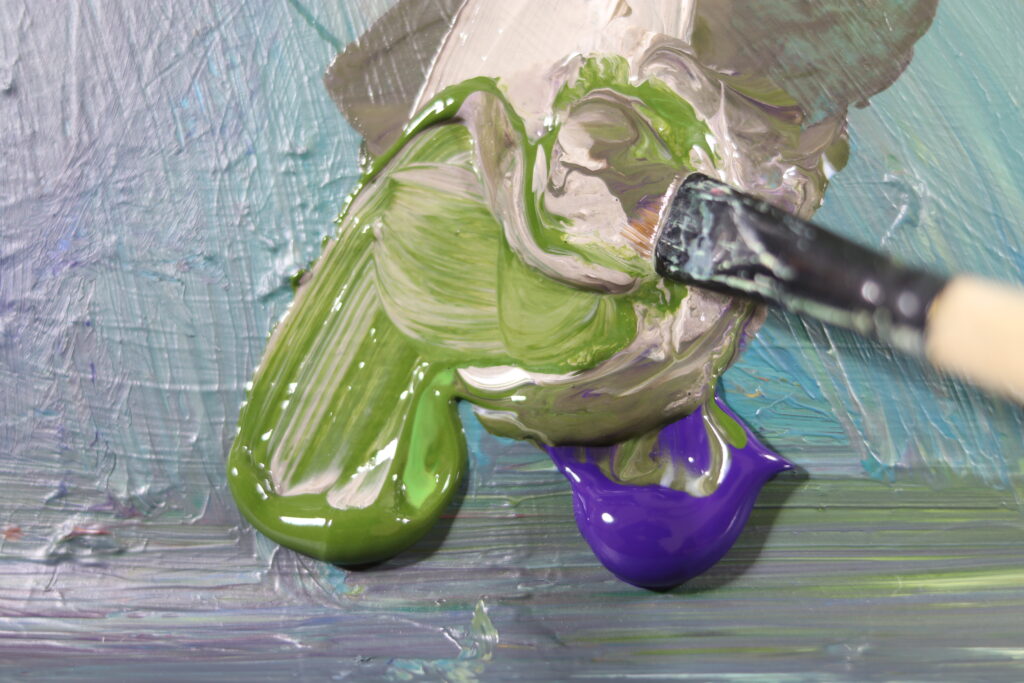
Rosa Gallery Acrylic Paint used:
- Cobalt Blue (hue)
- Ultramarine
- Violet
- Olive Green
- Yellow Green
- Sky Blue
- Gold Ochre
- Burnt Sienna
I also used Rosa Gallery Acrylic Painting Medium
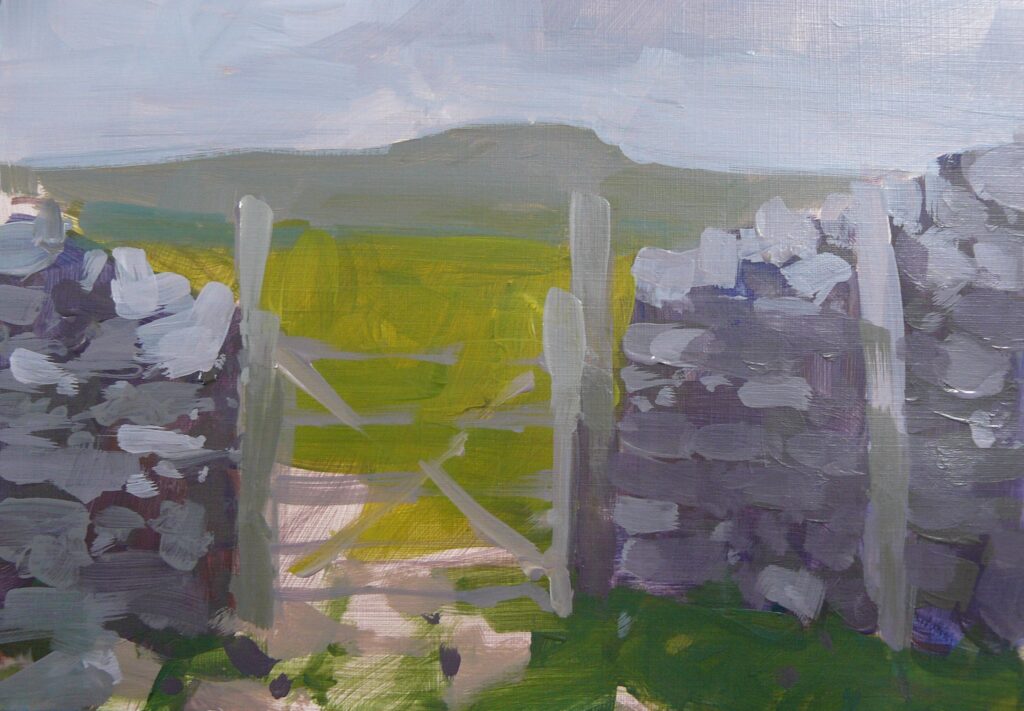
Stage 1

I began by painting out the white of the paper with Ultramarine, Burnt Sienna and Violet mixed with water and medium. When that was dry, I used the same colour to roughly mark out the shapes of the painting with a small brush. Then, using neat colour, I brushed Ultramarine, Violet and Burnt Sienna over the wall shapes.
In the distance I used Violet with Olive Green and Titanium White, changing to Yellow Green and Gold Ochre in the mid ground. Finally I used Olive Green and Cobalt Blue (hue) at the bottom. The application left plenty of exciting brush marks.
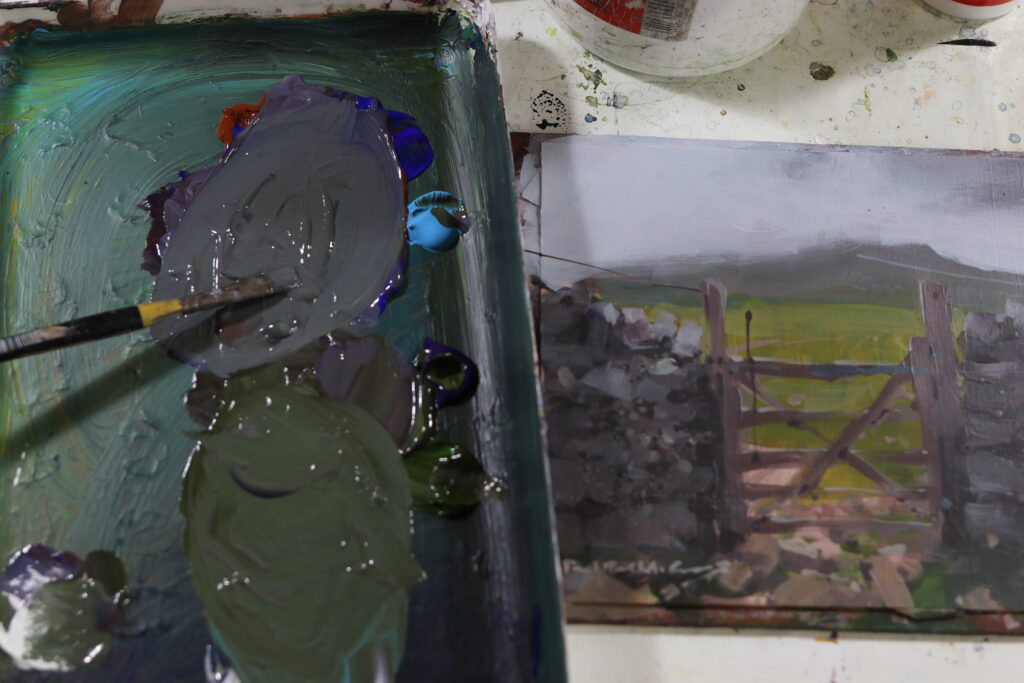
Stage 2
This felt a bit trickier than the more absorbent watercolour paper. The acrylic paper is a sealed surface and paint has nowhere to go but build on top. I made some mid values for the wall and sky using Cobalt Blue (hue), Burnt Sienna, Violet and Titanium White. This was quite opaque, so I began to add medium to aim for better transparency. The flow of the soft body paint left lots of hard edges, which I was keen to break up for more depth. I added another layer of yellow green and gold ochre on the mid ground grass.
On this paper I found the drag technique difficult due to the consistency of the paint. I’m confident this wouldn’t be a problem on canvas or canvas board. If you like soft paint, you’ll like these colours. The paint also stayed wet for some time even though I wasn’t laying it on thick.
Stage 3
To get a stronger dark, I switched to Violet and Olive Green, which made a beautiful dark grey, and I used this to reinstate some of the stronger values in the wall. Mid values were mixed using the same base with Titanium White added. This was then strengthened for the foreground grass with Olive Green and Cobalt Blue (hue).
The flow of the soft body colour was filling my brush and subsequently, I was adding too much paint to the shapes, so it was time to add more medium and aim for transparency. I used Sky Blue mixed with Titanium White and lots of medium to reframe the background and build up the sky depth. You can see how this turned the paint quite transparent over the background edge.
Stage 4
Experimenting with the medium I found made the colours more transparent and I used multiple overlapping shapes to depict the wall. I added more colour to the gate and took a big brush with more transparent colour to the sky. I felt excited at this stage to see these transparent brush marks building up.
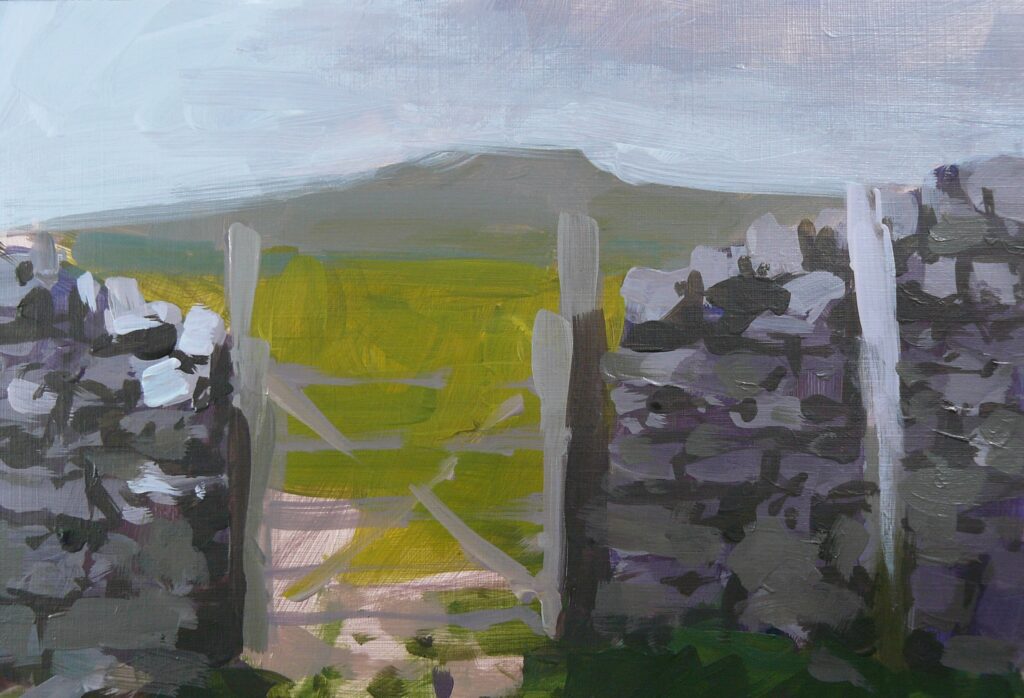
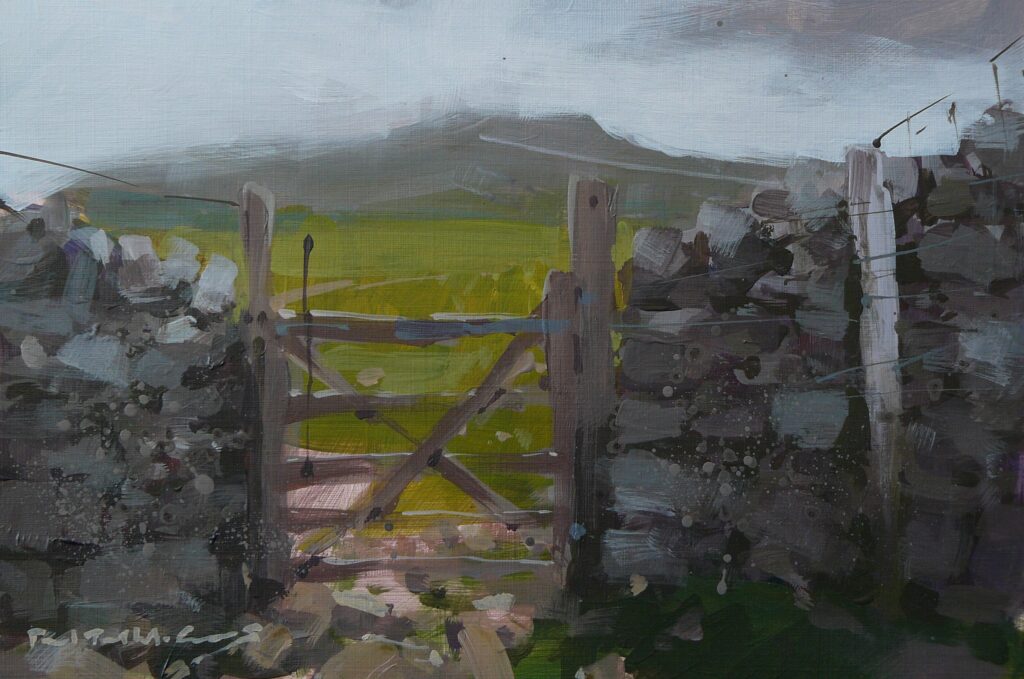
Stage 5
As the colour was a bit too soft to achieve drag brush on this paper, I found a technique where I loaded the brush, then removed most of the colour on a sponge, like I would with watercolour. This allowed me to feather on thinner layers and achieve the textures I wanted. Now I felt in control of the paint and once I was happy with the build and depth in the wall, I mixed Violet, Olive Green, Titanium White and lots of the runny medium with a little water and spattered on some texture with a medium sized round brush. I then added some smaller specks of colour by flecking the paint on from a stiff hog brush. The finer lines of wire flowed on easily through the use of a rigger.
In Conclusion
The acrylic paper handled the paint very differently to watercolour paper. I was really happy with the results once I had got used to the soft consistency of the paint on acrylic paper. The transparent qualities of the colours allow multiple layers for building up depth and colour, especially when used in conjunction with the medium. Plus, the paint stays workable in the palette for quite some time.
Overall, I preferred working on more absorbent watercolour paper than the primed acrylic paper as it took a little moisture out of the paint, but that’s only because I’m used to working with heavier bodied colour. I think the Rosa acrylic colours work well on papers and would work great on canvas with a good extended drying time to facilitate blending. The soft consistency means you don’t have to use water except for rinsing. I’d recommend using them in conjunction with the medium as this maintains consistency, creates transparency and increases adhesion.
Paul Talbot-Greaves RI teaches watercolour and acrylic painting in his workshops and demonstrations via his website and to art societies throughout the UK. He has received many accolades and awards including Best in Show at Holmfirth Artweek 2013, The Artist award in 2017 and again in 2021 at Patchings Art Festival, and The Chaoshan Watercolour award at the 2021 RI Watercolour exhibition, London. He was elected a full member of the Royal Institute Of Painters In Watercolours in 2023.
www.talbot-greaves.com | Email | Instagram | Facebook | Twitter


A very useful review.