Bridge over the River Usk, South Wales, Watercolour Tutorial
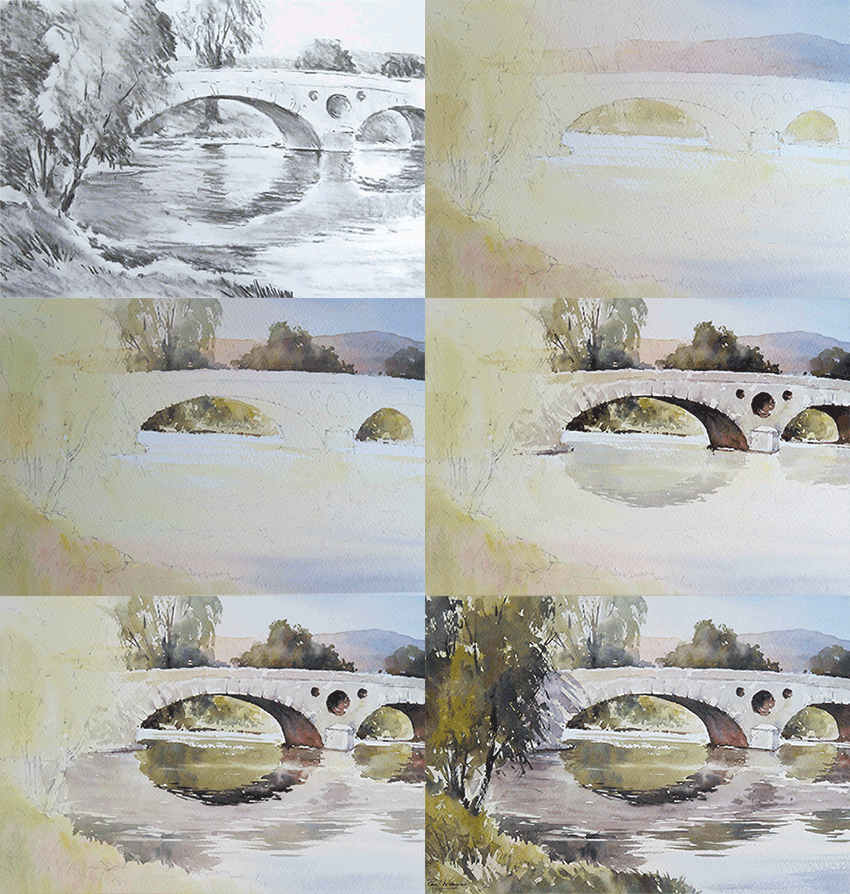
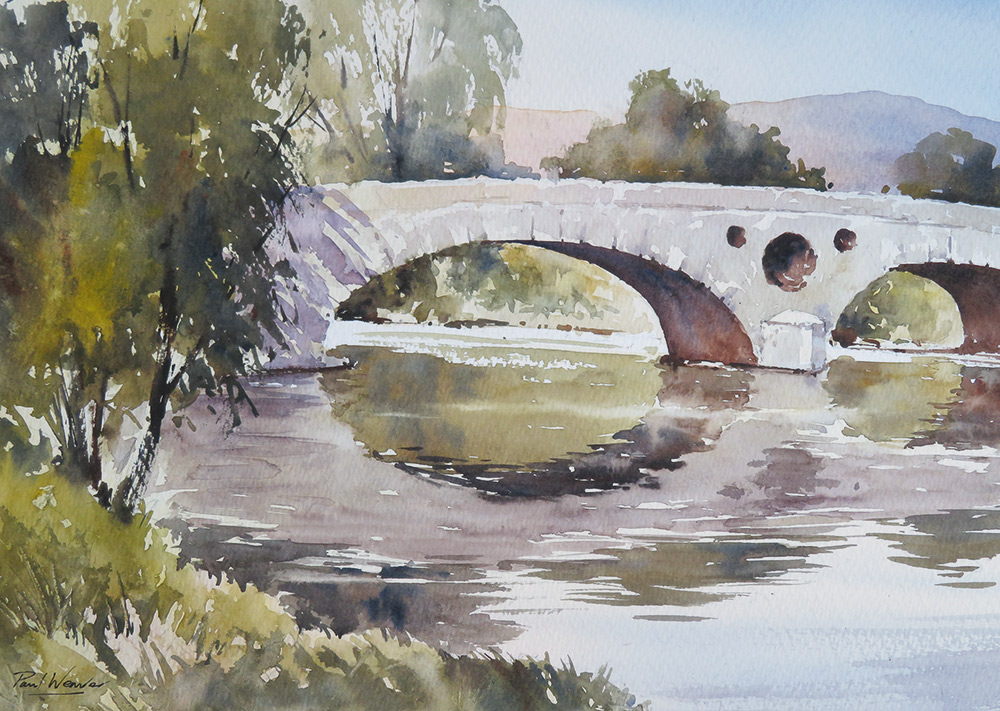
I was inspired by this view of the River Usk, including distant hills, foliage, water, reflections and the attractive architectural feature of a stone bridge.
Materials
Rosa Gallery Artist’s Watercolour, Bockingford watercolour paper, 140lb/300gsm Rough.
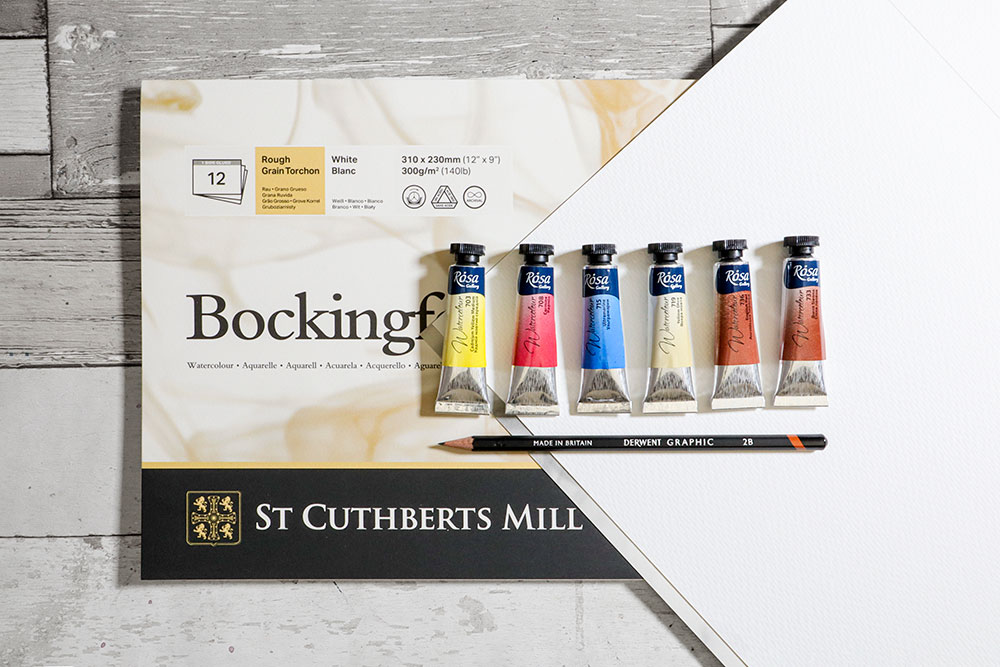
Colours used were:
Yellow Ochre
Cadmium Yellow Medium
English Red
Ultramarine Blue
Burnt Sienna
Carmine
Tonal Sketch
My creative process always starts with a tonal sketch, to ensure the composition is working and most importantly, to understand what is light and dark. If it works in black and white, it should also work in colour.
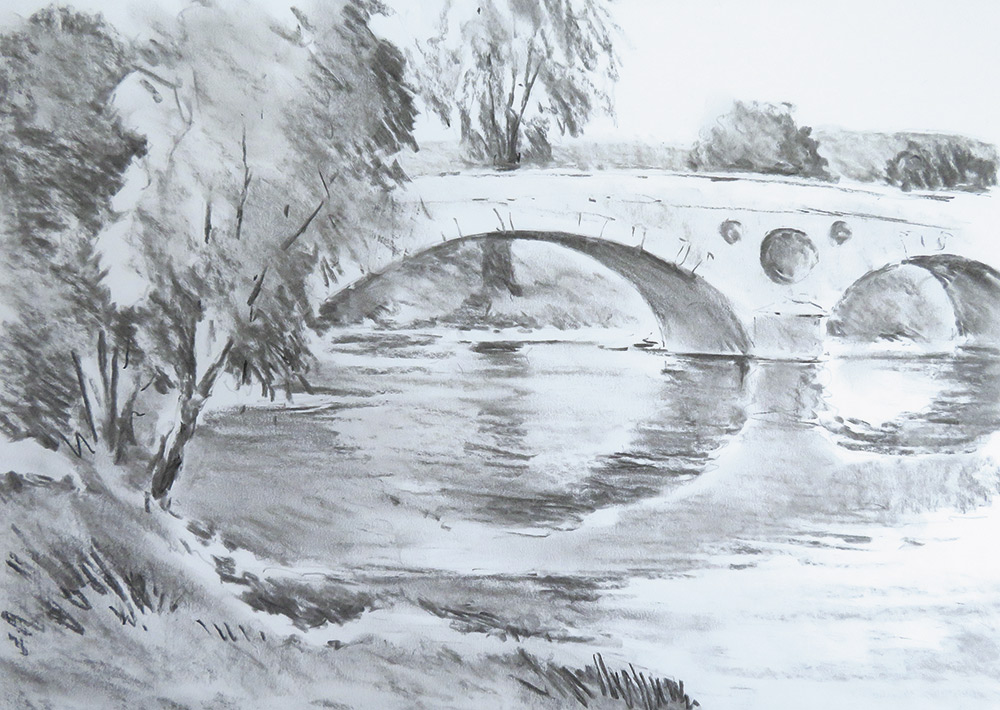
Get your free printable sketch here and use Transfer Paper to trace it on to your watercolour paper.
Step 1
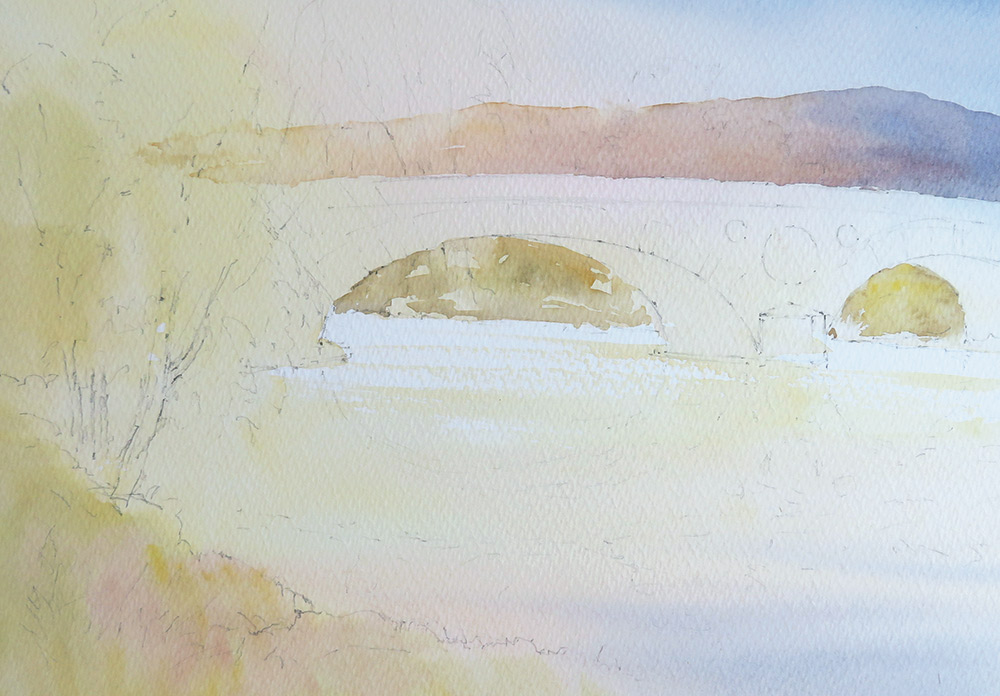
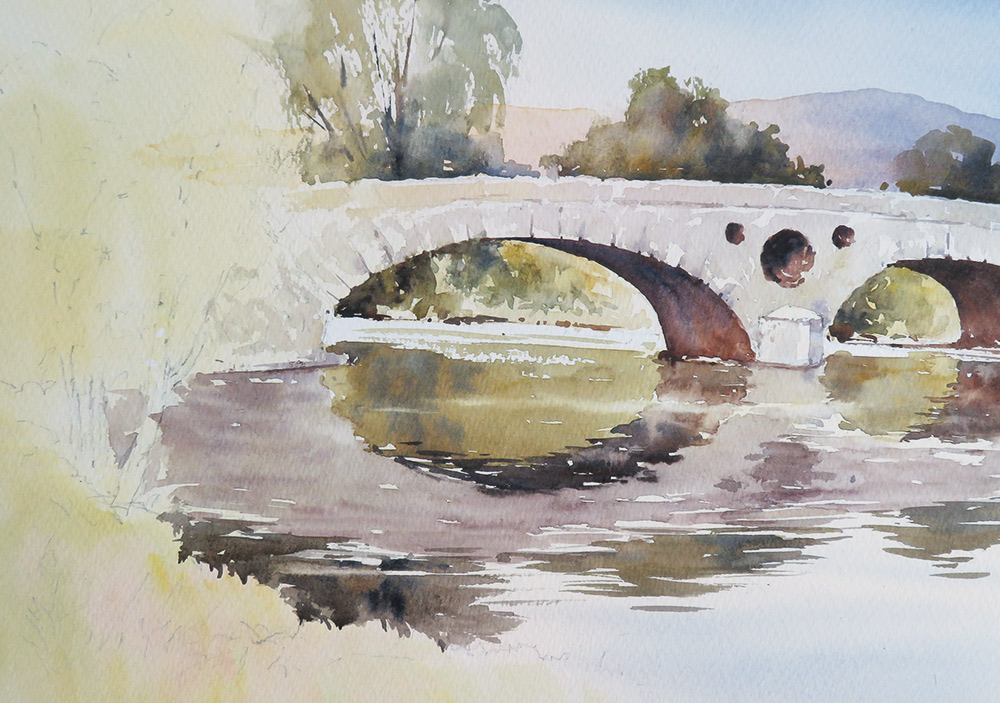
After sketching the main elements onto the watercolour paper with a 2B pencil, I applied a first wash to establish the sky and lighter tones. I wet the paper first, apart from the middle distant water, as I wanted to create some sparkle at that point. The sky came first with a thin wash of Yellow Ochre on the left, adding a touch of Carmine and then Ultramarine on the right. This was taken right over the bridge as well.
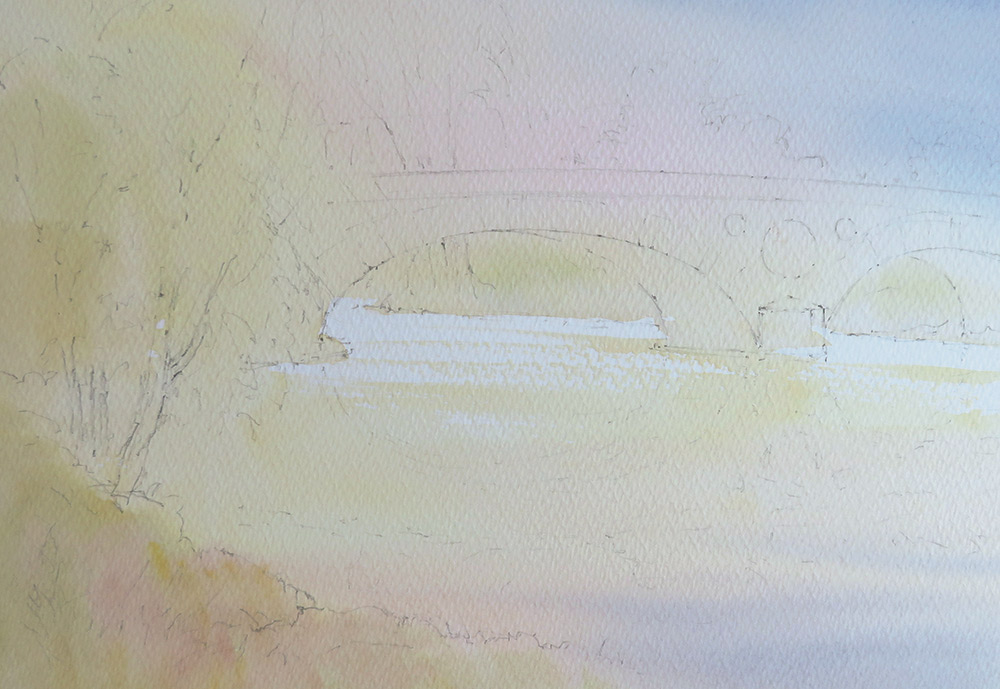
I continued with the river, using the same colours in the sky, dragging the brush sideways to create sparkle under the bridge.
A light wash of Cadmium Yellow and Ultramarine was added over the trees on the left and the river bank, then everything was allowed to dry.
Step 2
The distant hills came next; I knew it was important to keep the tone pale to help their shape recede. The sun was shining from the left, so I started with a dilute mix of Yellow Ochre, gradually adding a little English Red and then Ultramarine on the right. I softened the edges in a few places to enhance the light effect. I continued with Yellow Ochre and a little Ultramarine beneath the arches of the bridge.
Step 3
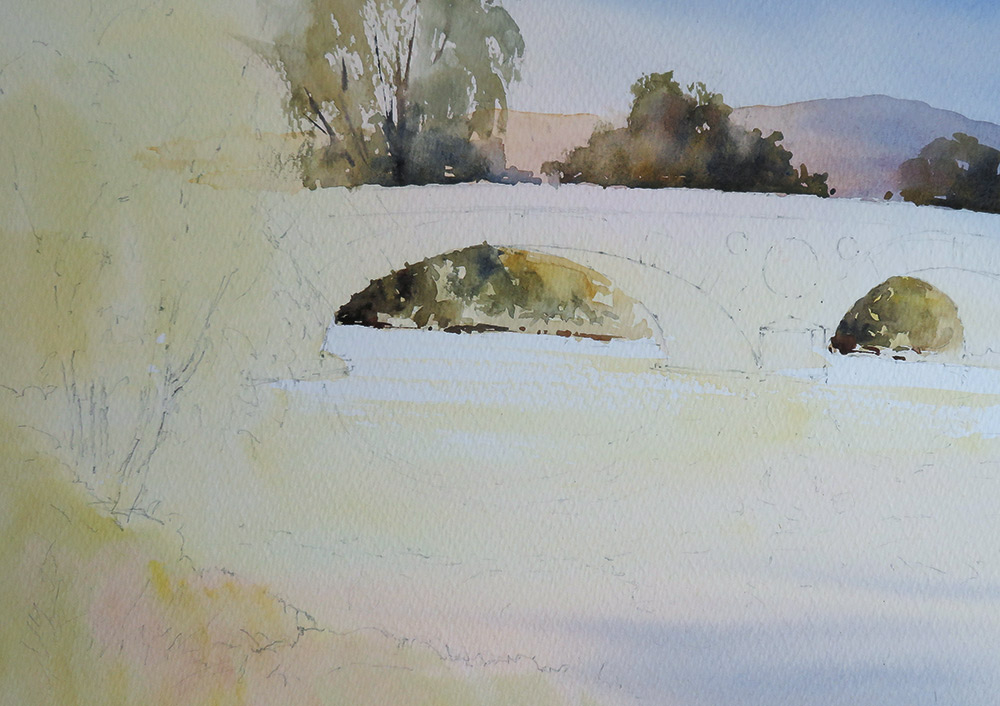
Once the hills were dry, I added the dark trees behind the bridge. Mixes of Yellow Ochre, Ultramarine and Burnt Sienna were used for the foliage, then Burnt Sienna and Ultramarine for the branches. I used dry brush strokes for the willow on the left, wet in wet for the bushes on the right.
Step 4
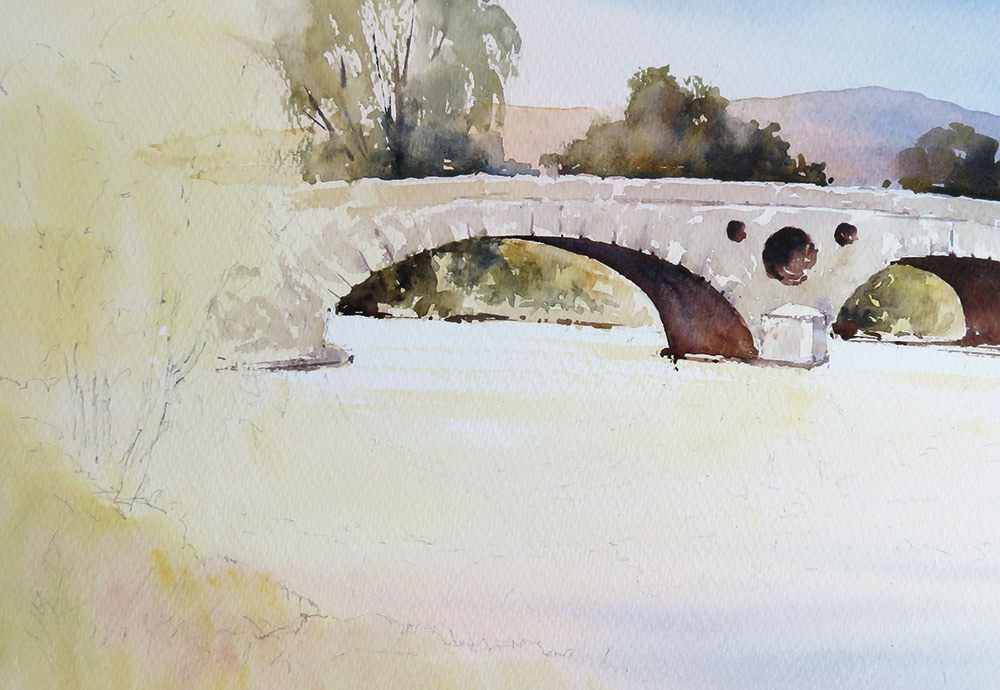
I painted the bridge with a warm grey, mixed with Yellow Ochre, English Red and a touch of Ultramarine and leaving touches of the under wash showing in places. Once dry, the underside of the arches and decorative holes in the central wall were added with English Red and Ultramarine, using a stronger mix of the two for the deeper shadows.
Step 5
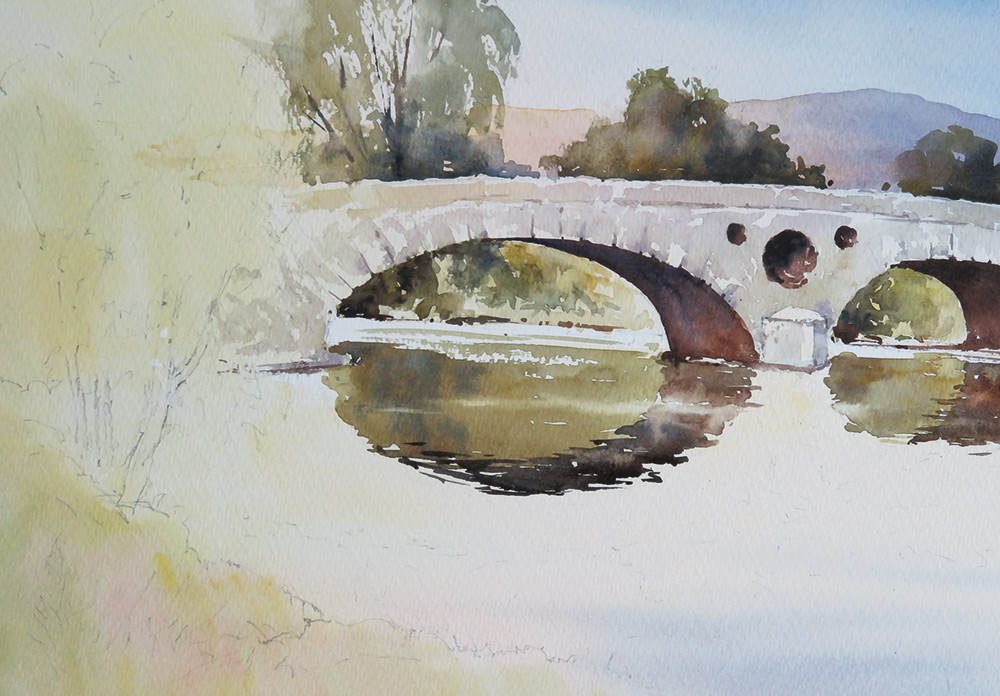
The water and reflections were painted in stages, starting with the distant reflection of the green foliage. This was Yellow Ochre with touches of Ultramarine for the darker areas, leaving dry paper for the highlights and lifting out softer highlights with a damp brush. Once dry, I added the reflections of the underside of the arches, wriggling the edges to suggest movement of the water.
Step 6
I continued with the reflection of the bridge, using a slightly darker mix of the grey used for the stonework in Step 4. Once dry, I added the reflections of the trees, keeping the edges loose and wriggling throughout.
Step 7
The trees on the left were casting shadows onto the bridge and these were added with a mix of Ultramarine, English Red and a touch of Carmine. Finally, I developed the foreground trees and river bank with mixes of Cadmium Yellow, Yellow Ochre and Ultramarine. Tree trunks and branches were added with a thick mix of Ultramarine and Burnt Sienna.
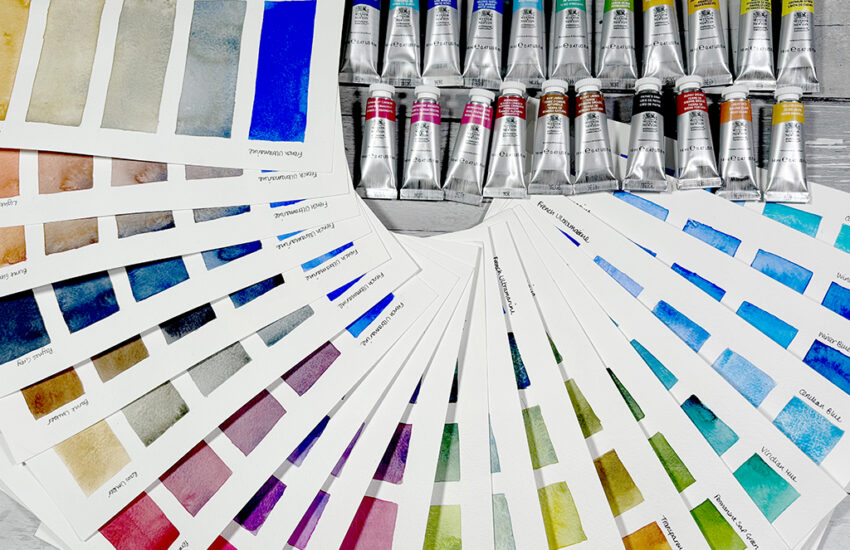
This was my first time using the Rosa brand of watercolour. Made in Ukraine, I was most impressed with their colour strength, luminosity, ease of mixing and flow on the paper. Some of the colours are a little different to what I am used to, for instance, their Raw Sienna is darker, so I use Yellow Ochre instead. Aside from that, an excellent product range that I will certainly be using more of in the future.
All work ©2019 Paul Weaver



Thank you very, very much ! good work for me…
wonderful, very enjoyable to my version.
I enjoyed this tutorial of Paul Weaver but it was rather challenging. Thank you Ken Bromley for sending this to me.
I’m glad you enjoyed the tutorial Margaret – a challenge is always a good way to develop your skills! 🙂
Thanks
But Why not the full Bridge ?
Wonderful stuff….love it
Very interesting