
Trace Monotype Printmaking with Soft Pastels
Whatever kind of artist you are its always worth trying out unfamiliar materials or methods from time to time to avoid getting stuck in repetition. As a printmaker, I love experimenting, but tend to lean towards exploring new combinations of kit I already have, to keep costs down and to avoid waste.
Recently, during a project making images of waterways in the upper Calder Valley, I decided to investigate some water-based lino ink I’d had for a while and the trace monotype technique struck me as a good starting place because of its simplicity and accessibility being a kind of hybrid between printmaking and drawing.
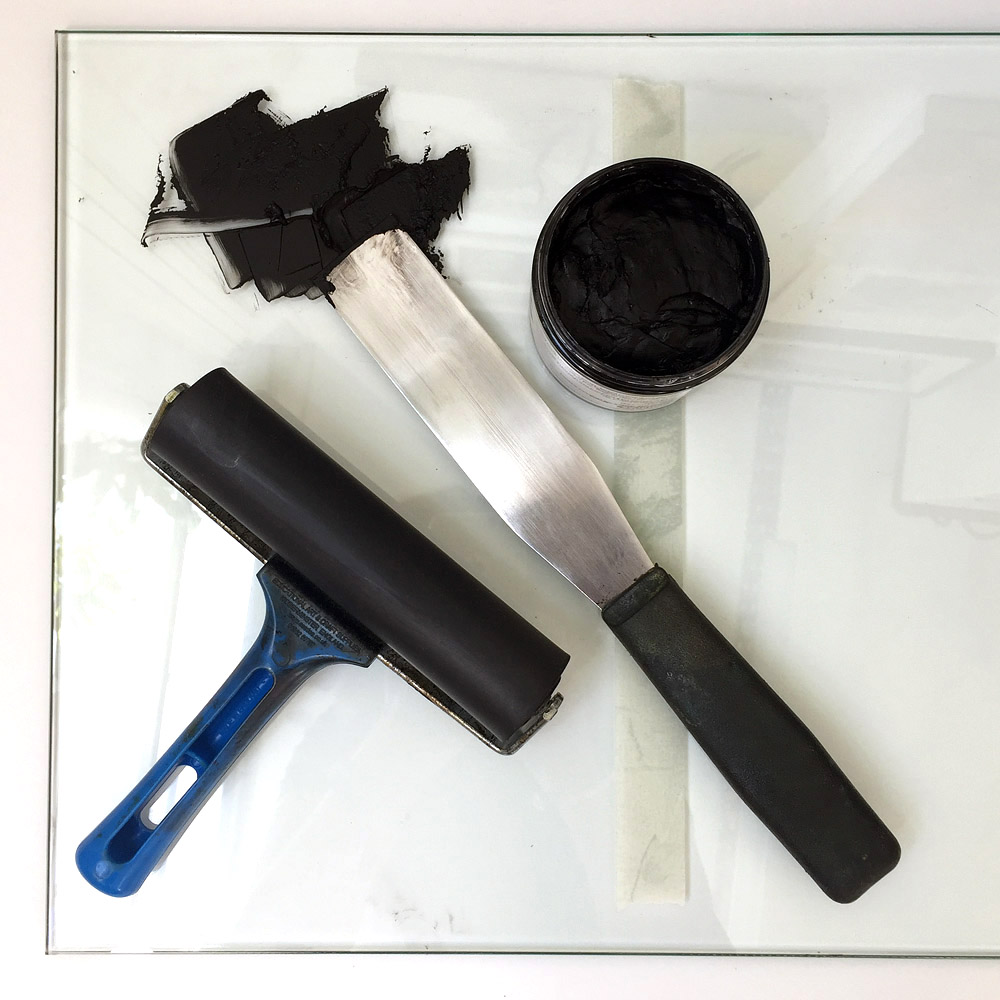
Of equal interest to complete beginners or seasoned printmakers, the process demands very little equipment or materials. All you need is some lino printing ink, a non-porous, flat surface like a glass slab or sheet of smooth melamine to work on, a lino brayer for rolling out ink and some relatively thin paper.
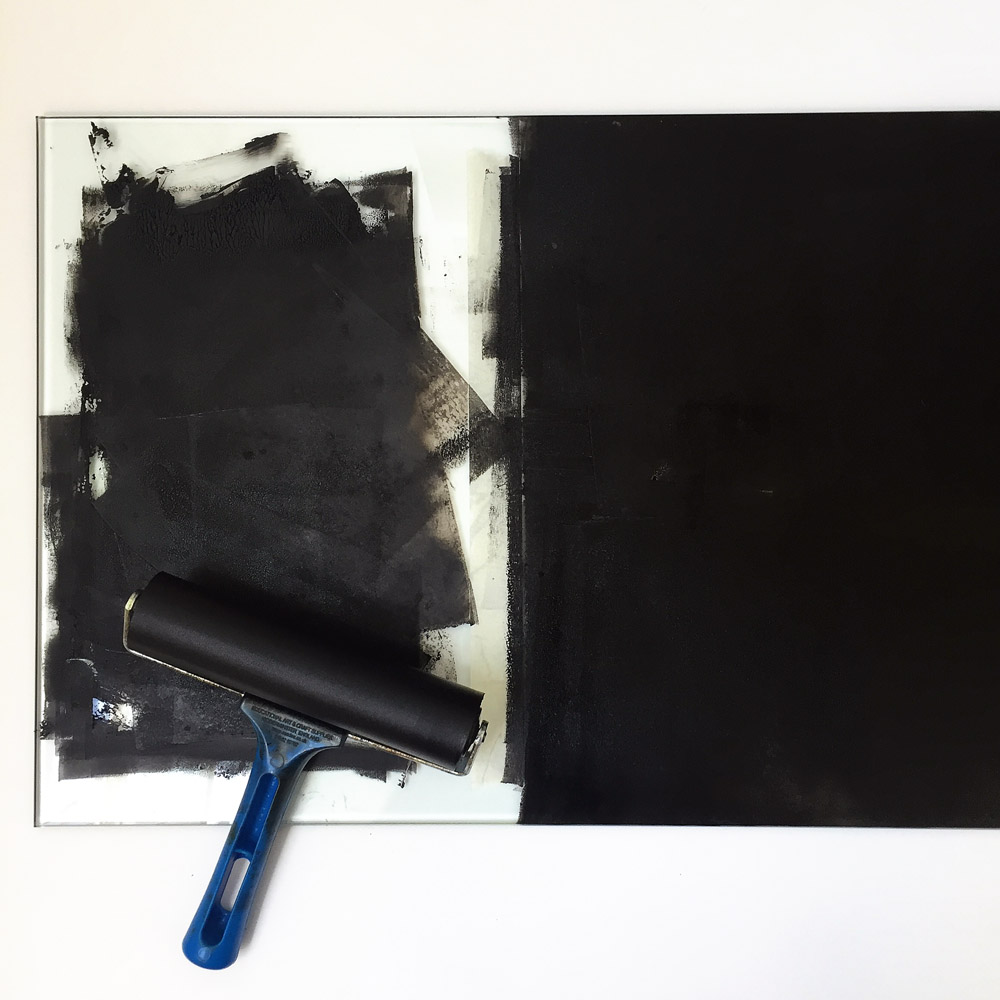
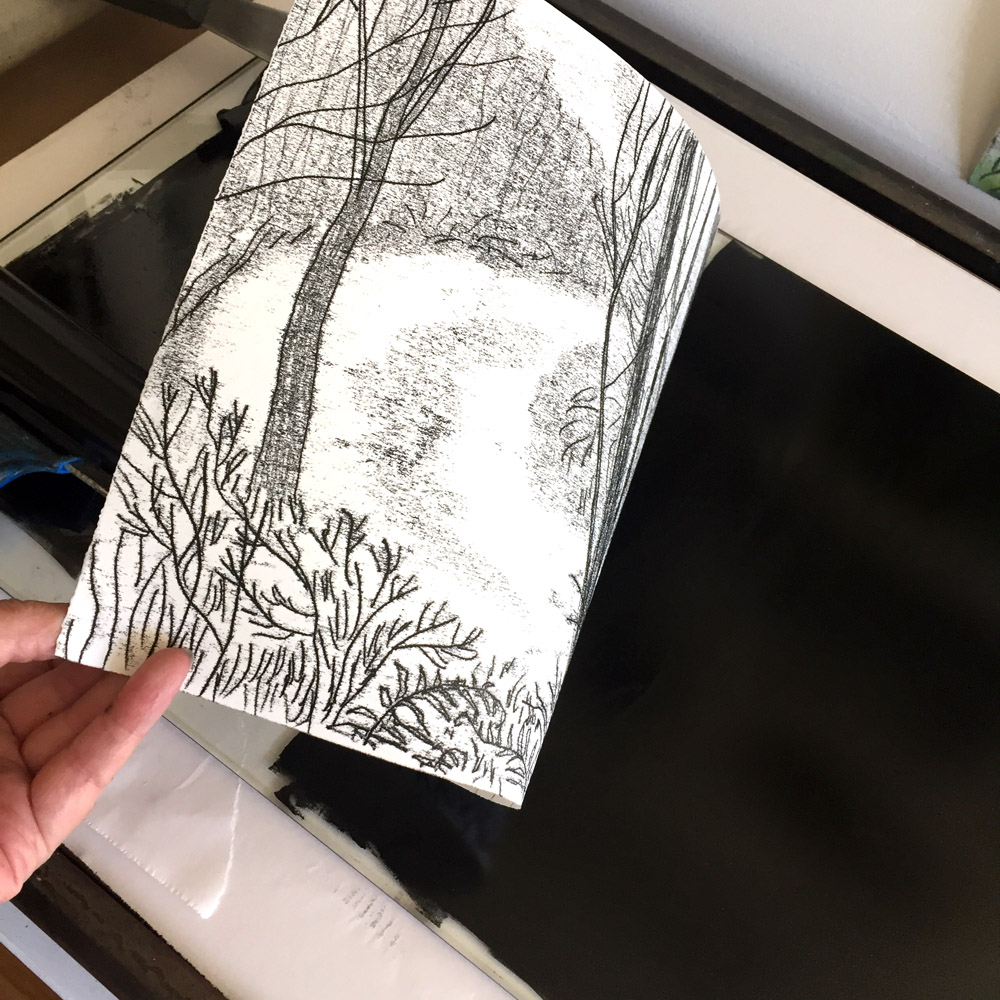
A trace monotype is a one-off print where there is no matrix for an edition, just a very thin film of rolled out ink. A sheet of thin paper is laid over the ink film and a pencil or pen drawing is made.
Where the pencil presses the paper against the tacky ink below, the ink is picked up and transferred. When the paper is peeled back the print is revealed. The resulting marks are unique to the process and have a beautiful fuzzy quality.
For some art historical context, in the early 1900s the French Post-Impressionist Paul Gauguin made a number of trace monotypes which he referred to as ‘oil transfer drawings’. Here is ‘Two Marquesans’ in the collection of The British Museum.
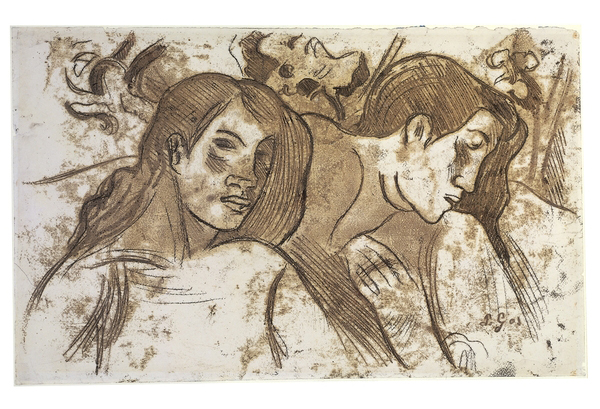
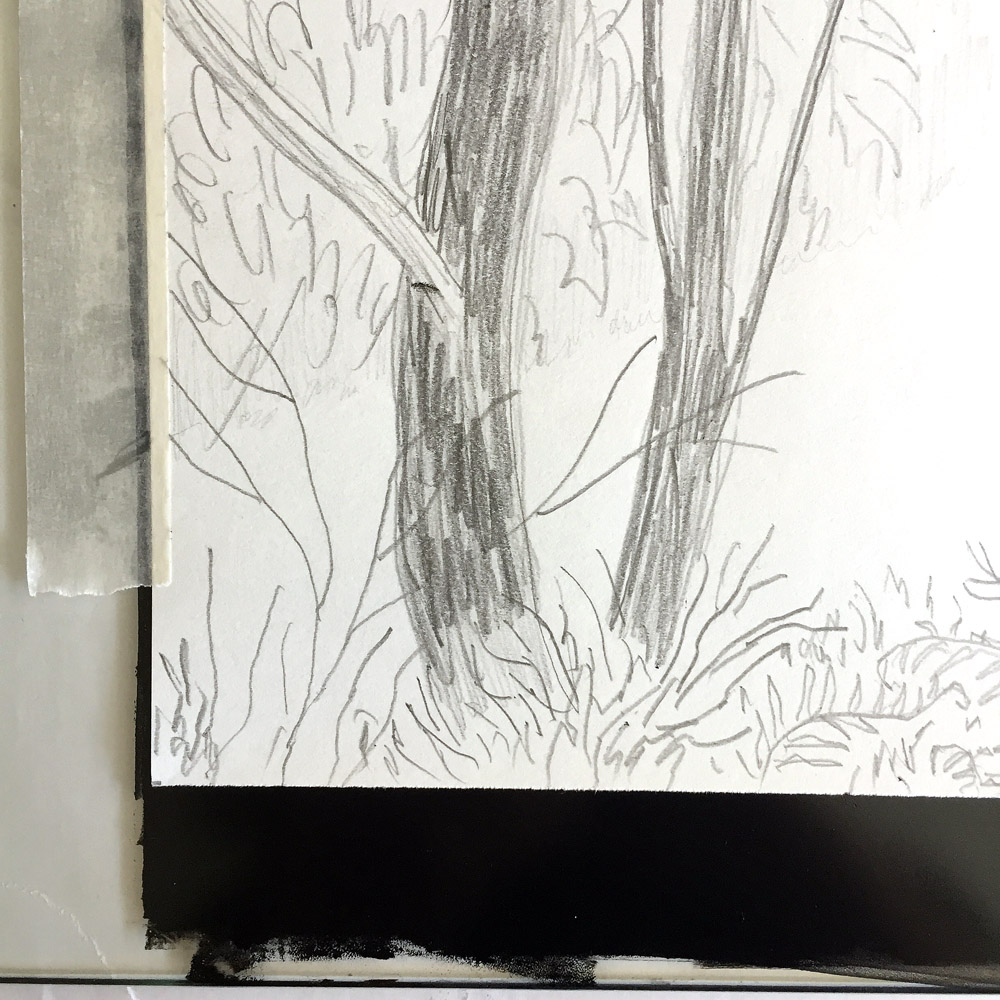
Gauguin drew directly on the back of the paper with pencil and you can too, or alternatively use another sheet of thin paper over the top – this could have a previously prepared sketch as a guide for a more controlled approach although the freehand method often produces a more expressive image. It can be helpful to use a strip of masking tape to hold your paper in place on the inking surface. Don’t forget that your printed image will be reversed – a mirror image of the drawing.
Anything that presses against the paper whilst working on the drawing will potentially make marks, even your hands just resting on the paper. But the smudgy marks can add interest or you can deliberately create areas of tone by pressing areas with your fingers. Experimenting with different ways to make marks is all part of the fun.
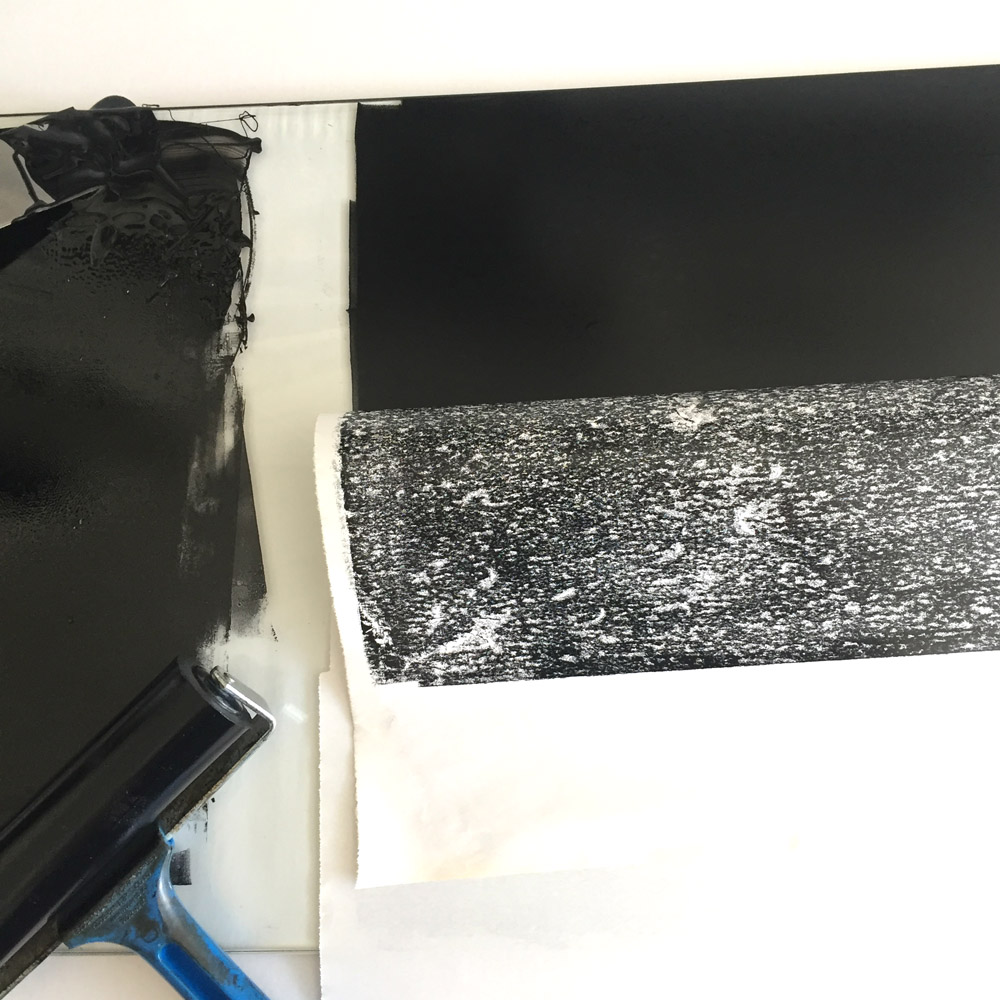
The most challenging aspect is judging how much ink constitutes a thin layer. If you roll out a too heavy film of ink your monotype will just be a dark mess. On the other hand, too thin a layer will result in a weak image. The only way to find out is to keep trying until you get the right consistency. Hot weather or a humid studio can all affect how printing ink works from day to day.
If your marks are turning out too faint, carefully use the brayer to apply more ink to the whole slab but don’t overdo it. To remedy an over heavy film of ink just lightly press a sacrificial sheet of paper over the whole inking surface. This will pull away excess ink and you will get a dark mottled paper that can be saved for future use as collage or a background.
Sometimes after making a print you can get another pale ‘ghost’ image by smoothing fresh paper on the left over ink on the slab. Areas where ink has been completely removed by your earlier drawing will now ‘print’ white so it will be like a negative. Usually though, if you are making more than one trace monotype you need to re-ink the slab between each print.
After making some trace monotypes and letting them dry, you may feel that you like them just as they are – monochrome.
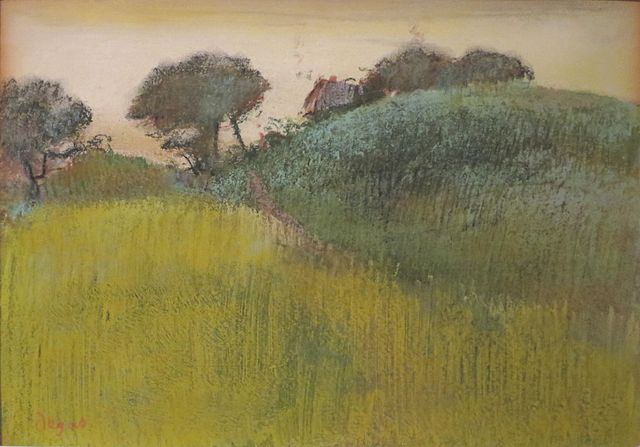
However, if like me you are interested in adding some colour to the images, you can do so by using soft pastels. I’m often inspired by looking at the many wonderful images made by Edgar Degas using soft pastel drawing over monotypes e.g. ‘Wheat Field and Green Hill’.
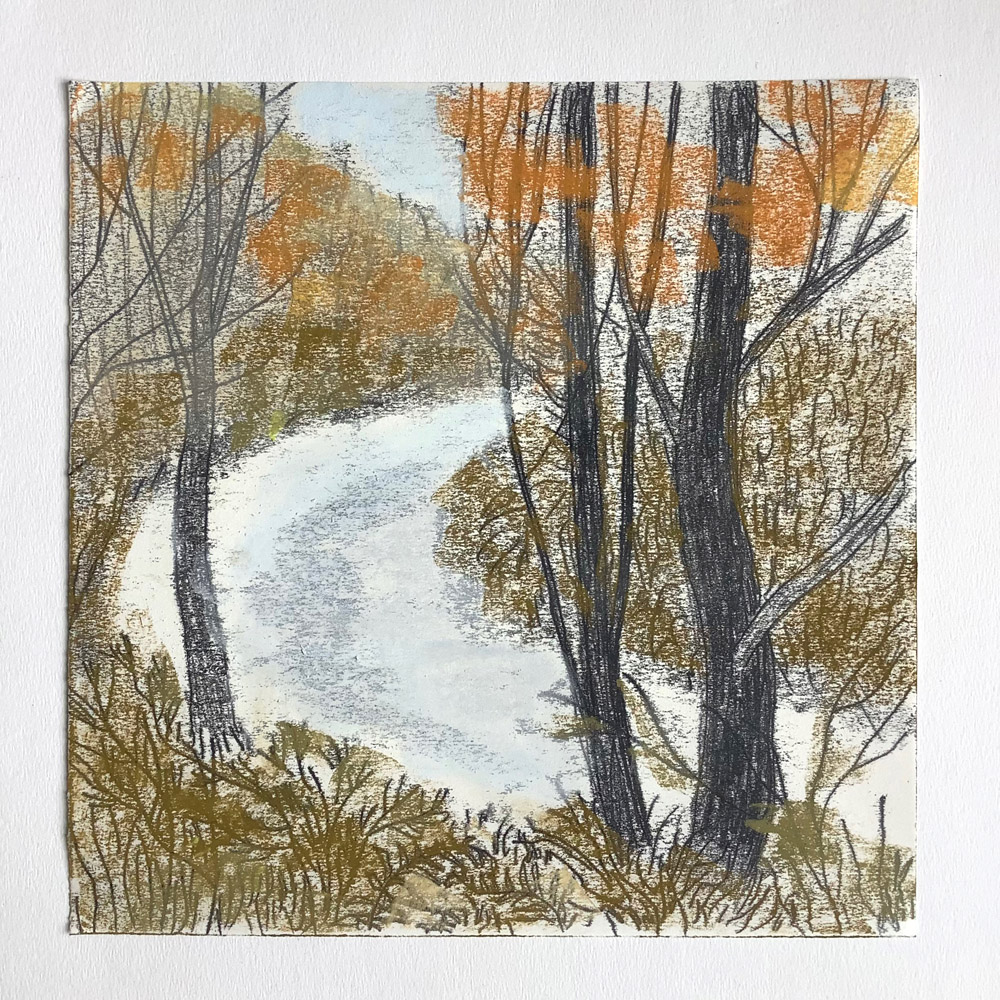
Here in ‘Autumn on the Calder’ I have used Unison soft pastels to work over the monotype. I find Unison to be just the right level of softness for me and the colours are wonderful. To begin with I make large areas of colour which are blended into the paper using mini paint pads / small cotton cloths / fingers. I set these initial layers with fixative and find that it restores the dark marks of the printing ink which have been partially obscured.

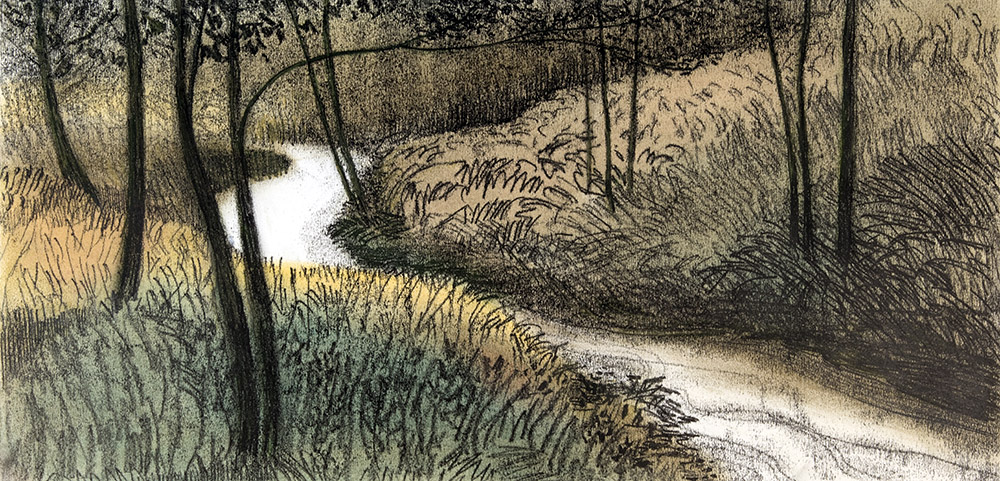
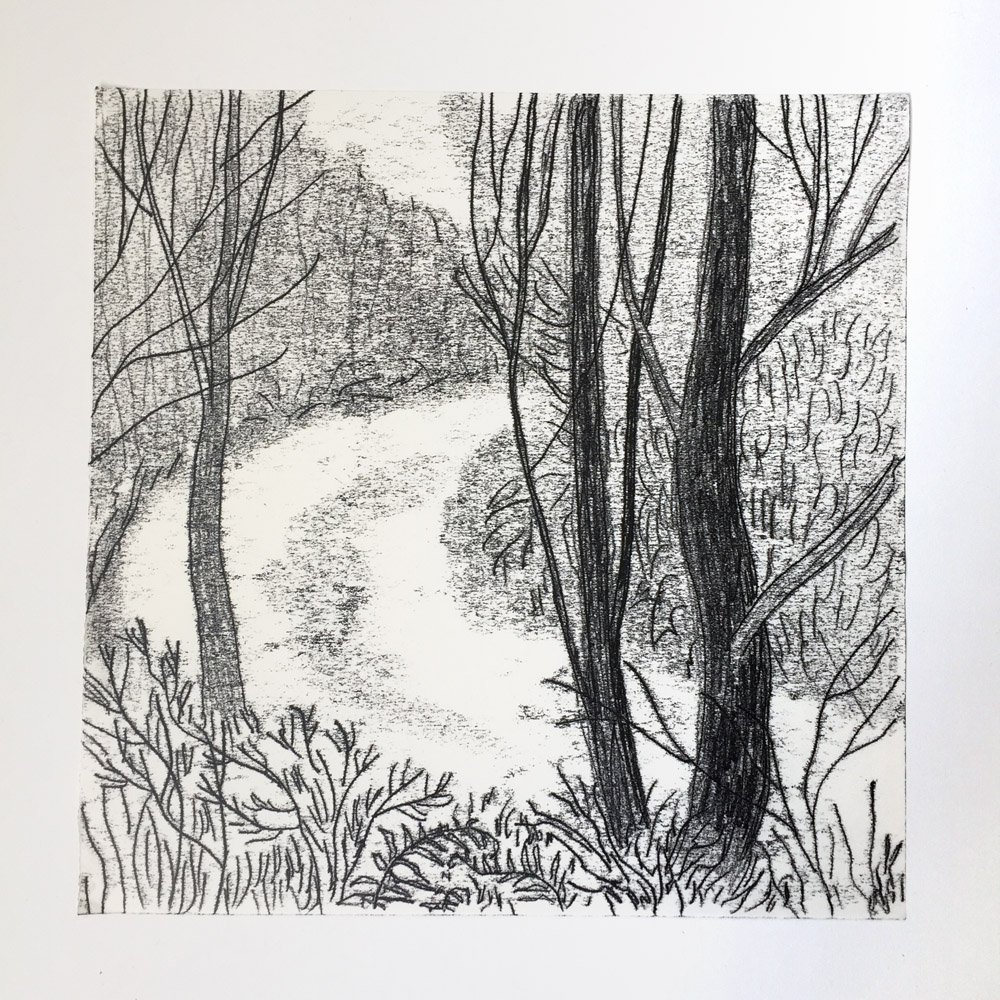
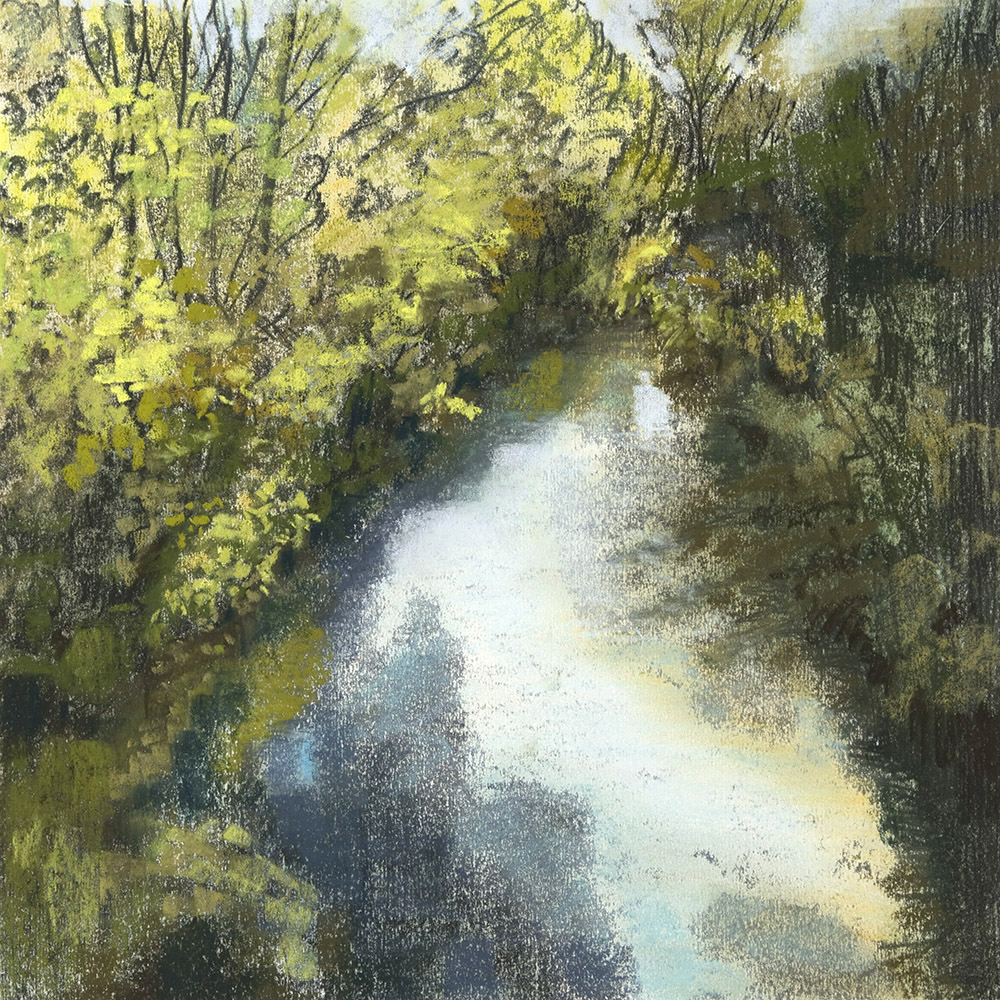
From this point on it really is up to you how much of the original monotype marks you wish to retain. For ‘Evening River Calder’ at the start of this blog post, I used very little pastel, well rubbed in and fully fixed. For ‘River Calder at Eastwood’ I used much more pastel and did not fix the final layers as I wanted to retain the beautiful crystalline intensity of the pigment.
Although this trace monotype and soft pastel technique is not a major part of my art practice, I always enjoy playing with the process and have to say that doing so deepens my knowledge of both printmaking and pastelling every time.
I urge you to have a go if you are looking for something new to try.


That looks really lovely. I am an artist and a continuing visual artist for my diploma. During printmaking presentation last week, the lecturer suggested I do some more works in printmaking, and I would love to, I really love working with this different technique like I do with every other medium.
Thank you for this Anthea, I have not received a notification that you commented or I would have replied at the time. I am happy my post has helped inspire you on your printmaking journey,.
Hi, thank you for posting your article, it has been really helpful and encouraging to me, as I’m interested in learning, practicing making monotypes. I sometimes want a more instant fix for my printmaking practice, I am an etcher.
Thank you again
Ruth, thank you for taking the time to write a comment. You are right, monotypes can be made speedily and make a change from the steady, methodical process of making an etching. There’s so much variety in printmaking, it is constantly intriguing!