Drawing A Water Droplet in Coloured Pencil
Water droplets are often approached with trepidation and worry, but really they are just another type of three dimensional shape. In this article I will share with you a step by step tutorial on how to render a realistic water droplet using Derwent’s Procolour pencils.
Materials needed for this tutorial
- Canson Mixed Media Pad (300gms) or suitable HP Watercolour Paper
- Derwent Procolour Pencils – Crimson Lake (14) – Base Colour, Plum (15) – Dark Tone, Geranium Lake (13)- Light Tone, Rose Pink (19) – Light Tone, Grass Green (49) – Complimentary Colour, Spruce Green (42) – Complimentary Shadow Colour, White (72). Note – If you don’t have these colours feel free to substitute colours that you have.
- Derwent Graphic Pencil F
- Paint Pen or White Gel Pen/Posca
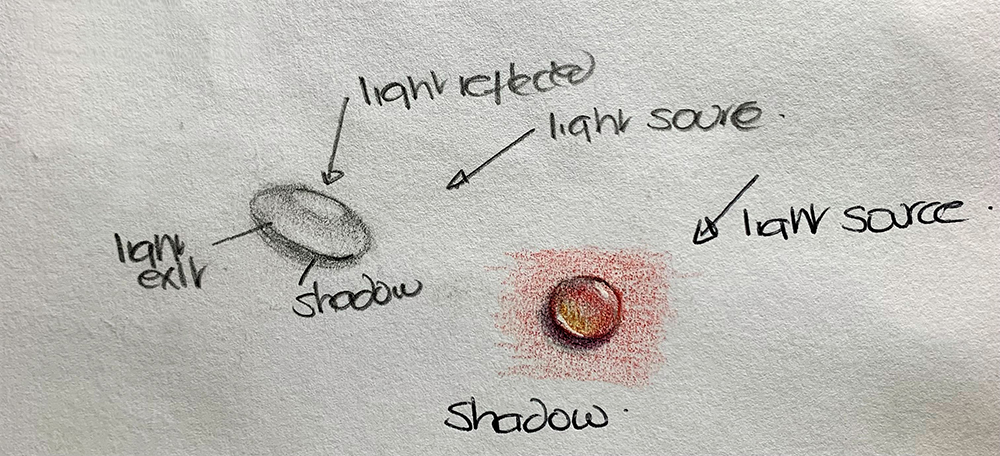
Treat water droplets as shapes of light and dark rather than something that sits upon an object. As before, simply work from light to dark in a number of layers preserving those highlights.
The darkest areas are typically the edges of the droplet (particularly on the side furthest away from the light source). All droplets will contain elements of the colour of the object it’s upon and the edges should be crisp.
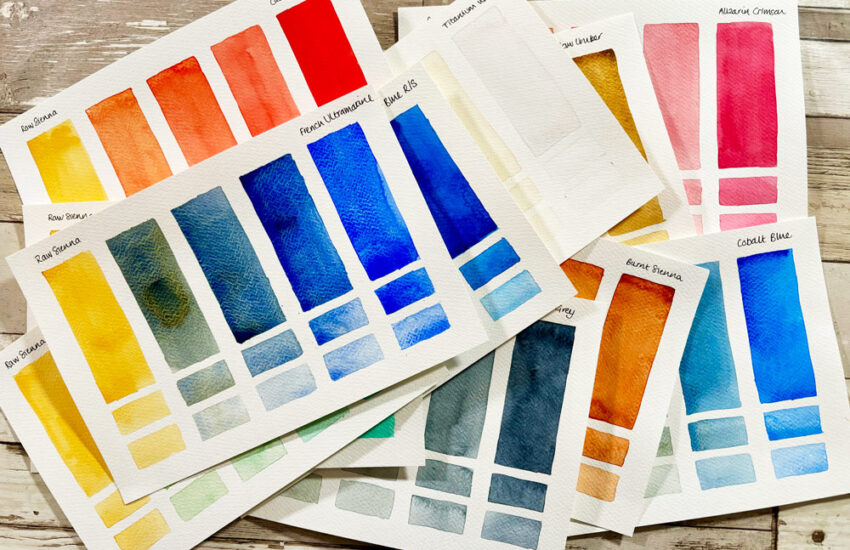
They follow the same principle as we discussed in my previous article texture, tone and shape. Simply choose the main base colour from your pencils that is the closest to the background colour of the droplet. Select two or more shades of that colour, some lighter and some darker than your base colour. Team them up with either a complementary colour or some greys to create the darker shadows. Warning – these droplets are addictive and so much fun to create … once you get to grips with them there won’t be a dry surface in sight.
Drawing a simple generic water droplet
Step 1 – Sketch the droplet
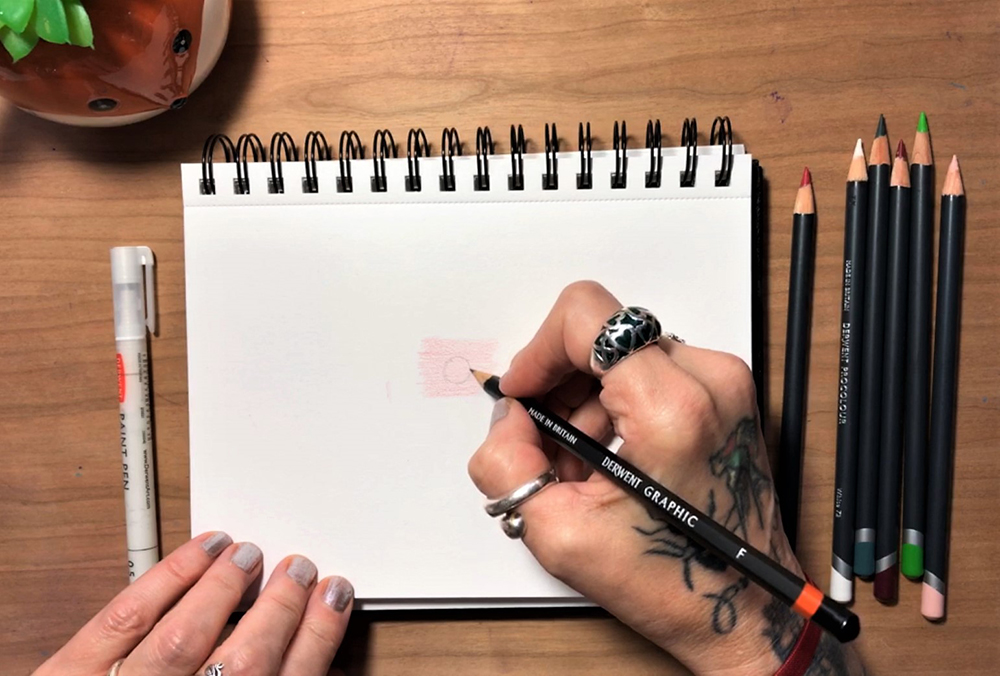
Lay down a light dusting of Crimson Lake to create an area of colour for the background. Then lightly sketch a sphere/droplet of water in the centre over your background. Keep the graphite pencil work light. In the image above my outline is darker than I would normally draw. It’s emphasised to help with the exercise.
Step 2 – Add the cast shadow
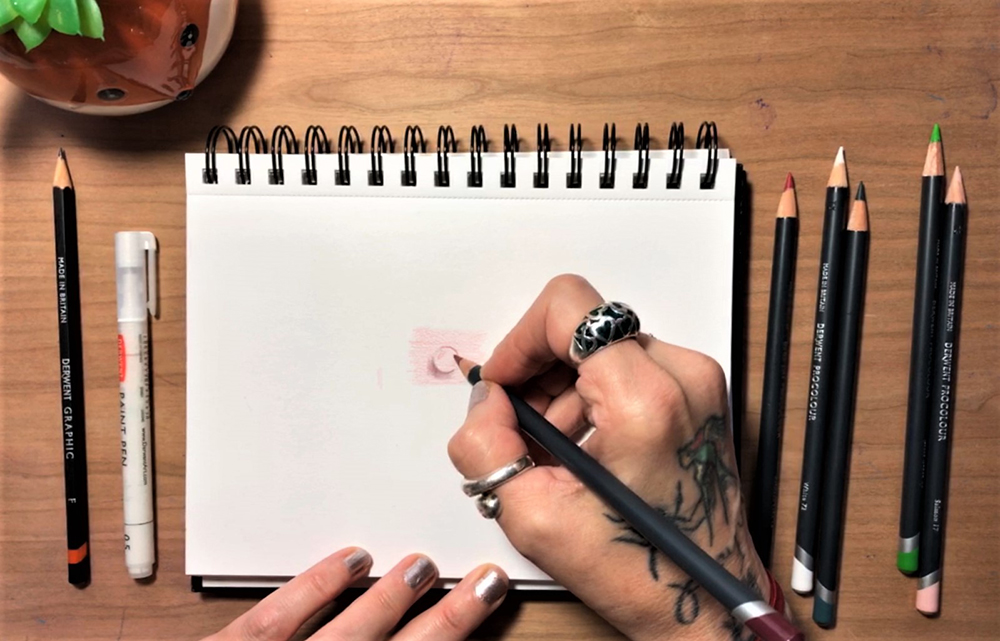
Select a complementary shade to the base colour ( I’m using Spruce Green – you could use a grey but it will look flatter). Begin to create the bottom cast shadow beneath the droplet. Play close attention to the direction of light source and note that the darkest part of the shadow is directly around the outer lower rim of the droplet on the opposite of the light. Shade with small circular movements and keep your marks light and smooth. Follow this up with the darker tone of your base colour (I’m using Plum). Drop some in over the green to begin creating an interesting and vibrant shadow colour.
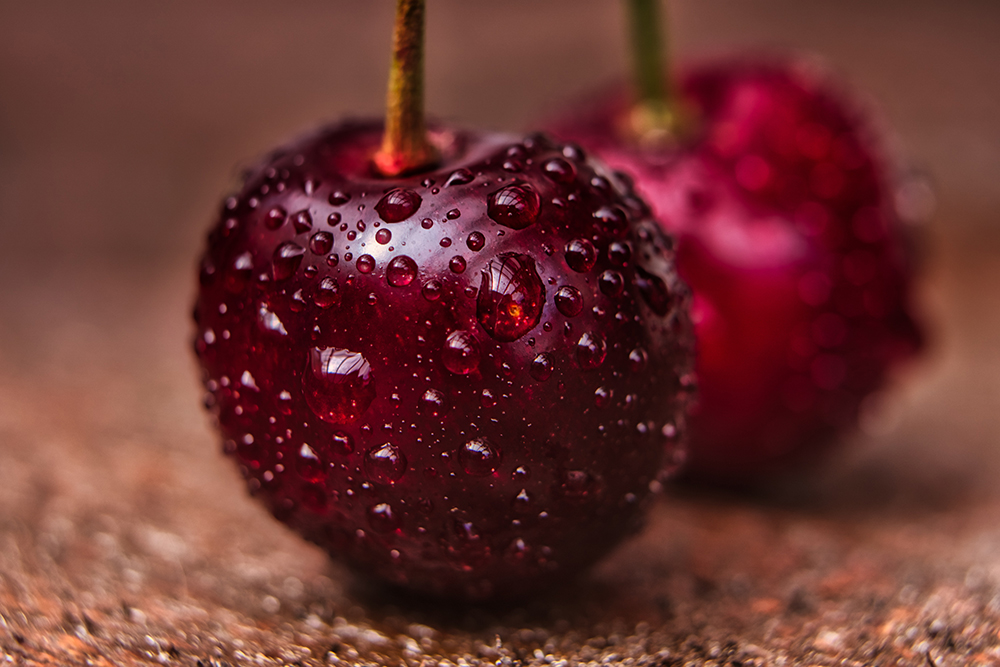
Top tip – If you look closely at the reference photo you may be surprised at how dark the cast shadows under the droplets actually are.
Step 3 – Shade the top edge
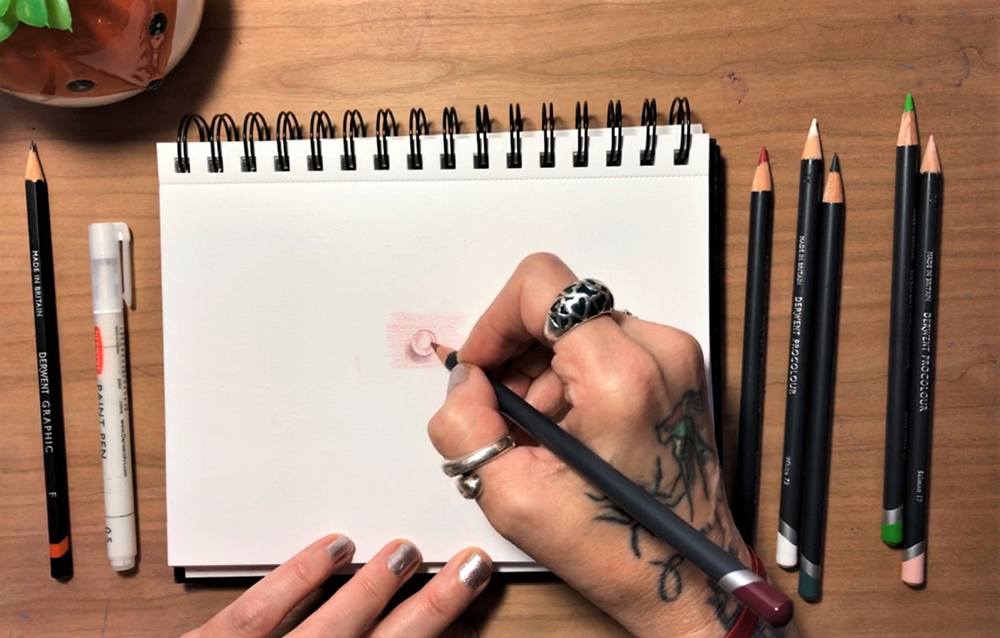
Using the same deep red (Plum), move to the opposite side of the cast shadow and shade the top edge of the droplet. Make sure the edge of the droplet is crisp and darker than the inside. Next, leaving a small gap between the outside and inside, lightly suggest the form and shape of the sphere. It should suddenly start to give the illusion of lifting off the page at this point.
Step 4 – Add colour to the drop shadow
Next take the light green (Grass Green) and add a little interest to the bottom half of the droplet (opposite the light source). Drop a little of that colour in the cast shadow. This little touch of complementary colour will help your droplet glow from the inside.
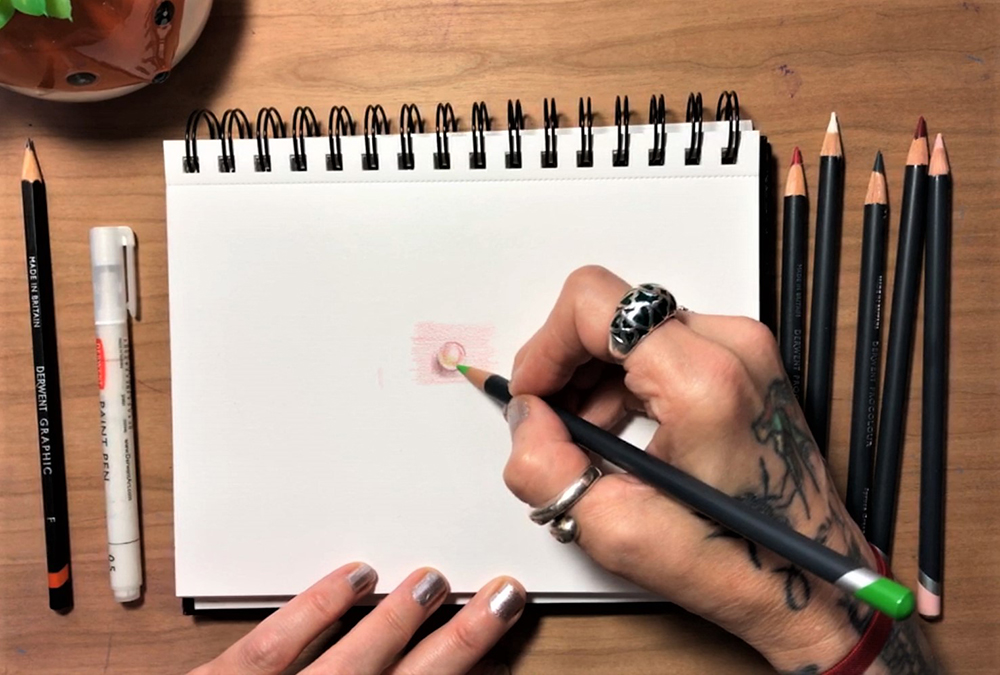
Step 5 – Render the droplet
Take your base colour (Crimson Lake) and begin to really render your droplet to give it shape. Start shading the upper section of the droplet taking care to preserve the main highlight and the exit point of the light towards the base of the sphere. When shading try to keep your marks following the form of the droplet to help add to the illusion.
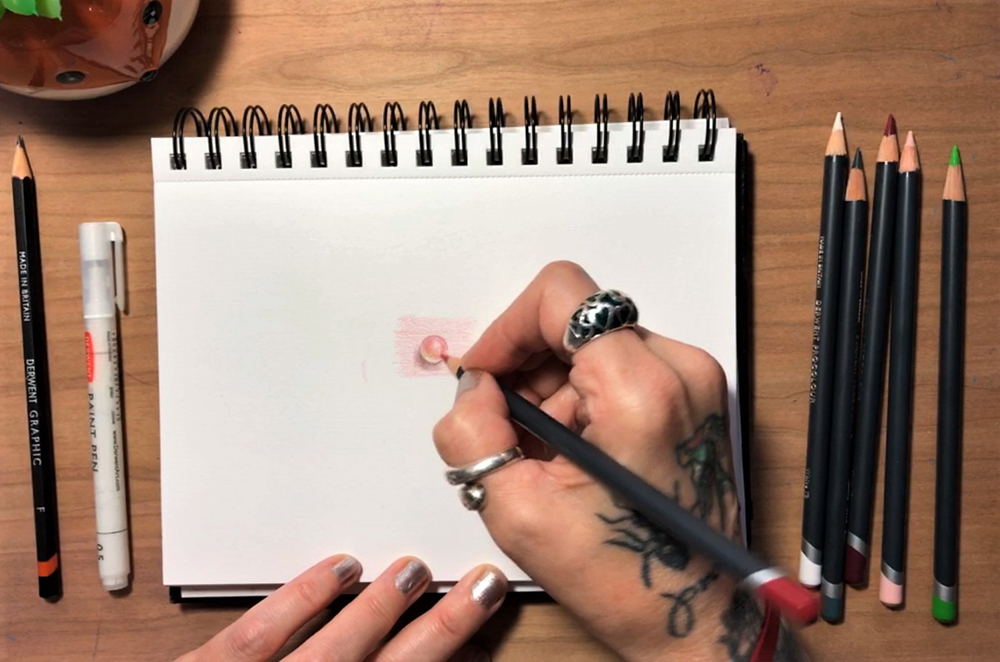
Step 6 – Add contrast
Its time to ramp up the contrast. Go back to the Spruce Green & Plum and begin to work on the darkest areas (cast shadow and opposite top side of the sphere). It’s not about pressing hard, it’s about gently building up those layers, defining the edges and making the colours sing.
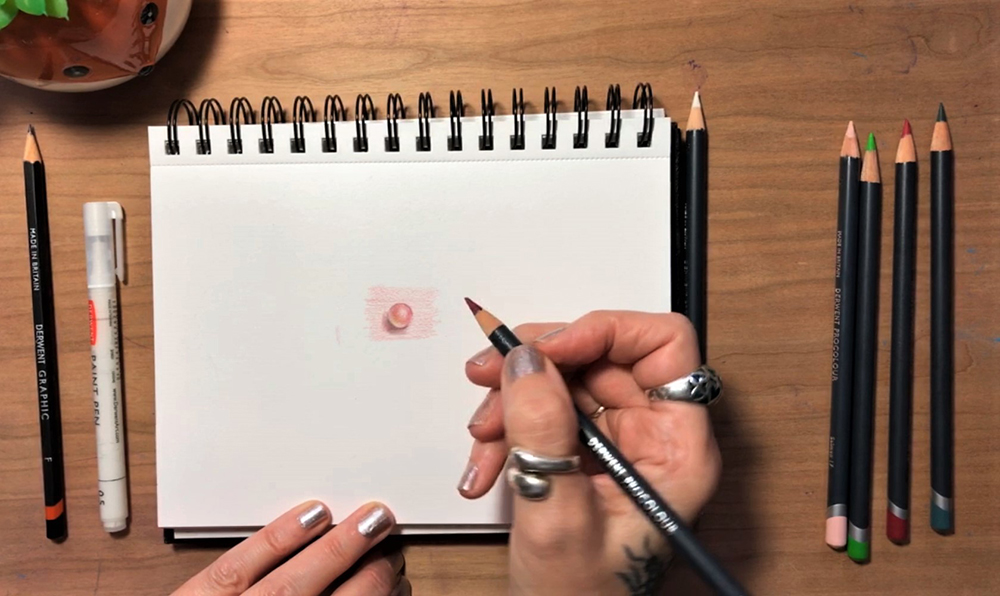
Step 7 – Add luminosity
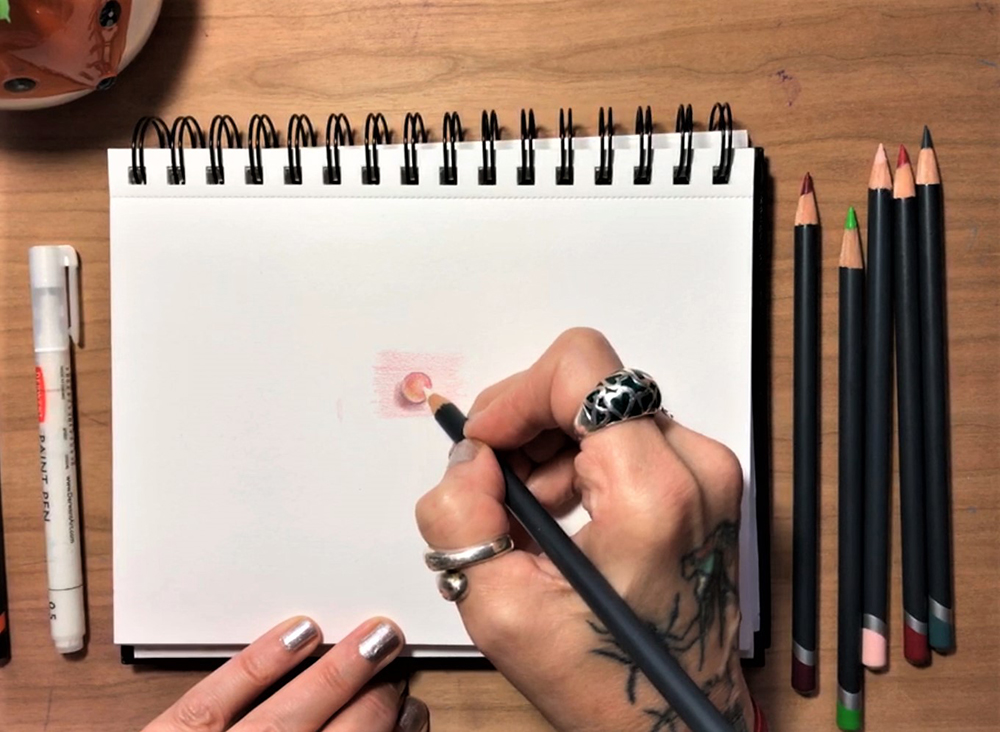
Bring back a little of the luminosity, if needed, with the light green. Then add Rose Pink (or a lighter shade of your base colour) to the bottom of the droplet (exit point of the light) adjacent to the cast shadow. Blend up into the sphere.
To finish add a little White onto the lightest areas (exit point and main highlight). Feather the white gently into the adjoining areas.
Step 8 – Finishing details
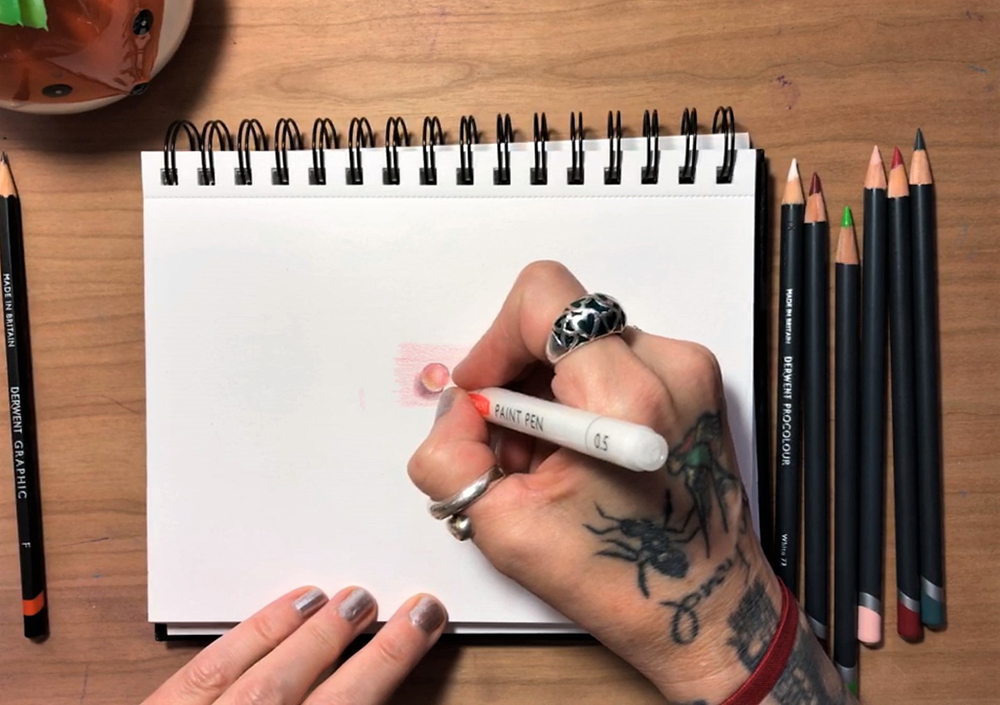
Finally take a white paint marker and carefully draw a small arc just inside the cast shadow and drop a little onto the main highlight.
Levelling up
Create another water droplet but this time alter the direction of the light source.
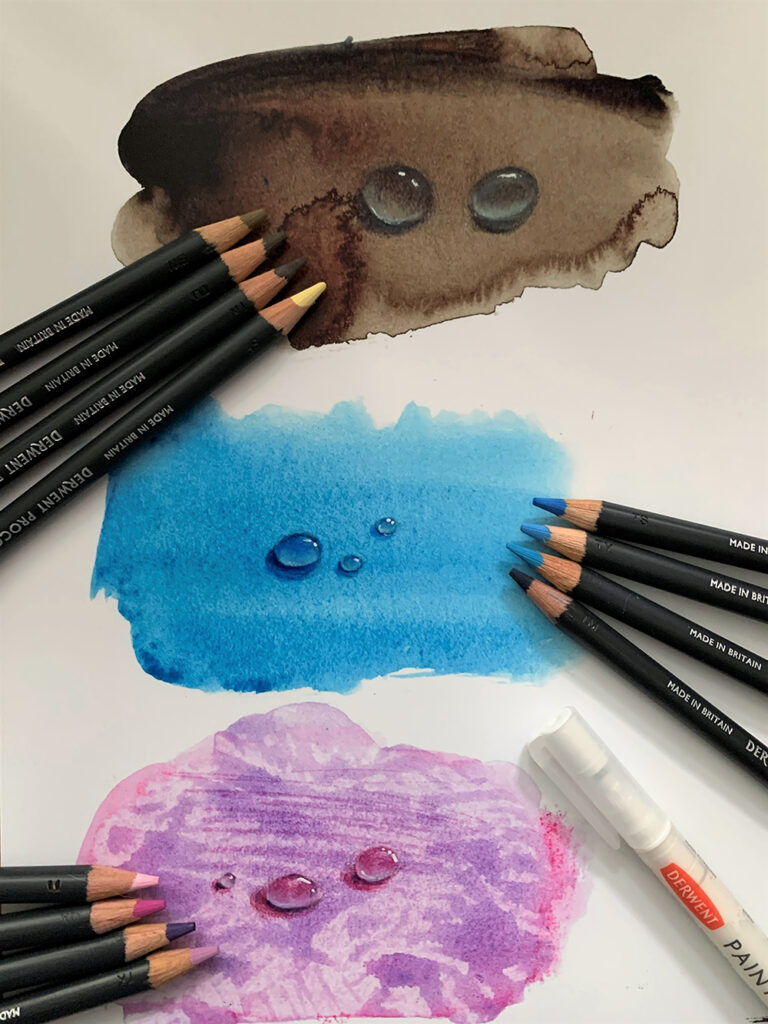
Also try changing the colour of your background and match the pencils accordingly. Experiment by drawing some droplets over different mediums (see above image). This is a great way to push the versatility of your pencils. Try adding other colours to the mix. Water often reflects the sky too!
Look closely at the reference photo and notice how the shapes of the droplets differ, and how the light enters and exits the drops on different planes of the fruit. Try recreating different droplets on a 3D shape.
The first article I wrote in this series about botanical drawing is entitled Botanical Textures, Tips & Tricks in Coloured Pencil. I have also written two other articles you may be interested in reading ‘Scribble Drawings With Derwent Pencils‘ and ‘The Magic Of Derwent Inktense‘.