Create A Colourful Ink Painting Tutorial
Playing with inks and a spray bottle will always create surprising and unpredictable results. As an artist I like to experiment with mixing inks and paint, spray with water and see what emerges on the paper. This is how I learn about materials and discover what I enjoy doing, and also develop a better technical understanding. Using a variety of mark making tools can add texture and interest to the final artwork. Follow my tutorial to discover the beauty of inks.
Materials needed for this tutorial
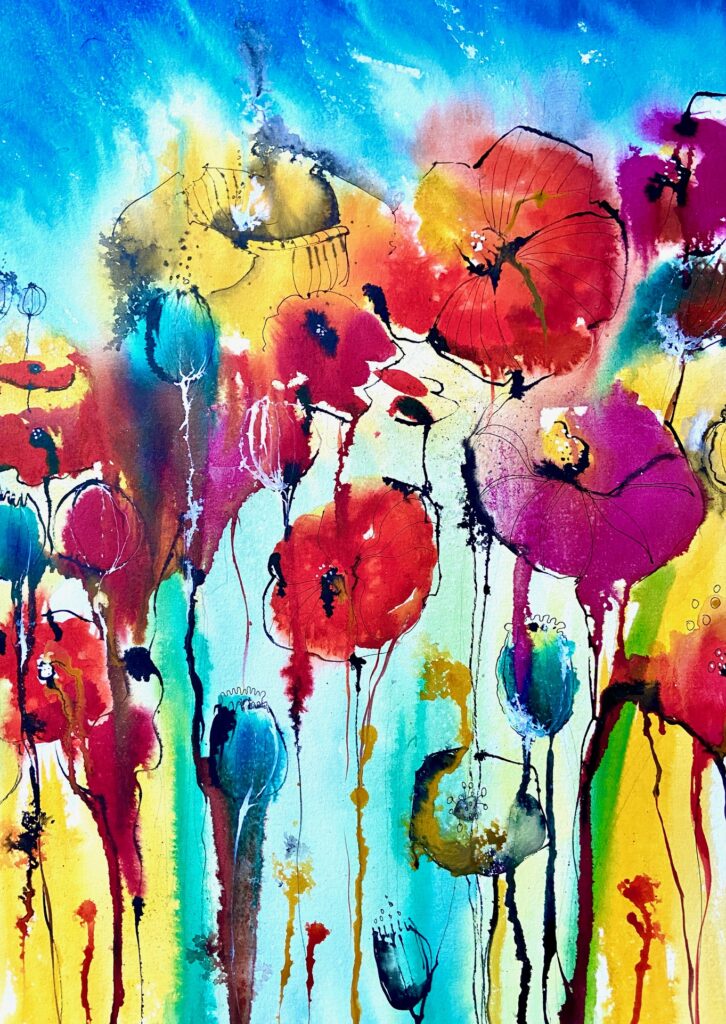
In creating this large 60×80 cm floral painting I used:
• Acrylic coloured inks, various brands
• Bamboo sticks
• Palette knife for splatter
• Dip pen
• Spray bottle & water
• Seawhite 350gsm watercolour paper or Bockingford 300gsm watercolour paper
• Table salt
Fluid Inks
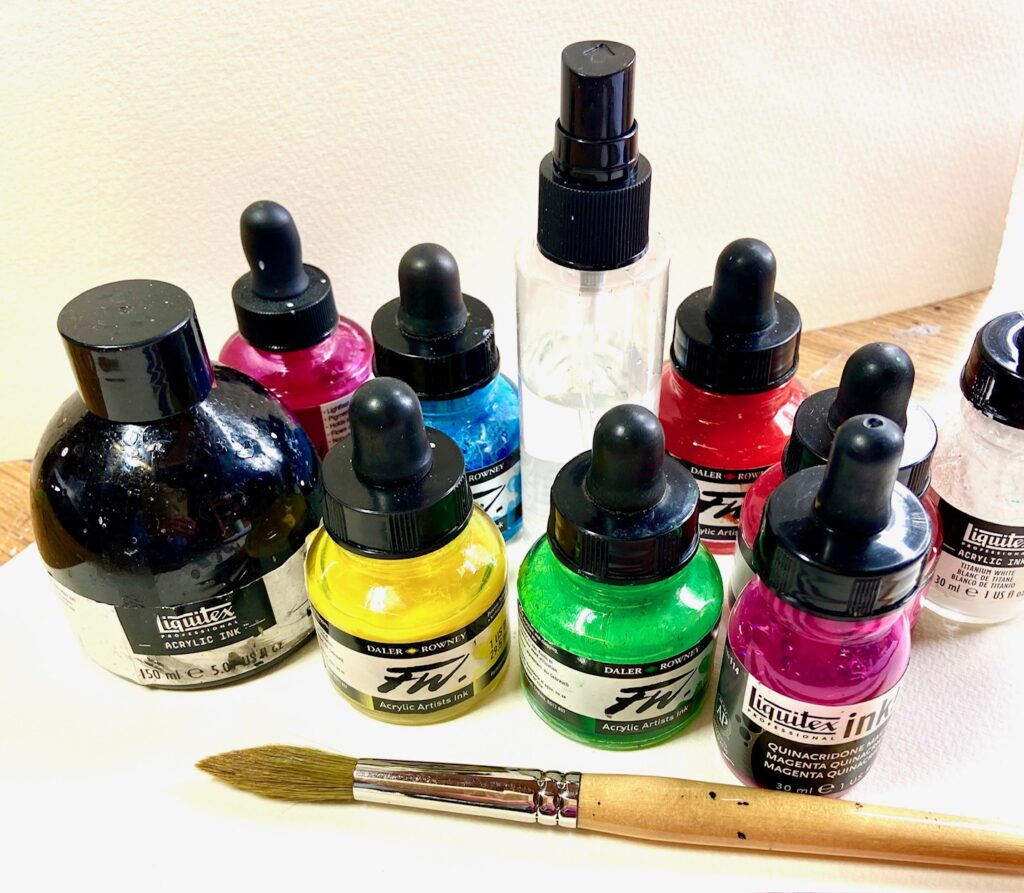
Any fluid inks work for this project apart from alcohol inks as they behave very differently. I normally use a variety of inks such as Daler Rowney FW pigment inks, Liquitex acrylic inks and Dr. Ph. Martins pigment inks. These blend nicely, are colourfast and also easy to mix with watercolours. For this painting I only used inks.
Surface
You can apply ink to many different surfaces, including primed canvas and any watercolour paper. For this project I used Seawhite 350gsm watercolour paper, 60 x 80 cm, as it is a reasonable paper and works well with inks. You could also use Bockingford 300gsm watercolour paper in full imperial size (76cm x 56cm).
Any tools
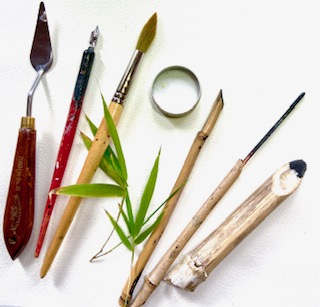
I am lucky to have a bamboo bush in the garden, from which I have had an endless supply of bamboo sticks over the years (cut the dead branches).
However, any sticks and mark making tools work, including brushes, nib pens, fineliners, salt, wax for resist, sponges for texture etc.
I dip my expensive watercolour brush directly into the ink. This is fine as long as I remember to clean it immediately, as I don’t want the ink to dry on it.
Let it flow…
Secure the paper on a lightweight board so you can move it around while working, using gravity to help you. I use masking tape all around. Then lightly spray the paper with water to help the ink move around.
Add ink to the paper using the pipette in the bottle or dip a large watercolour brush directly into the ink bottle and paint.
Spray the ink to help the pigments flow and move on the paper.
I added blobs of colour to act as flowers and sprayed to help these integrate with surroundings.
Work your way from top downwards or in any direction, until you have filled the page with as much ink as you want.
Draw into it with lines of ink, and add splatter of colour to create interest.
At some stage you leave it to dry.
If you want to sprinkle a pinch of table salt into parts of the painting before leaving it to dry, this is a good time to do so. Salt creates star like texture, just don’t overdo it.
Working in layers
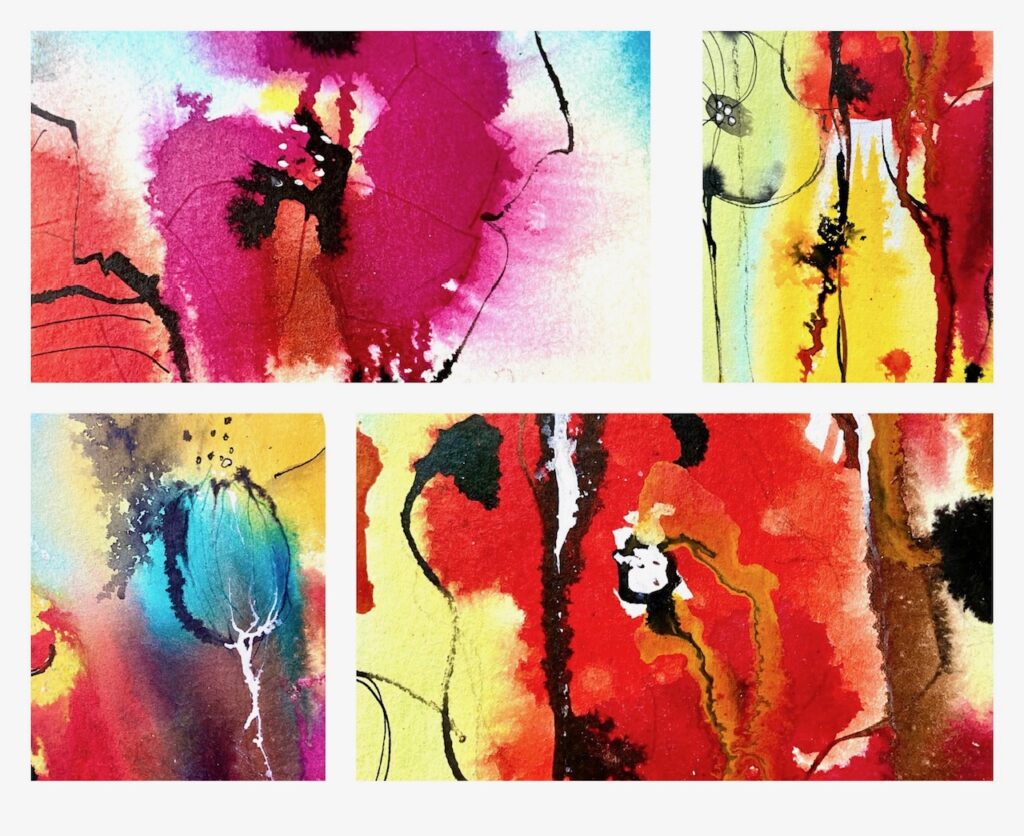
Once dry, I used a dip pen and a bamboo stick to draw in shapes, suggesting flowers, stems and seed buds.
I sprayed these ink lines lightly whilst still wet, to help them flow and integrate into the overall image.
I painted more ink colour into some shapes, using a watercolour brush, to define the flowers.
Using a palette knife I splattered more colour in certain areas.
Finally I used white ink to create some lighter lines to help define further shapes.
Final result
Further ideas
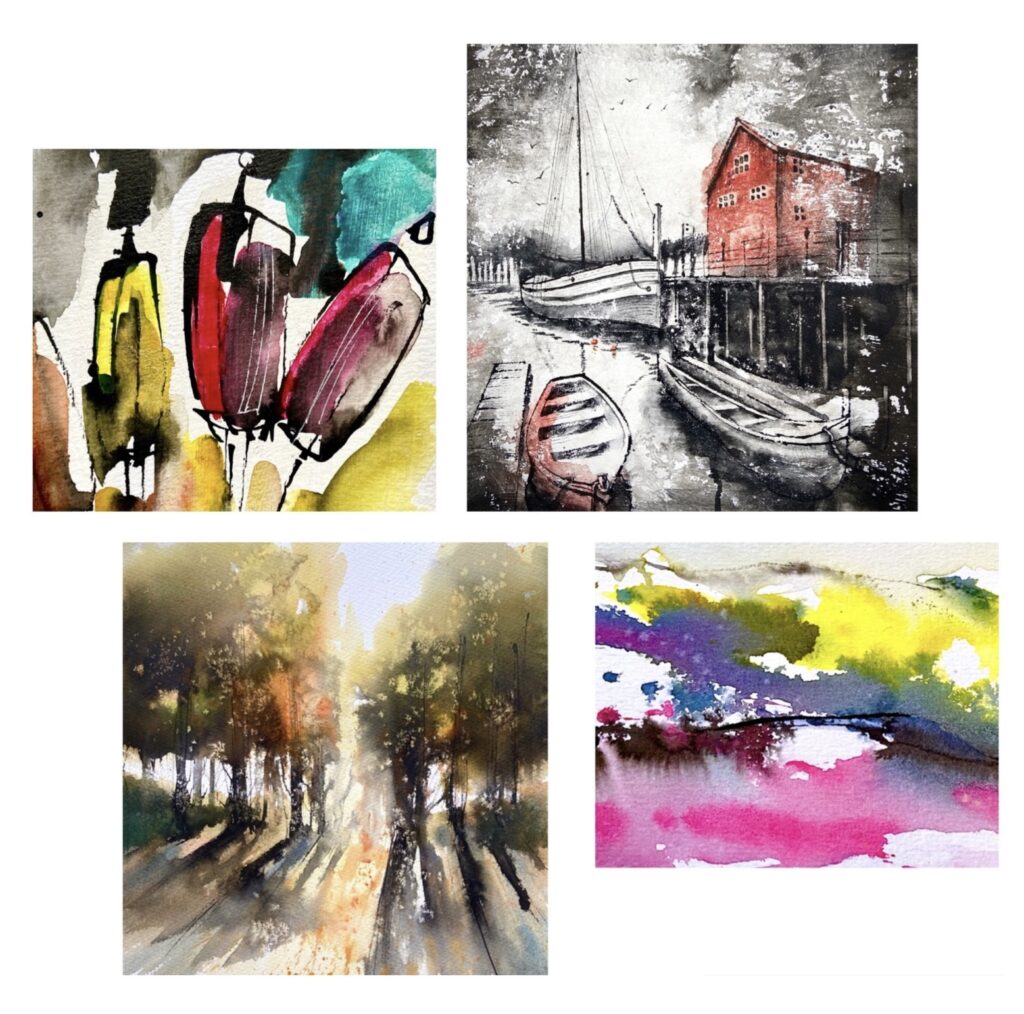
Acrylic ink blends beautifully with watercolours. Mixing the two together will create a colourful result with some interesting textures. Sometimes I start with the ink and add watercolour later. Or I will paint a watercolour and then add inks for strength of line or colour, often defining more details as the artwork progresses.
Give yourself permission to play and enjoy the surprises…


