
A Beginners’ Guide to Oil Painting: 6 Tips To Get Started
When it comes to painting of any kind, it can take a lot of practice, patience and precision before you are able to create your artistic vision. While oil paints may not be the easiest medium to work with, the pay-off can be astounding, helping you to make works of art with grass that seems to gently blow in the wind, or figures that look as if they are dancing.
Whether you are a complete beginner when it comes to painting, or someone that has been working with different materials to make their art up until now, our list of top tips is sure to come in helpful to guide you as you navigate your way into a world full of colours and light. Gather up your oil paints, brushes and paper and read on.
1. Know Your Materials
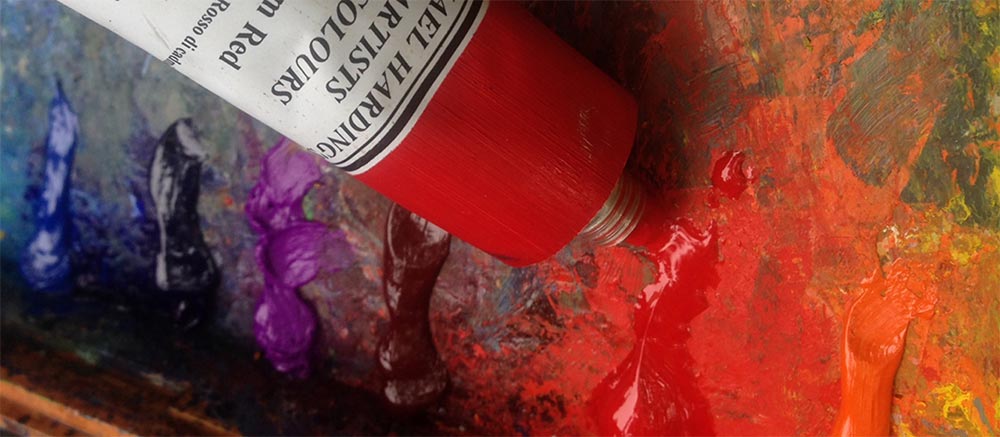
When working with oils, it is a good idea to pay attention to the ingredients in your paints. While most oil paints have been made with natural, non-toxic materials, many still contain solvents, and a few even have turpentine in them, which is highly toxic. Both solvents and turpentine are also highly flammable, so it is recommended that you work in an area that is well-ventilated and far away from any sources of ignition.
2. You Can’t Mix Mediums
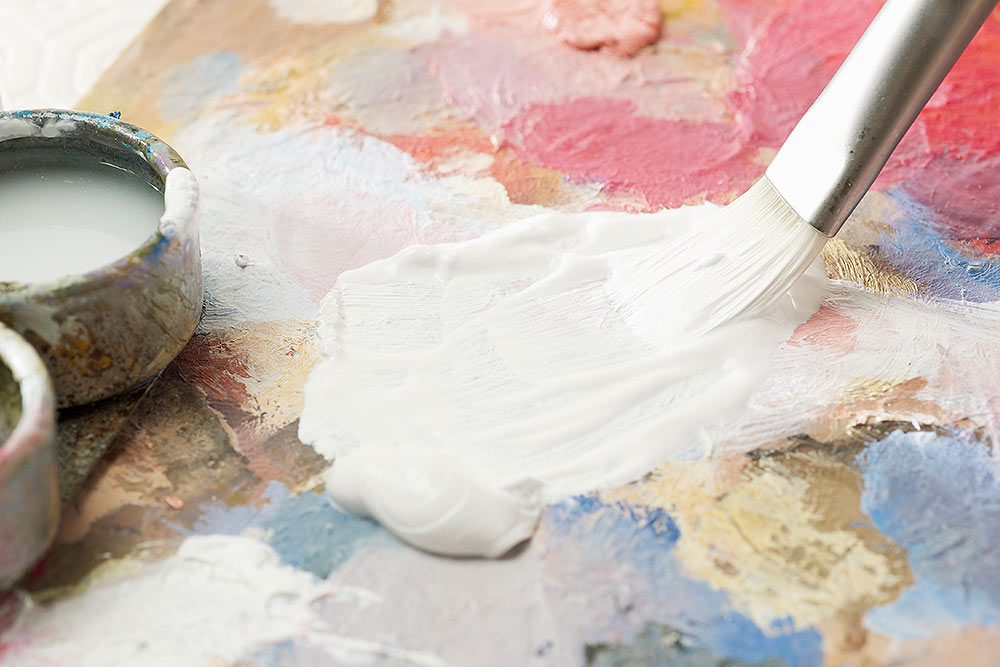
It is a well-known fact that water and oil don’t mix, which is why the solvents and turpentine ingredients are a necessary evil when it comes to oil painting. Unfortunately, this also means that you will be unable to clean your brushes in water. Make sure you have some sort of solvent cleaner to hand once you have finished painting for the day, so that you can wipe your brushes clean ready for the next session. Get into the habit of cleaning off your brushes after every use and they will serve you for many years.
3. Take Your Time to Build Your Kit
You can’t rush perfection in life, and the same is true for art, including the tools that you are working with. Spend some time researching the different types of brush, there are many different shapes and styles. Your art is unique and personal, look for a brush that is going to feel comfortable in your grip.
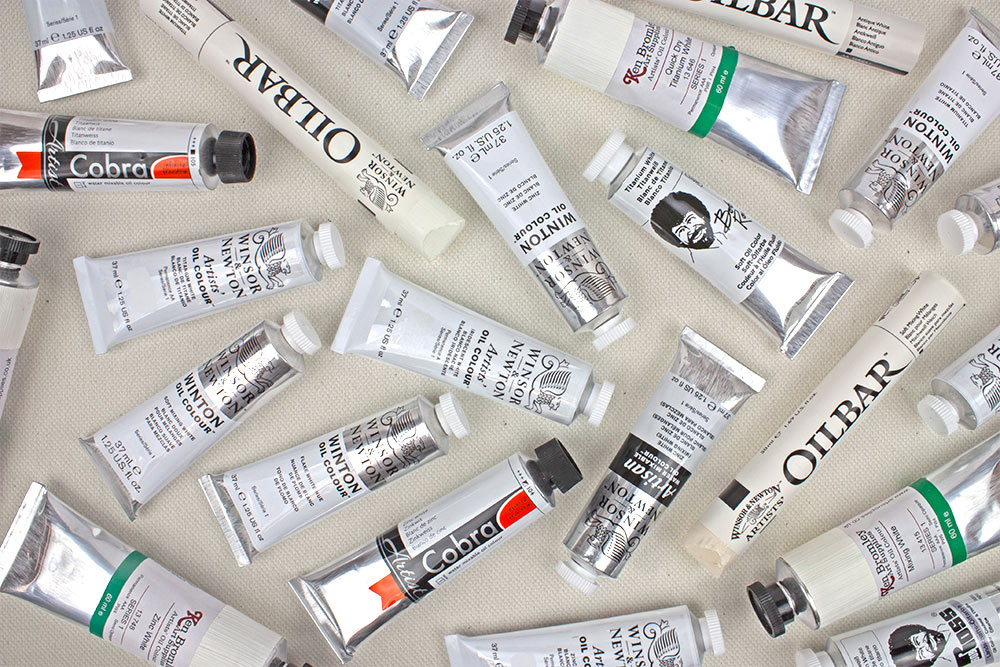
As for you oil paints, it makes sense to start with cheaper brands while you are starting out, testing out some of the more expensive varieties as you build confidence. Start with two or three primary colours which can be easily blended and build up your palette over time, so that you can learn how best to incorporate the shades into your work.
4. Learn the Rules of Layering
There is a simple rule of layering in the art world: “slow over fast”. When talking about oil paints, those that have been mixed with more solvent tend to be thinner and dry quicker. When mixed with less solvent, the oils are thicker and take far longer to dry. It is recommended that you make the first few layers of paint with a thinner consistency and the final layers quite thick. This method of layering works to ensure all the paints have been able to dry quickly and prevents the possibility of cracked paint in your masterpiece. Similarly, if you wish to add acrylic paint to your oil painting, oil always goes on top, as it dries much more slowly than acrylic.
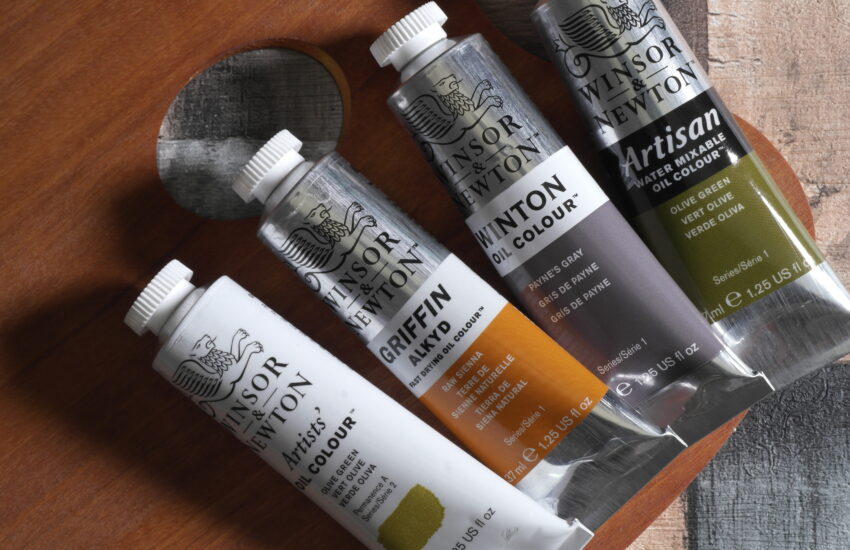
You might also like to test out different oils, to see how they vary the consistencies of your paint. Generally, Linseed oil works to slow the drying time, whilst Liquin will speed it up. Take some time to play and explore the exciting array of choices.
5. Don’t Underestimate the Palette Knife
An essential part of any beginners’ tool kit, the palette knife is ideal for mixing colours ready to paint. Don’t be fooled into thinking that you can just use a paint brush – a palette knife will give you a much cleaner, crisper colour, while keeping your brushes from getting clogged up with paint.
You should also learn how to paint with a palette knife, helping you to hone a different style of painting that doesn’t require any expertise in drawing. Your knife can help you to create a different design that can be very effective in your finished piece.
6. If at First You Don’t Succeed…
In order to establish your painting technique, it is a good idea to paint the same thing over and over again. Change something about your process every time, so that you become so familiar with the subject that it becomes second nature to paint it. Practice makes perfect and you’ll find it very interesting to see the evolution of your art.
Good luck with your oil painting journey. Oil can be one of the most frustrating yet rewarding methods of painting and the results can be extraordinary.
Ready to start?
You can buy all your oil painting materials to get you started right here on ArtSupplies.co.uk. If you need some supplies, we have a variety of oil painting sets for beginners here.


I only use oil paints and clean my brushes very easily wiping the paint from the brush on a rag etc. I then make a lather working the bristles from a bar of soap, easing the paint downwards under the running tap, it washes out so quickly. Dish washing liquid works too! Palette can be cleaned with just a wipe with Simple face wipes, just wipe it down afterwards with kitchen towel to remove the wipes the mineral oil. The wipe cleans the hands too. Just the job.
I can take a couple of weeks to complete one painting . I have been adding a little medium to the paint with each layer although not too dry next day . Is this acceptable please
Hi David. Thanks for your comment. Providing you’re sticking to the three oil painting rules then you shouldn’t have any problems. You just need to make sure that each successive layer is fattier than the last, thicker than the last and that you’re not applying fast drying layers over slow drying ones. Adding medium will make your paint more fatty, so providing there’s nothing added to speed up the drying and you aren’t applying thin layers over thick then you should be fine.
I usually paint with acrylic..trying oil and it does not dry over a week to be able to add to painting. I have not painted thick either… is it the paint? It is awesome to be able to blend but it doesnt dry to be able to add. It is very different than acrylic.
Hi Rhiannon. Thanks for your comment. Oil colours typically dry in between two to five days, although some colours can take up to twelve days to become touch dry. You may even find that with variations in temperature and humidity some colours may take up to weeks to dry. So, the drying time you’ve described doesn’t sound particularly out of the ordinary. If you’re looking to get your oil paints drying quickly then you could try using Winsor & Newton Griffin Fast Drying Oils or adding some Linseed Drying Oil to your mixes.
It is absolutely possible to paint without toxic mediums and solvents. Brushes can in fact be cleaned without solvent. I think you would serve your constituency better if you offered alternatives for those with sensitivities. I’m not suggesting water mixable oils, but cleaning solutions for traditional oil paint, such as using linseed or one oil or simple soap.
Linseed oil is flammable and can cause skin irritation. It is also used to mix oil psints. Think your comments are a little misguided.
I need some WhiteNights watercolor but I don’t know it’s possible to buy from Chile and if you delivery to this country.
I live in Valparaiso region.
Hi Cristhian! We would usually offer shipping to Chile. However, due to shipping restrictions caused by Covid-19 we currently can’t ship parcels to Chile unfortunately. We are looking to resume international shipping worldwide as soon as we are able to. Our latest shipping updates can be found on our website here: https://www.artsupplies.co.uk/info-covid–19-update.htm