Sailing Boats Watercolour Tutorial
I struck lucky with this subject, catching the sailing club just as they were getting ready to go out on the water. The strong pattern of white sails set against the clear morning sky made a striking image which I quickly sketched and photographed to use as reference in the studio later.
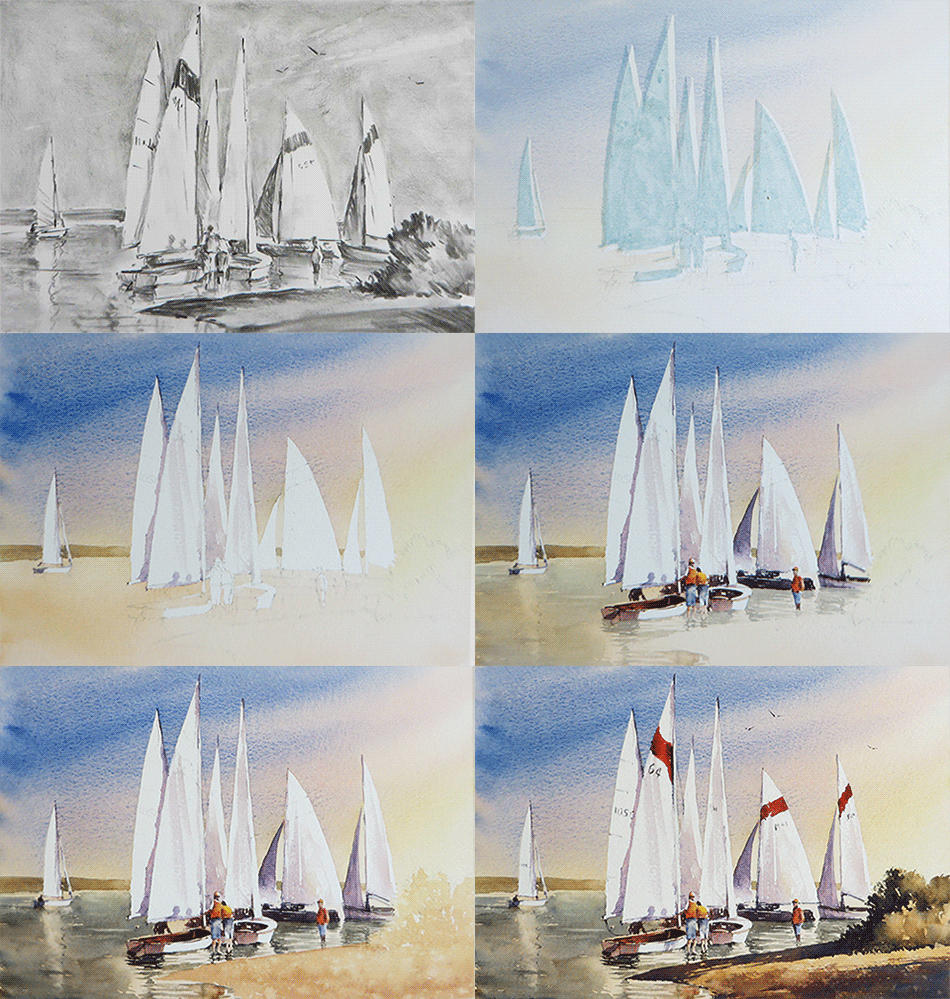
Materials used
- Winsor & Newton Artists’ Watercolours
- Raw Sienna, Raw Umber, Light Red, Permanent Rose, Alizarin Crimson, Cadmium Red, Cadmium Orange, French Ultramarine & Cobalt Blue
- Ken Bromley Blue Masking Fluid
- Bockingford 300gsm Rough
- 2B Pencil
Download a printable sketch if you prefer to trace rather than draw free hand.
Tonal Sketch
Back in the studio, I began with a tonal sketch on cartridge paper to plan my composition. I liked the way the sails overlapped to create a bold pattern of interlocking triangles, as well as the shadows they cast on each other.
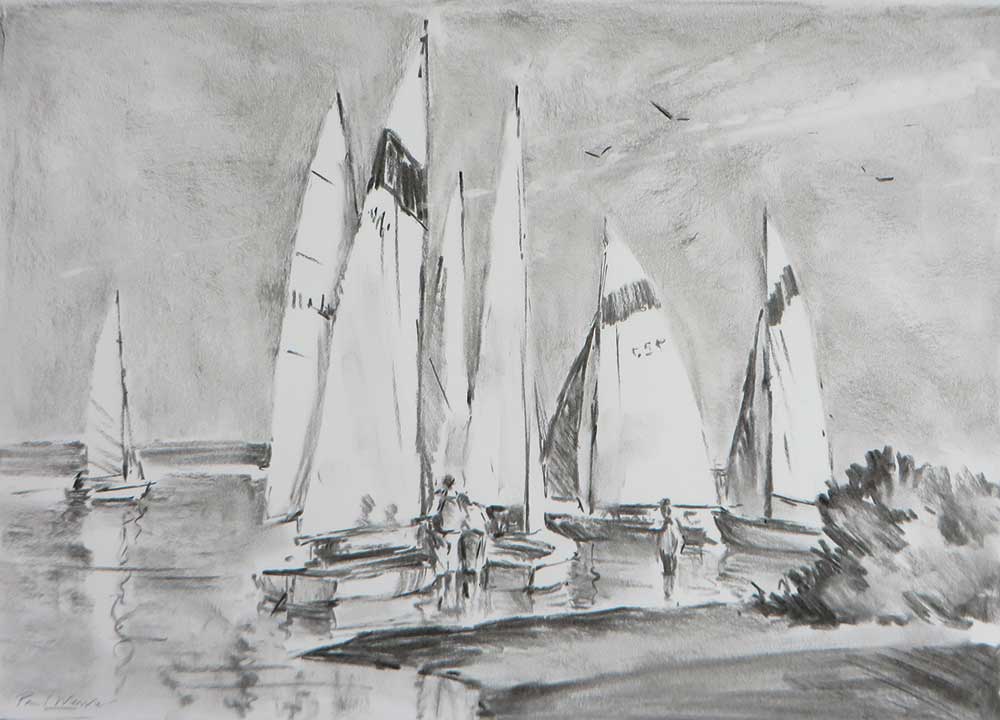
I placed the tallest mast on the left third, the bushes and shadows on the right, framed the boats nicely and the distant boat on the left created depth and guides the eye back to the focal point.
Step 1
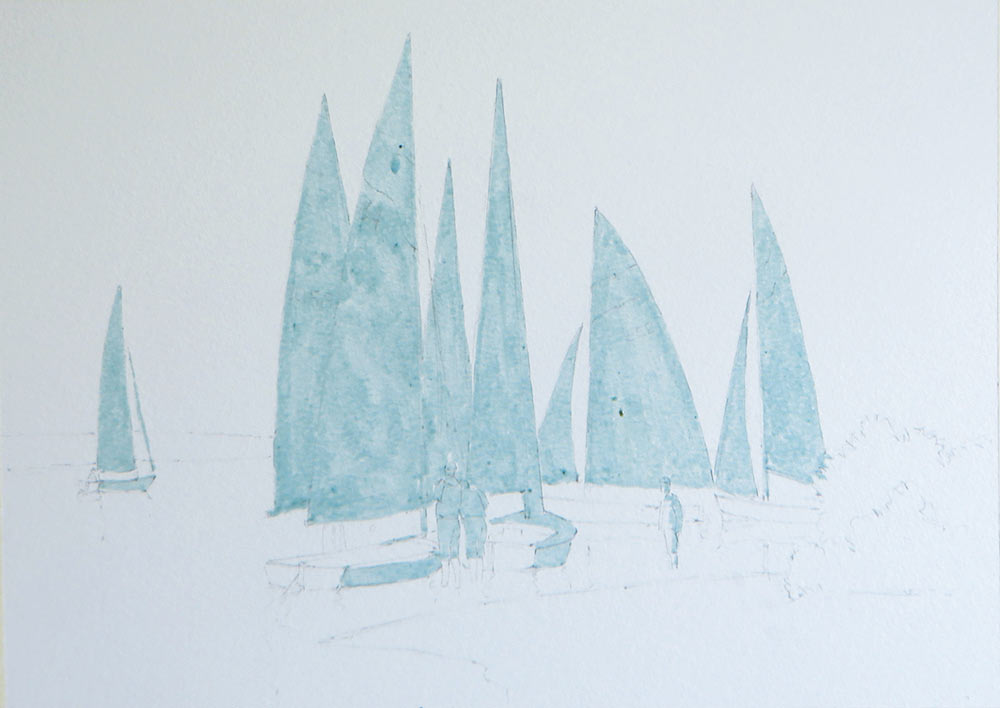
With the design established, I lightly drew the main elements onto the watercolour paper with a 2B pencil. I then carefully masked the sails, figures and sunlit sides of the boats with KB Blue masking fluid.
Step 2
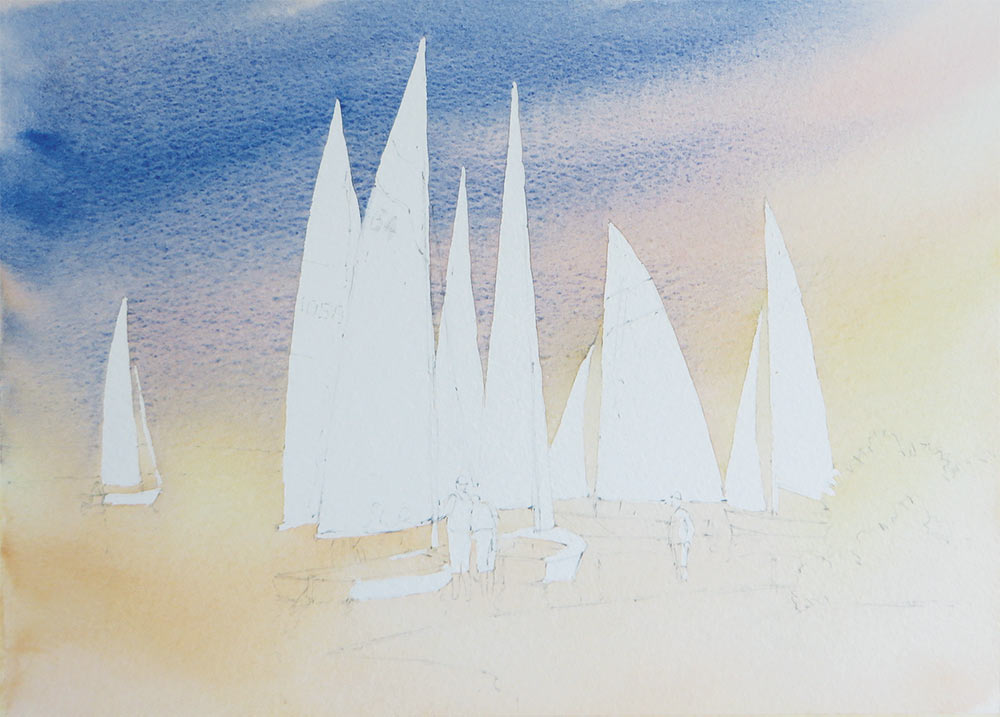
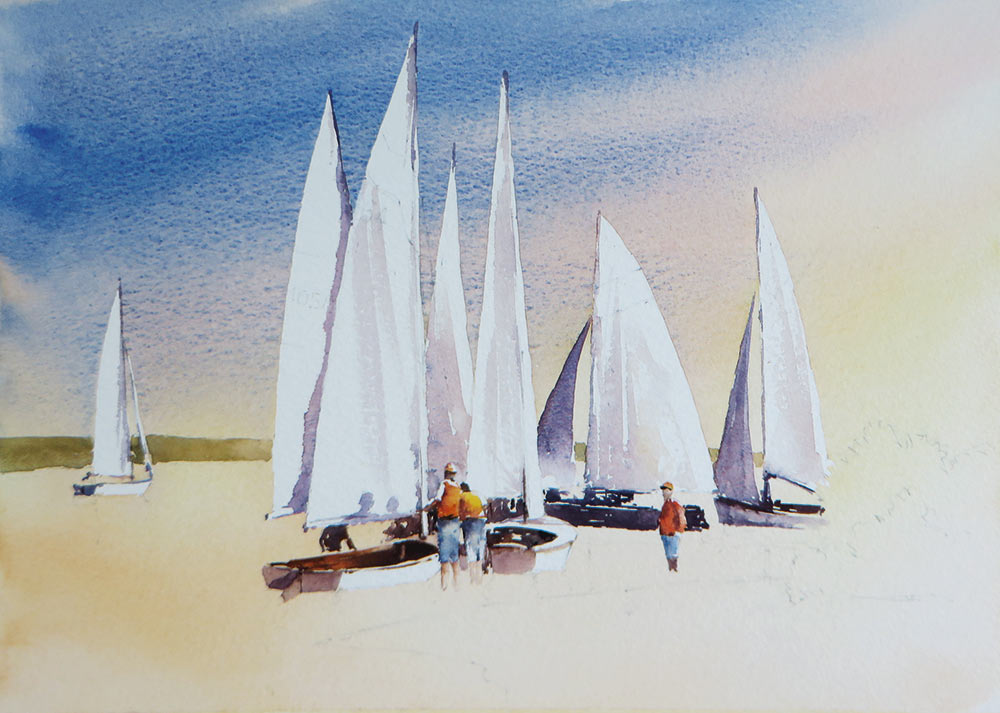
Wetting the entire sheet with clear water, a pale wash of Raw Sienna was applied to the sky on the right and across the water. While this was still wet, I added a touch of Permanent Rose to the sky on the left and across the water, followed by Cobalt Blue. I pulled the blue in bands from the left, allowing it to fade out to the right. The pink stops the sky going green! When all was dry, I carefully removed the masking fluid.
Step 3
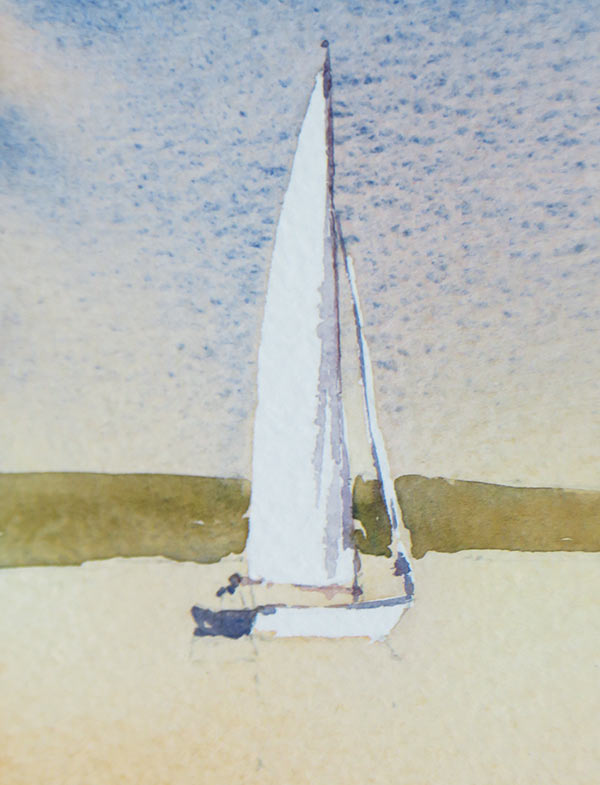
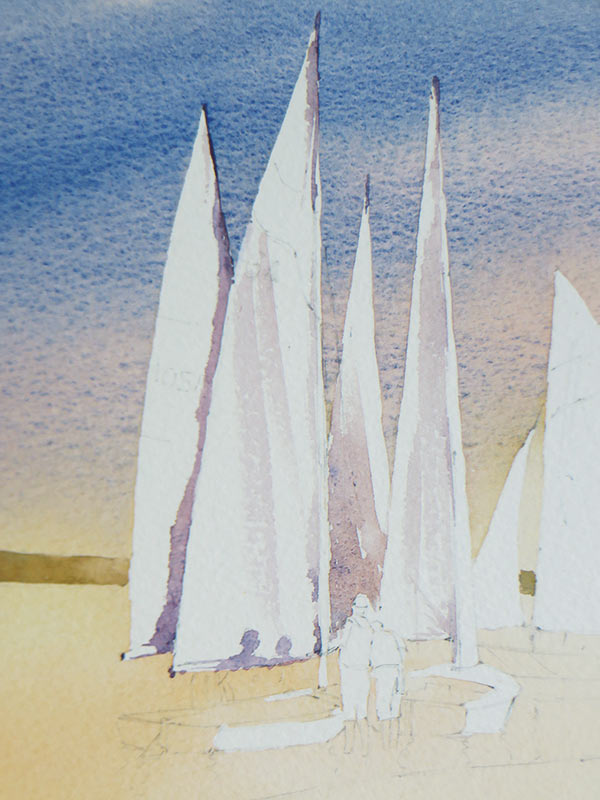
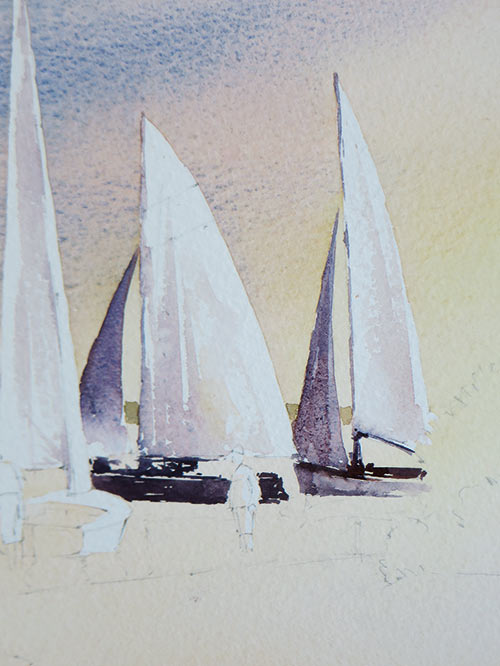
The land at the horizon was painted with a mix of Raw Sienna and Cobalt Blue. I then developed the shadows on the sails with mixes of French Ultramarine, Alizarin Crimson and a little Raw Sienna. This is important work as it creates form and definition.
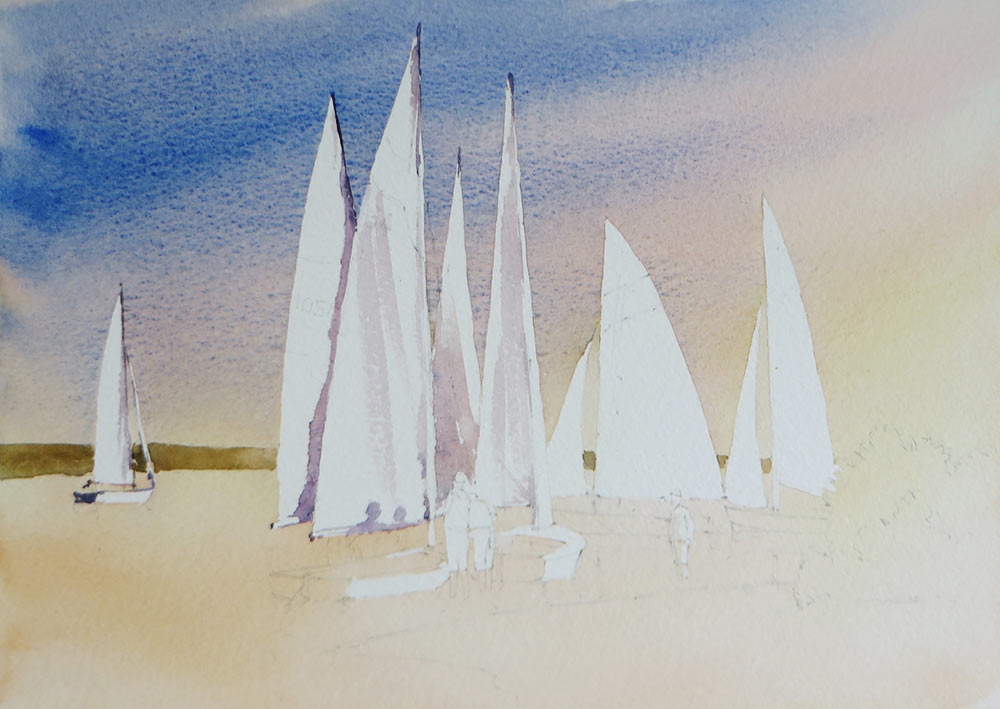
I varied the pigment to create stronger and weaker tones, using dry brush strokes to create sparkle where required.
Details
Step 4
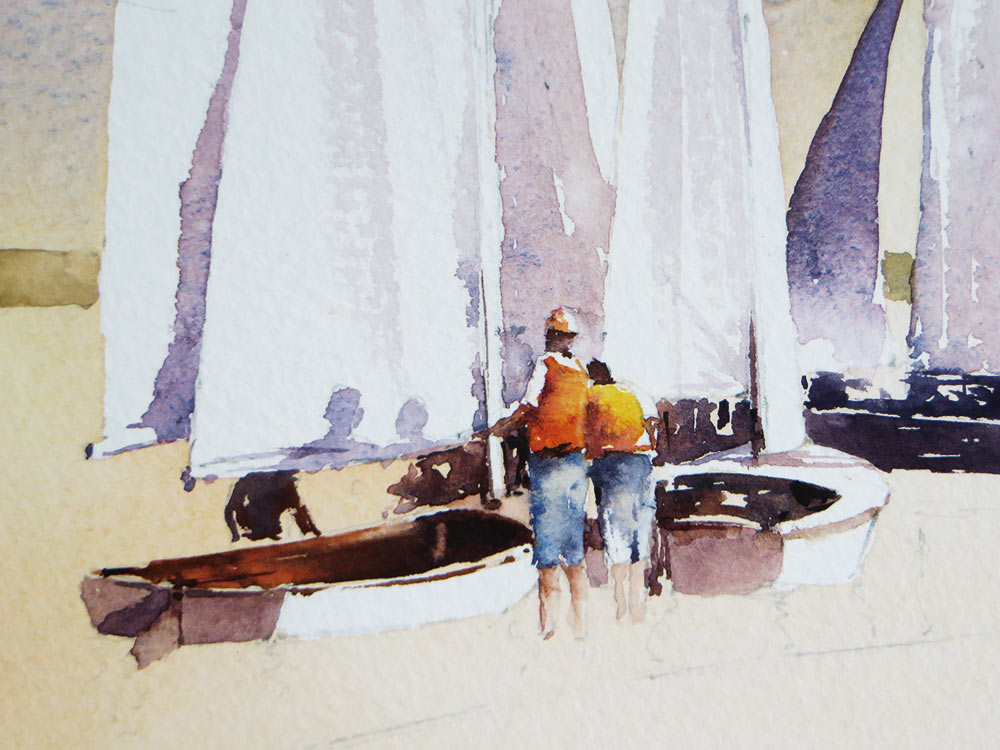
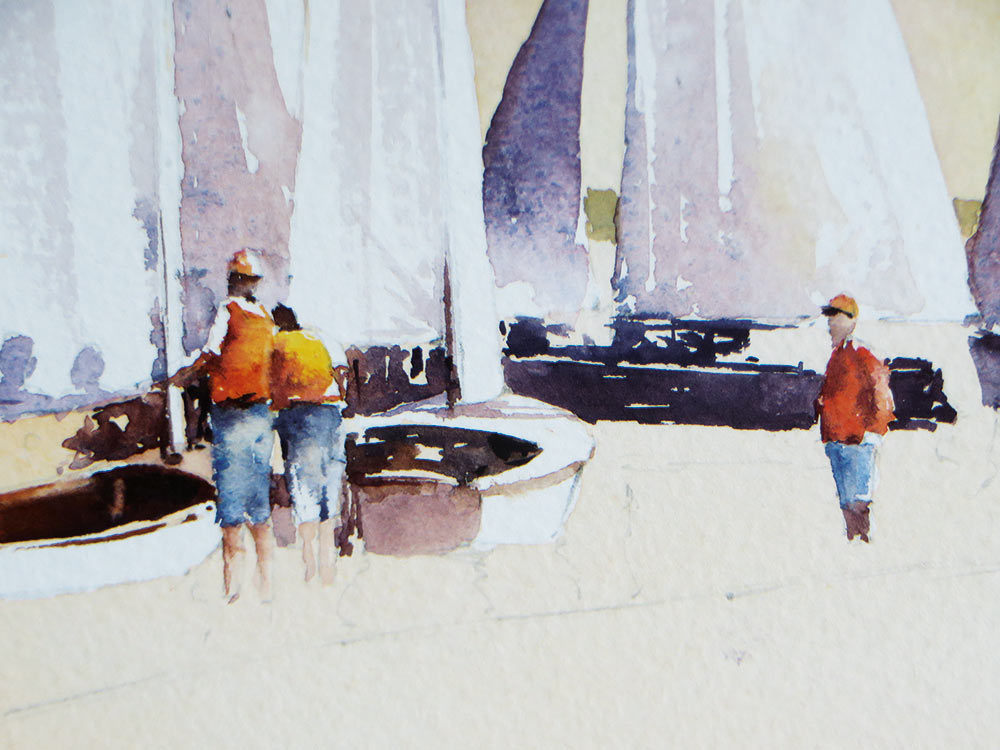
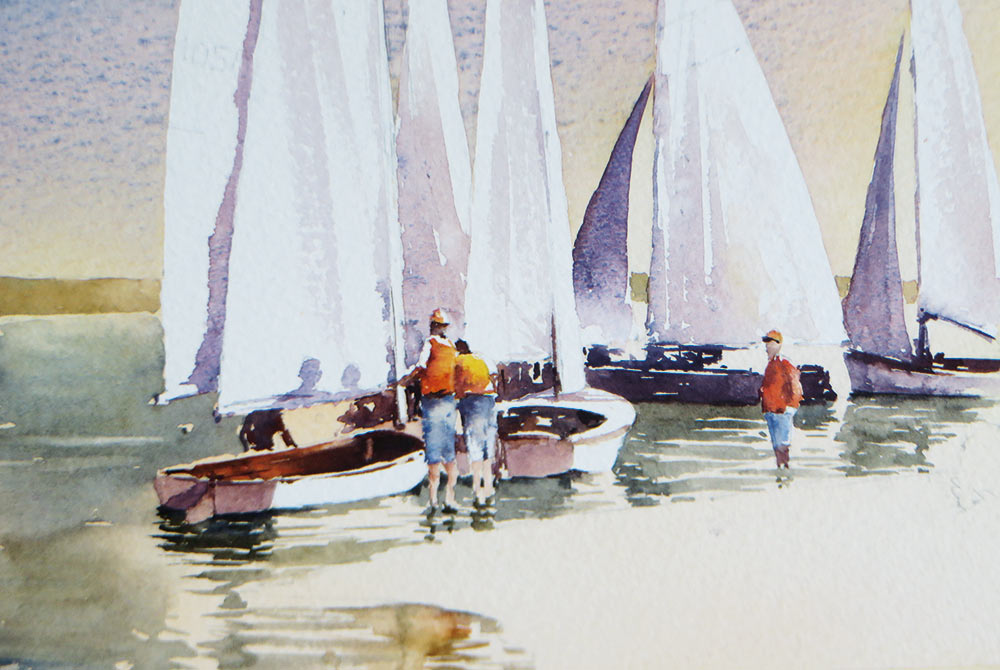
I then detailed the boats and figures, using Light Red and French Ultramarine for the dark interiors of the craft and the figures in shadow behind the sails.
I used Cadmium Red and Orange for their life jackets. Trousers were suggested with Cobalt Blue, adding shadows with a darker mix of Alizarin and French Ultramarine. Note the shadows on the sail being cast by the 2 central figures.
Details
Step 5
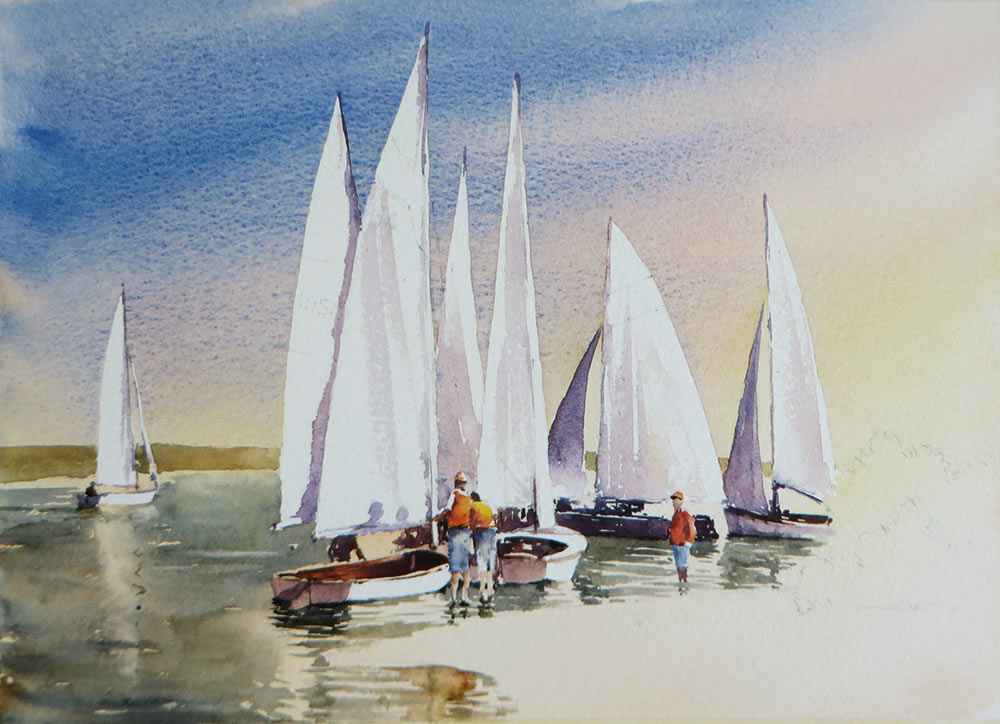
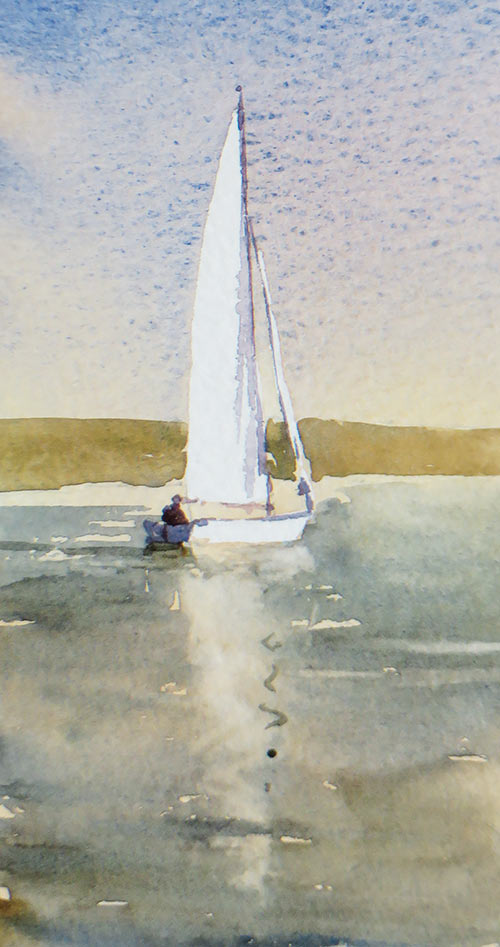
The water and reflections were developed with a mix of Cobalt Blue and Raw Umber. Working from the left, I lifted out the reflection of the distant boat with a damp brush to create soft edges (as this boat was moving and the reflections were blurred). The boats on the right were static and the water very calm, so they have sharp, jagged reflections. These are painted with the same mix, leaving the underpainting for the highlights.
Details
Step 6
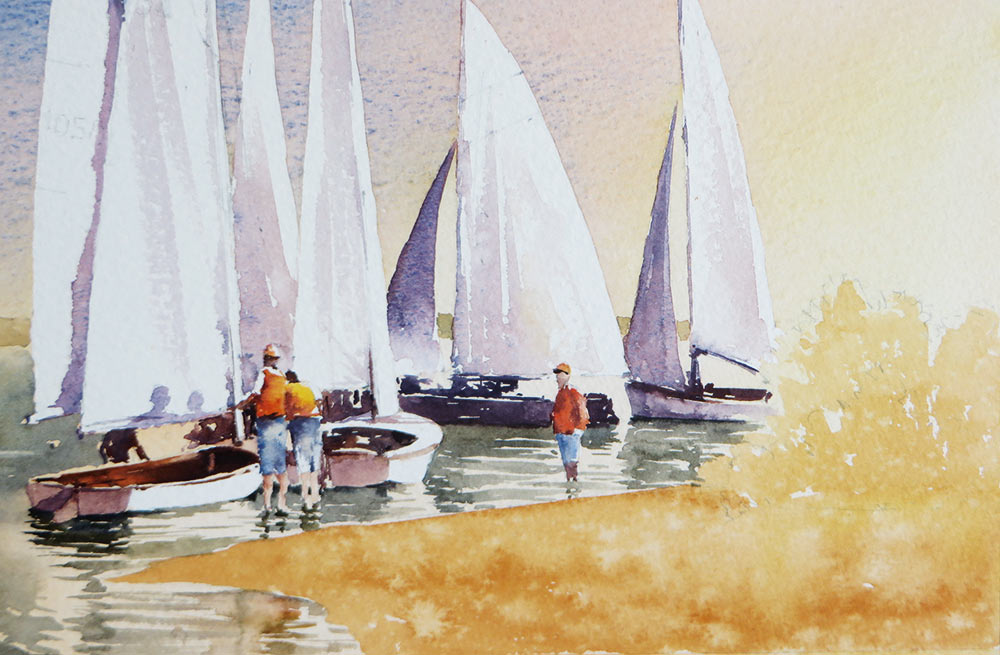
I added the foreground beach and bushes with a wash of Raw Sienna and Light Red. When this was partially dry, I spattered the surface with water, using a toothbrush to create texture.
Details

Step 7
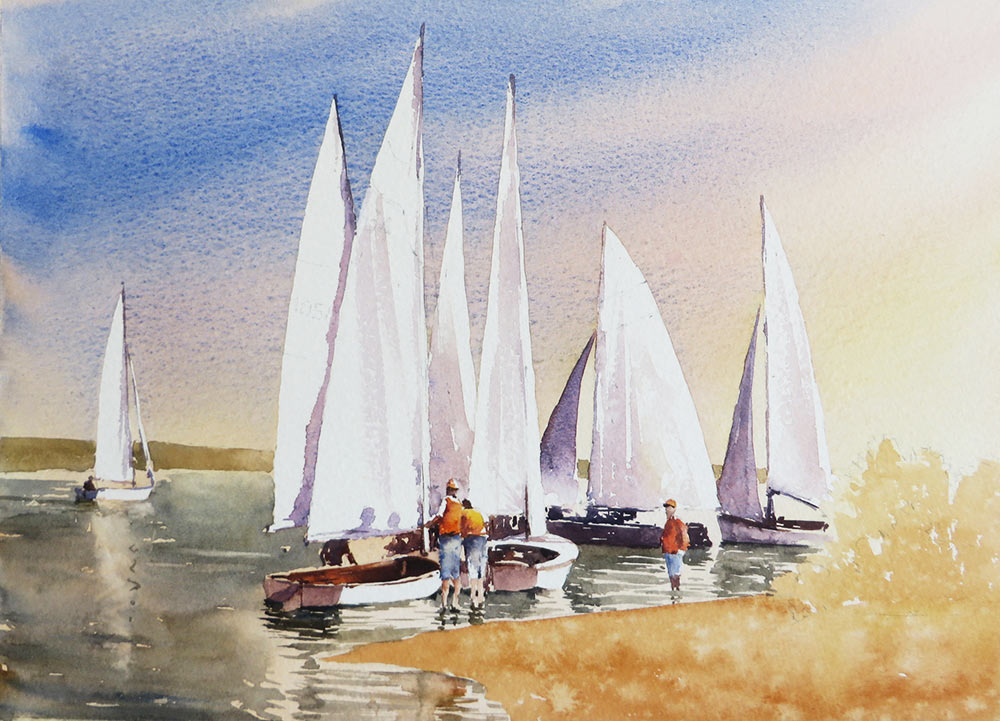
When the foreground wash was dry, I added the bushes with Raw Sienna and French Ultramarine, combining soft and broken edges to suggest foliage. The shadows on the beach were added with Light Red and Cobalt Blue, using soft and broken edges as before to suggest the rough shingle.
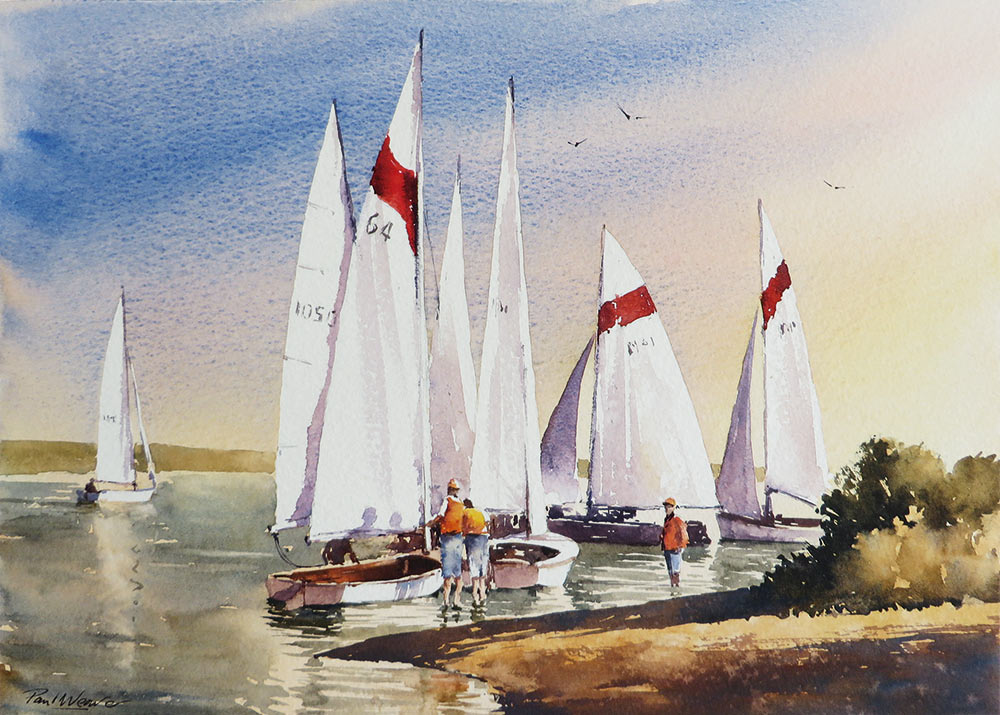
Finally, I added the markings on the sails with Cadmium Red, shaded with Alizarin and Ultramarine. Numbers are suggested with a dark mix of Light Red and Ultramarine. A few sea gulls were added overhead and the watercolour painting was finished.
All work ©2021 Paul Weaver




Great tutorials! Lost my painting mojo but after reading this email I’m ready to start again. Favourite medium is watercolour. Still learning the different techniques, love watching the paint work on wet paper.
Thankyou for an interesting email, think I will be trying the sailing boats, the print out will be handy.
Regards,
TREVOR Gilbert , Wisbech, Cambridgeshire
Hi Trevor. Glad to hear that you enjoyed this blog post! We’d love to see your painting if you give the tutorial a go!