Exploring Graphite Landscapes with Derwent XL Graphite Blocks
If you’re an artist eager to explore bold mark-making and textural depth in your drawings, the Derwent XL Graphite Blocks are a perfect tool to add to your toolkit. These robust, chunky blocks are designed to bring dynamic, expressive strokes to your work. Whether you’re working on fine details or sweeping landscapes, their versatility allows you to blend, smudge, and layer to create rich, nuanced textures.
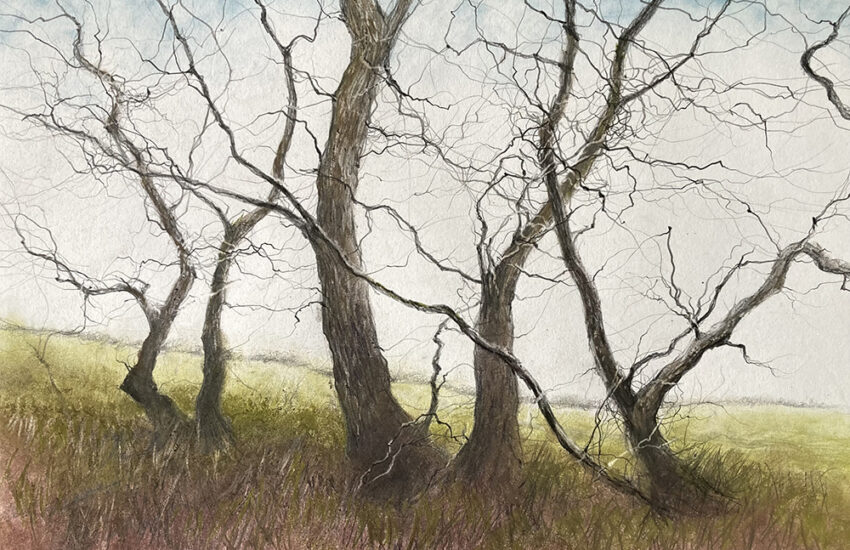
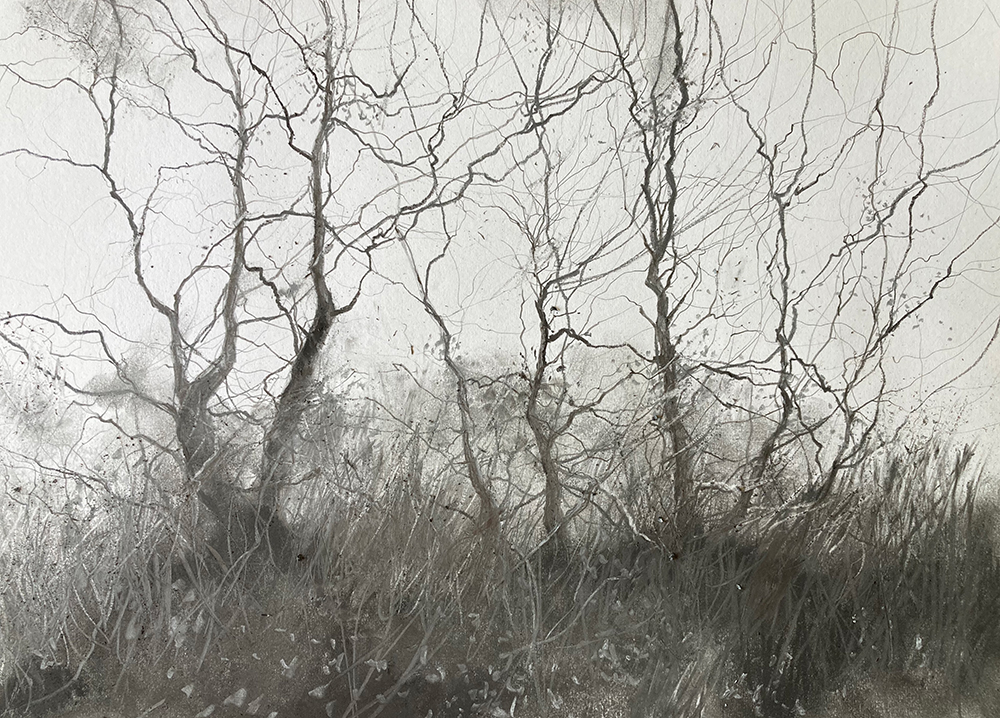
In this tutorial, artist David Brammeld takes us through an “Autumn Treescape” project, demonstrating how to harness the unique qualities of Derwent XL blocks. From testing the blocks’ capabilities to sketching, smudging, and creating subtle textures with erasers, David shares his approach to building up layers and anchoring trees naturally into a landscape. Perfect for both beginners and seasoned artists, this project invites you to experiment with graphite in exciting, innovative ways. Dive in, and see how these blocks can transform your artwork!
What Are XL Graphite Blocks?
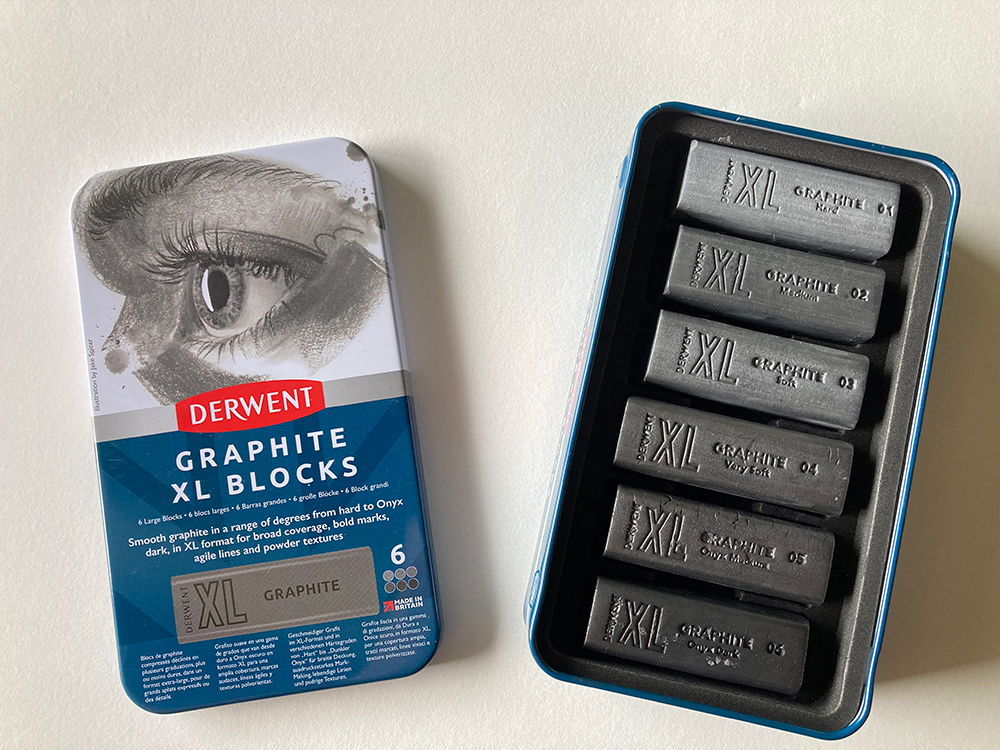
Derwent XL Graphite Blocks are sticks of chunky graphite that are available individually or in a set. Each block is the equivalent to eight standard pencils. The set includes six different degrees; Hard, Medium, Soft, Very Soft, Onyx Medium and Onyx Dark. These blocks are incredibly versatile – use the edges for fine lines or utilise the sides for broad, sweeping movements. For those looking to experiment further, the blocks can be grated into a fine powder or broken into smaller drawing instruments. In the tutorial that follows I will show you have to make the best of these blocks.
Materials Needed For Autumn Treescape Tutorial:
Derwent Graphite XL Blocks (Tin of 6)
Seawhite All-Media Cartridge Paper
Derwent Graphite pencils 2B & 6B
Sharpener / blade for sharpening according to your preference
Mechanical eraser such as Tombow
Craft knife for scraping the blocks to make powder
Step 1 – Road Testing
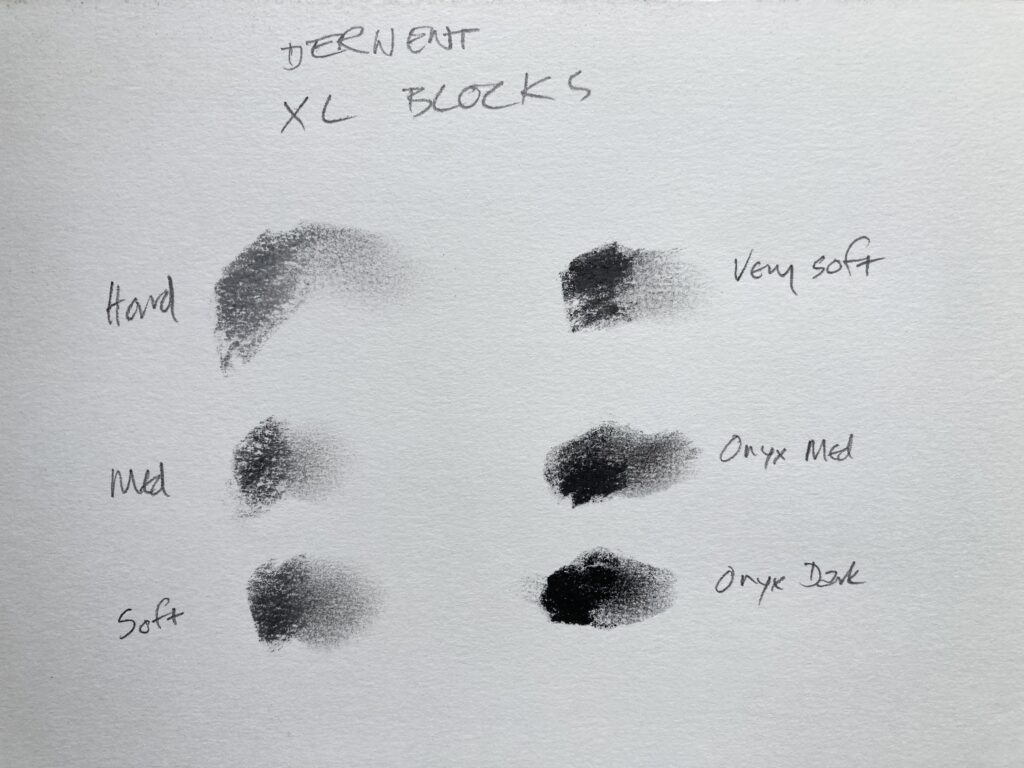
Before starting a new project I always like to ‘road test’ the equipment to see what kinds of marks I can make. First, I took each of the six blocks and rubbed them into the paper to give me a reference point.

Next I took a couple of blocks and tested how they smudged into the paper above left). How light or dark can I go? How easy is it to cut into with an eraser? (above right). How can I manipulate the medium? How does the paper handle the graphite, what texture does it have, and so on.
Step 2 – Sketch The Main Elements

Using a photo for reference, I loosely sketched out the main tree shapes and horizon lines in pencil to give a rough guide to work to. The idea is to create a lively drawing based on a photographic image, not a perfect representation of a photograph.
Step 3 – Add Tone

I used the no. 4 block to add some tone to the lower third of the paper below the horizon line to suggest solidity in the undergrowth (above left), using fingers to smudge and keep things soft (above right).

I then added some of the slightly darker no. 5 and worked intuitively to work the two together to create variety.
Step 4 – Developing the Trees

Next I used a 6B pencil to develop the trees more and to pull them into the undergrowth, I worked the no. 4 block into the tree shapes to strengthen the tone.
Step 5 – Add More Tone & Texture
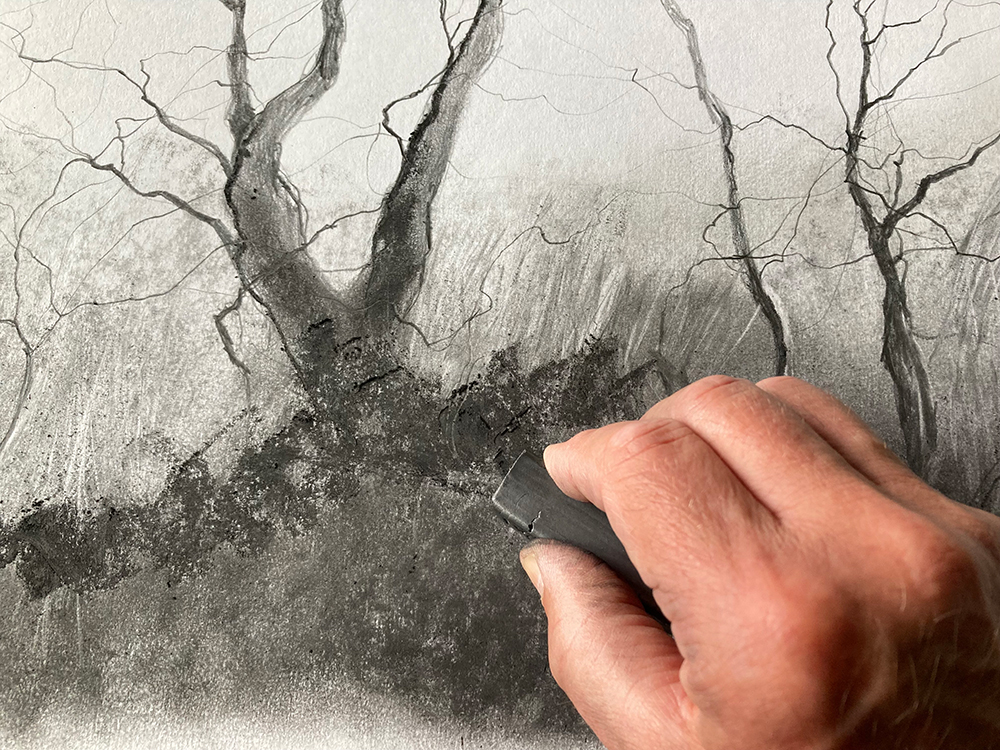
I continued to add tone where needed, using fingers to push into the paper, and erasers to create textures in both trees and undergrowth.
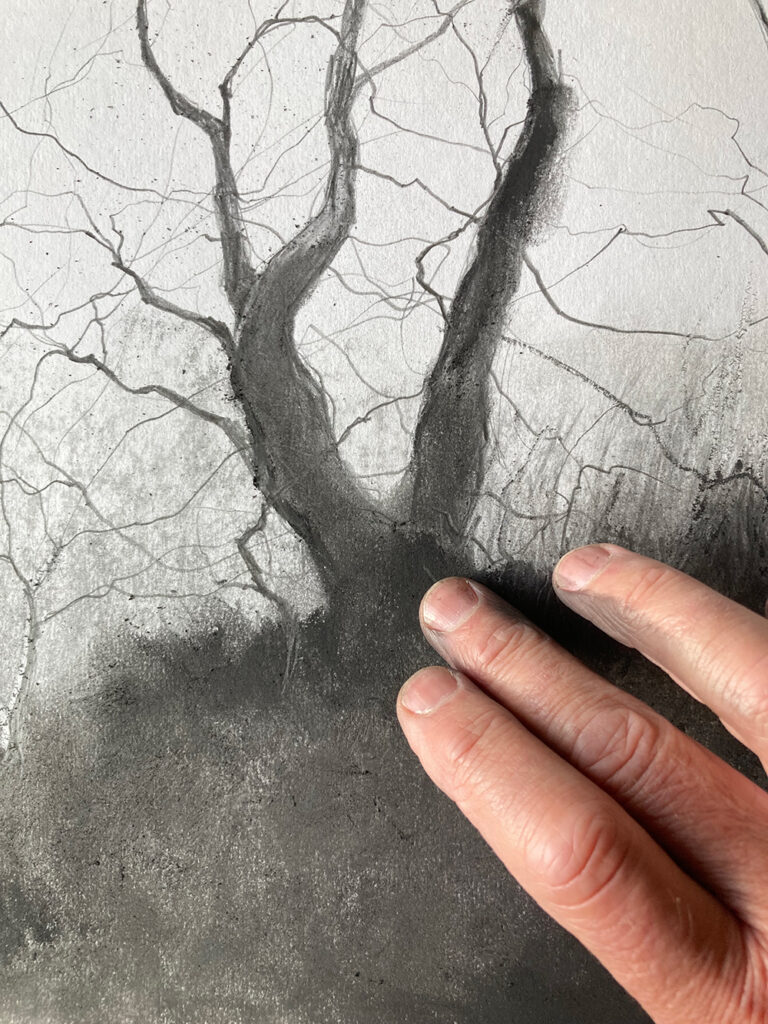
In a landscape trees need to appear as though they are actually coming out of the ground, so the area where tree meets undergrowth needs particular attention to get the balance right. My method of working on graphite landscapes from start to almost finish is to maintain a surface that is ‘flexible’, which means I apply some tone, then cut back into it with erasers, then go back in with pencils and blocks. This creates interest and texture. In other words, working lights into darks and vice versa. As the drawing develops you can still move things around right up until the final stages.
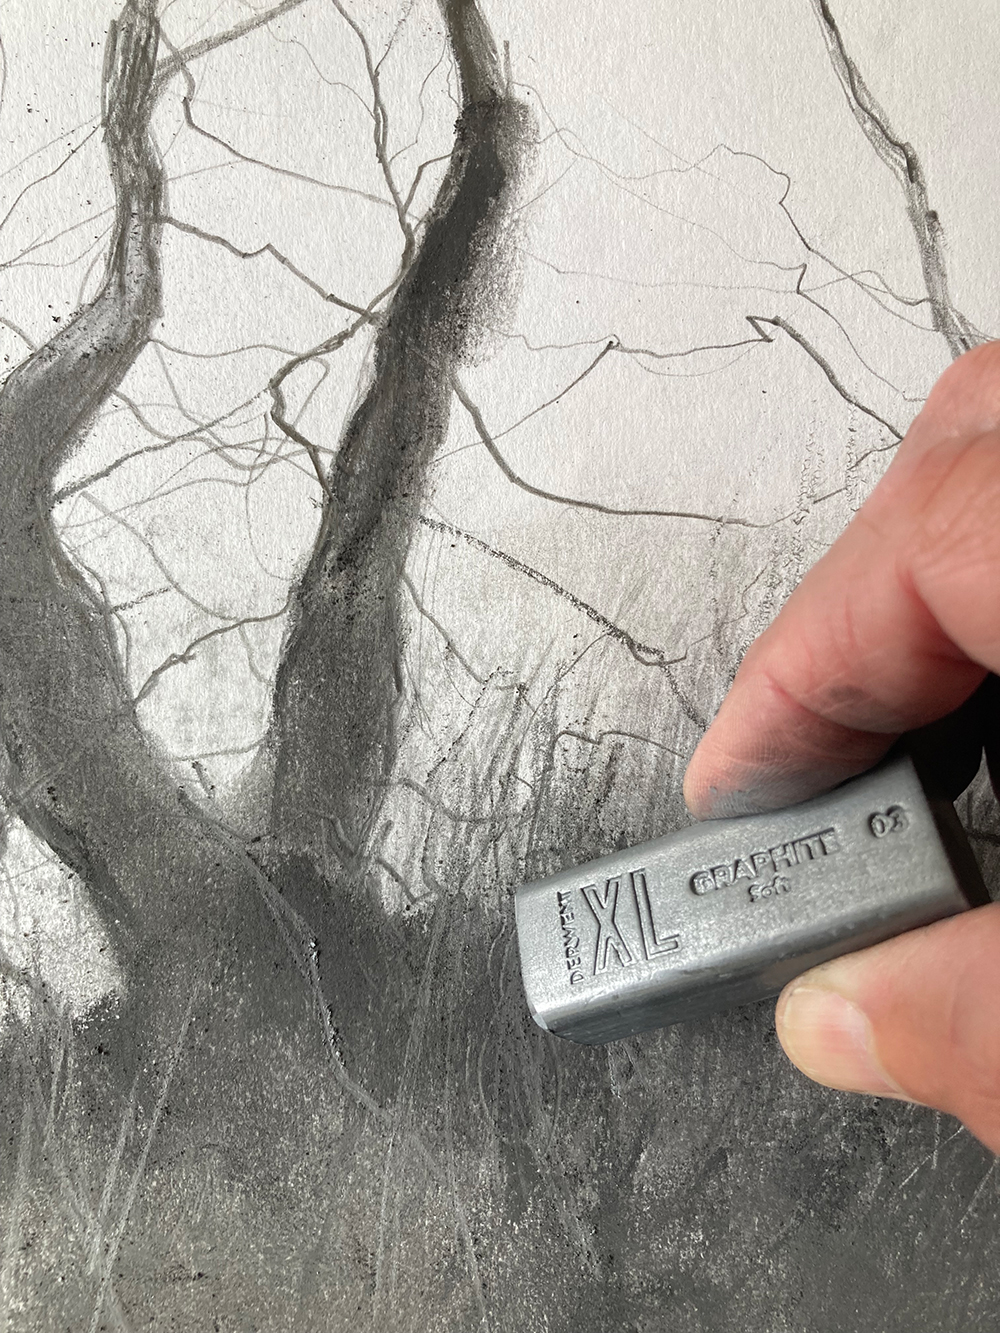
Step 6 – Adding More Details
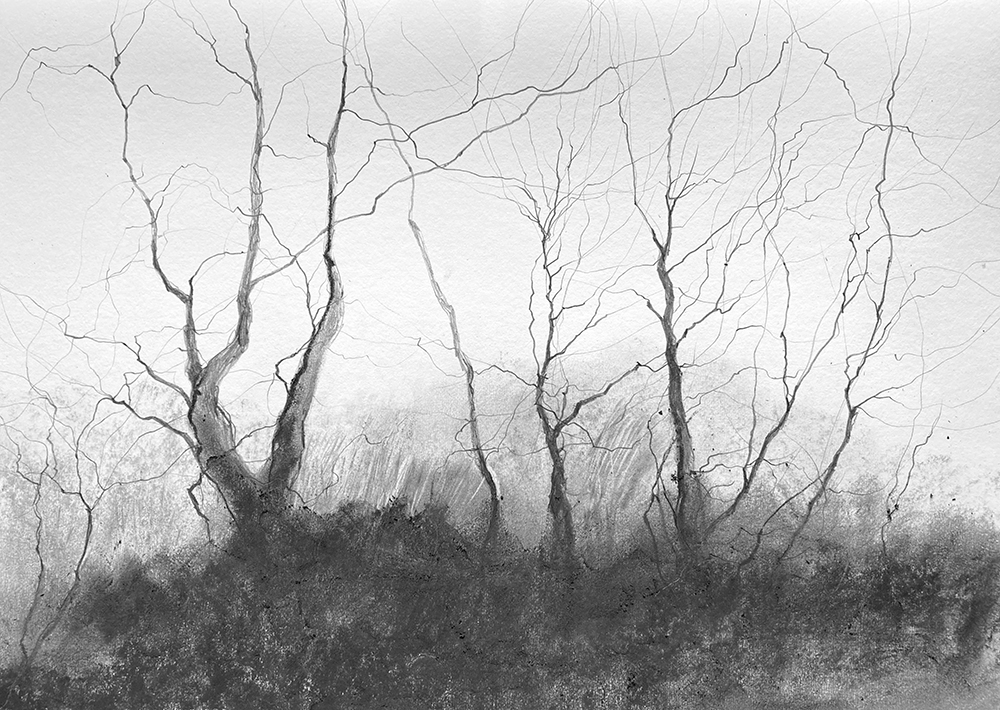
In this image, you can see how I have been testing if I can cut back into the graphite using a sharpened piece of hard eraser, and also how the trees are ‘anchored’ into the ground.
The drawing progresses in this way – drawing with pencil, block and eraser. For a break I work more detailed and place some of the smaller branches for variety and balance.
Care needs to be taken to not inadvertently smudge your drawing, use a piece of copier paper or your other hand to steady your drawing hand. Soft graphite is easily smudged.
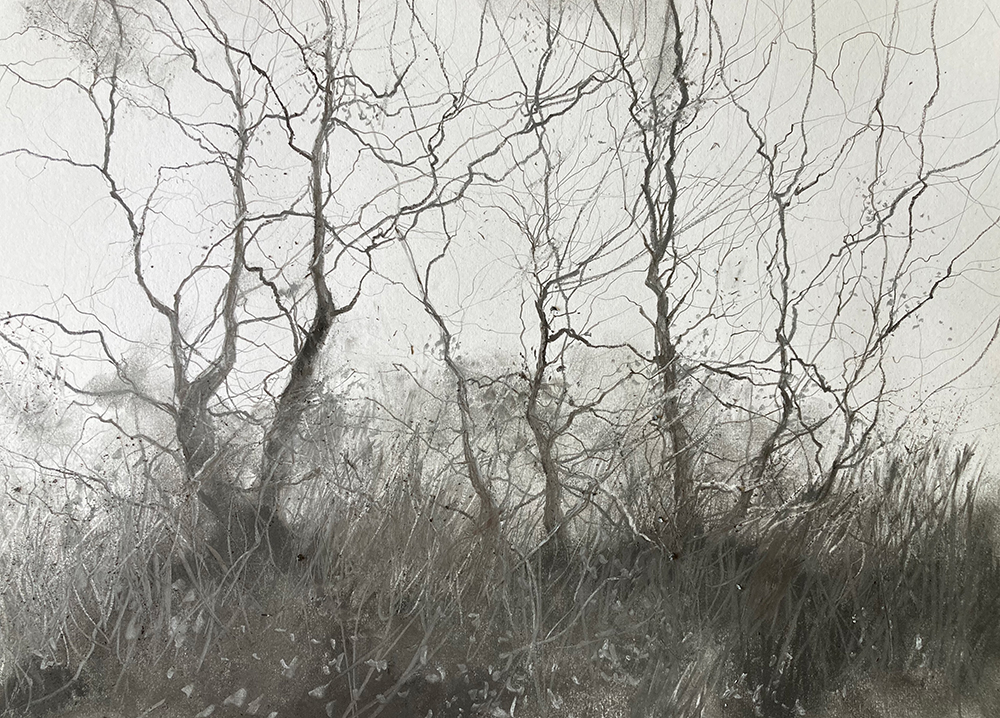
This final drawing shows more small branch detail, a few smudges and dabs with the blocks to suggest sparse foliage.
My Top Tips
- Depending on pressure and the grade, graphite can be shiny or matt. In this project I have used a craft knife to scrape the block to make dust which I then blended and shaped with my fingers. This is very matt – if I then draw heavily over this with a pencil it will make shiny marks.
- There is a glazed ‘coating’ on a new block of graphite, so if used on its side it may not give a consistent mark and may skip over the surface. I usually lightly sand or scrape a side to make it more effective at applying a good layer.
- When drawing the more detailed branches take care about smudging the drawing.
- When working in graphite, it is equally important to be able to remove it as well as apply it.
- Fixing the drawing: If you want to keep on working into the drawing (removing and manipulating the graphite), then don’t apply fixative or it will be impossible to use an eraser effectively. Protect the delicate surface between sessions by taping a sheet of tracing paper to the drawing. Fix at the end if needed.
I hope you have enjoyed working through the process of the drawing. If you are inspired to try out more new drawing techniques you might find my book helpful to explore the creative art of drawing.
