
Scribble Drawings with Derwent Pencils
Scribble drawings are basically fun doodles that strive for energy, movement & atmosphere rather than precision and exactness. They are a wonderfully liberating, very relaxing and a relatively quick and easy way to draw. In this tutorial I will show you how to create your own scribble drawing with Graphic pencils which you can then embellish with colour.
Materials needed for this tutorial
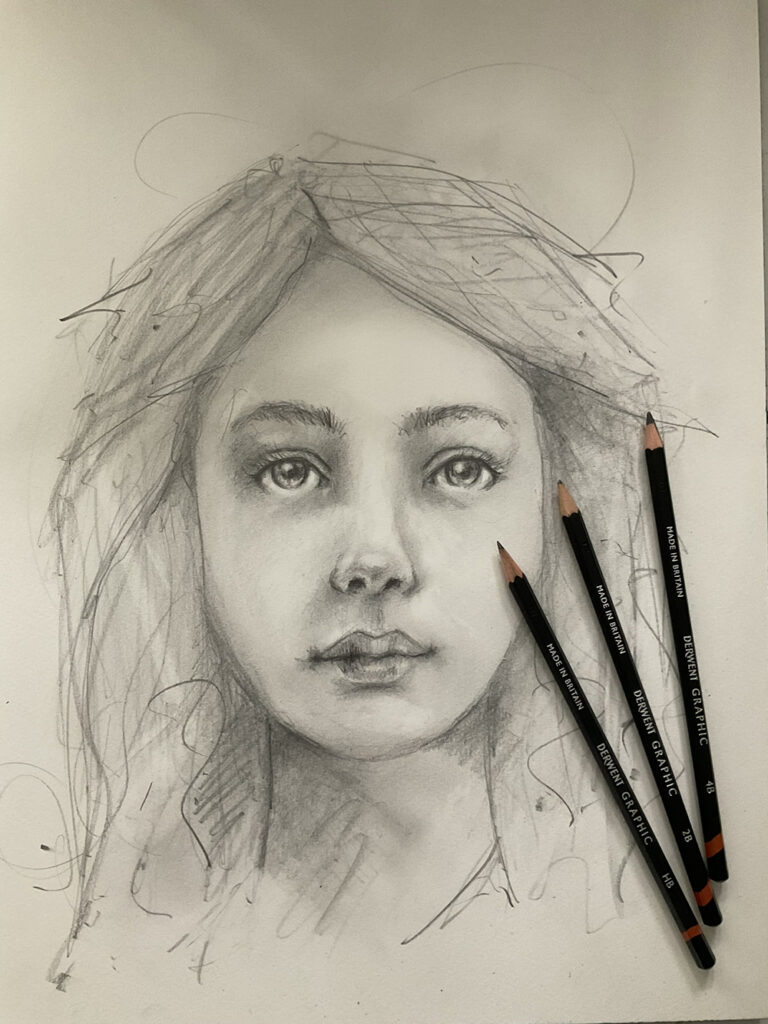
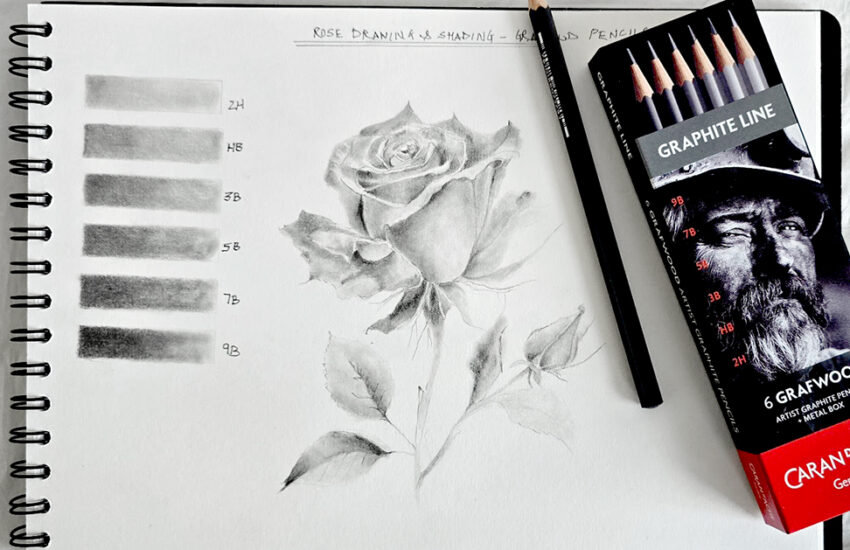
- Derwent Graphic pencils – HB, 2B, 4B
- Cotton buds or the Derwent Paper Stump Blender Set
- Kneadable Eraser – Used for subtractive drawing rather than correcting mistakes
- Makeup-wipes or a cotton wall ball/ soft tissue
- Saunders Waterford HP 12×16” watercolour paper
- Reference picture Pixabay ‘krivitskiy’ – free for commercial use
- Line Drawing Reference
Optional Tools to add colour
- Procolour pencils
- Inktense pencils
- Paint Pens or Posca Pens or Fineliner Pens
- Procreate
What are scribble drawings?
Switching your mindset to creating atmosphere rather than worrying about a direct likeness really does take the pressure off your drawing and frees you up to experiment and explore. Most drawings take between 15-30 mins and are great fun way to fit mark-making into an daily doodle routine.
Scribbling adds the fun and playfulness back into drawing as we no longer need to worry about ‘keeping within the lines’. As a result this style of mark making is a suitable exercise for any age group of every level. Doodles can be done in so many different ways and with a multitude of different tools ranging from biros & feather quills to coloured pencils & line painters. The distance between the lines and the density of your scribbles will give you the texture and tone.
As you experiment and explore you will begin to find what you like to use, marks that interest and excite you, and techniques that work for you.
Starting this tutorial
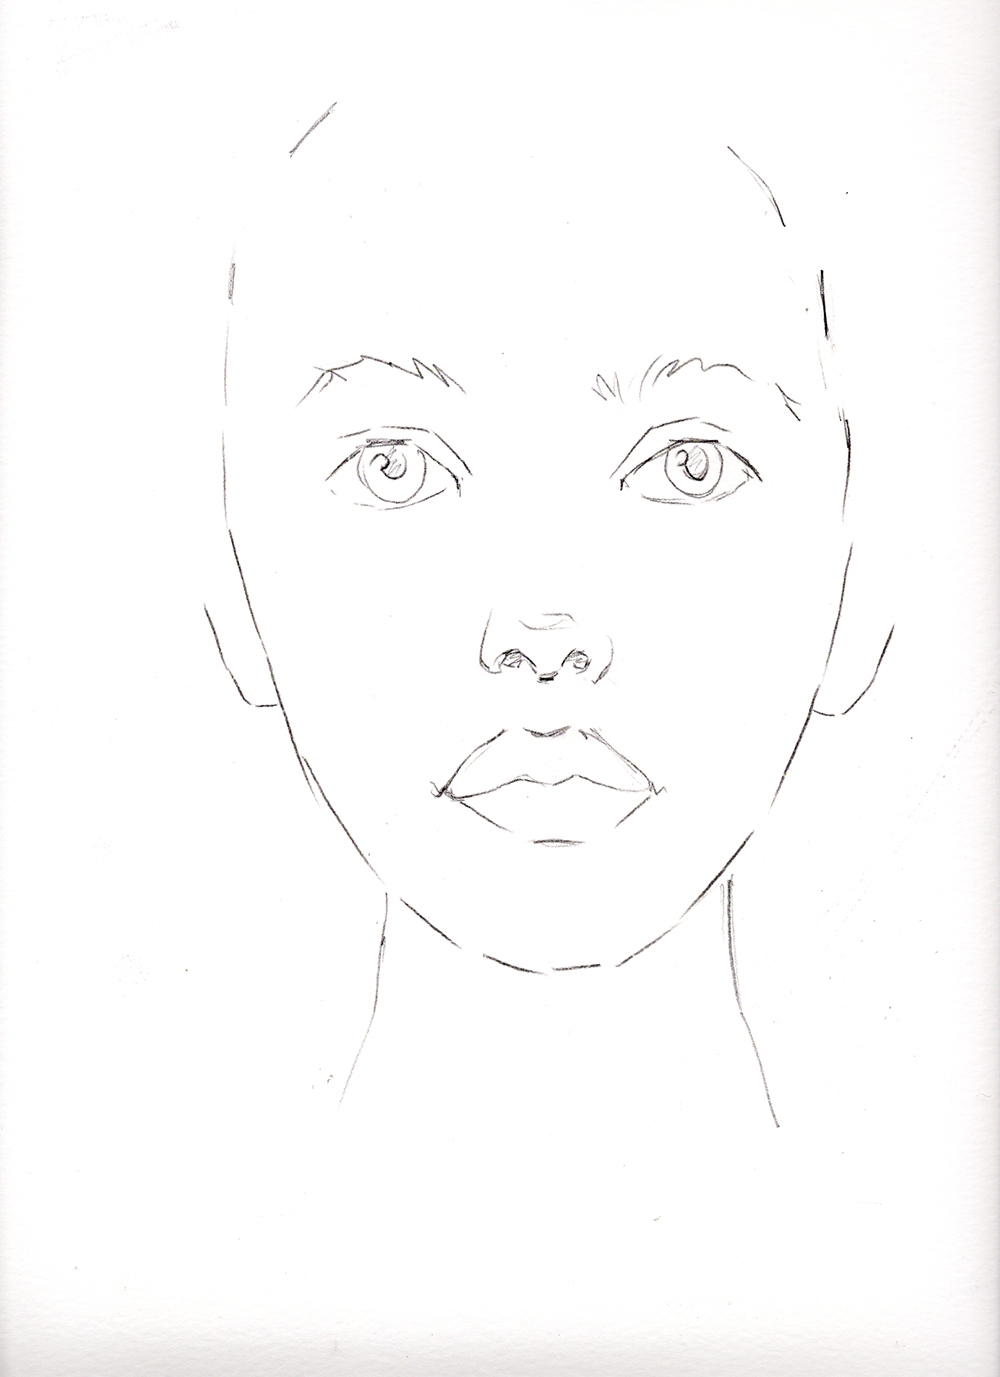
For this demo we will be using simple tools found in every artists pencil case to produce a simple stress free scribble portrait. Once completed, we will consider embellishing your scribbles with accents of colour. To get us going with all the fun and interesting stuff I’ve supplied a basic line drawing as your start point. If you feel confident with portraits then feel free begin by scribbling in your own.
Scribble drawing is all about atmosphere, energy and tone. The reference image is purely used as a visual tool for the approximate facial dimensions and positions plus and those all important lights and darks.
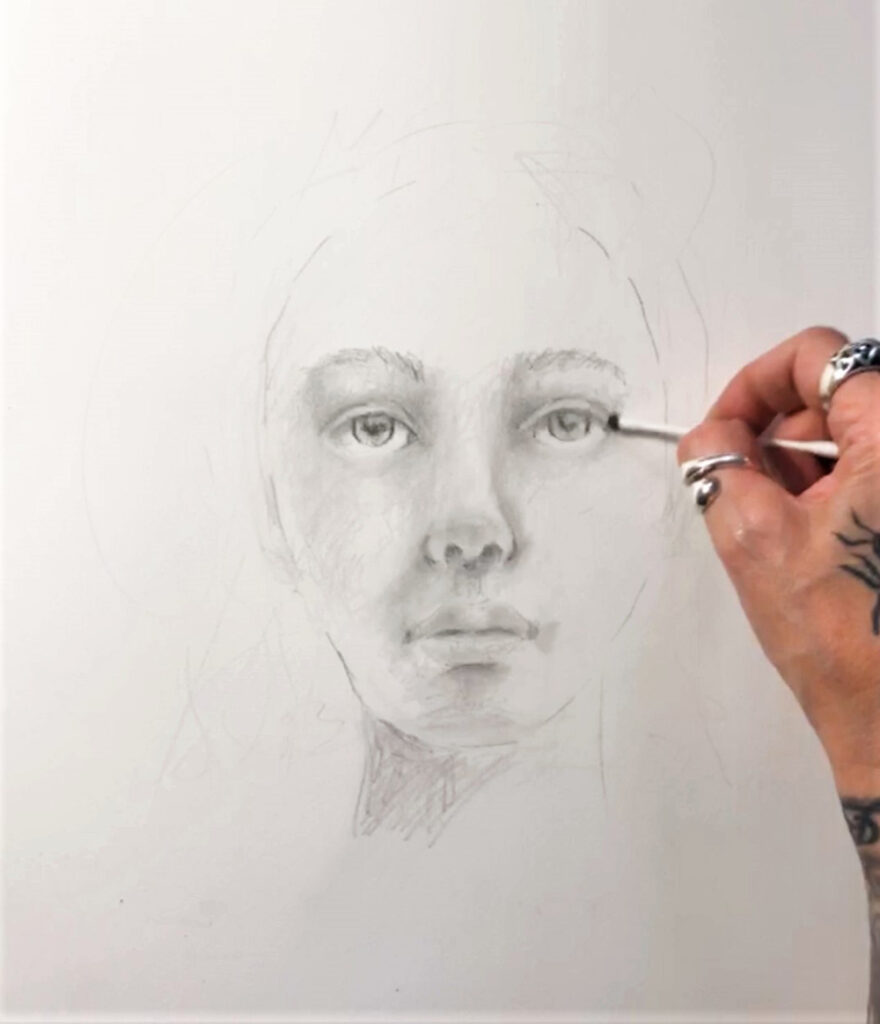
In the first layer we will start with the lightest pencil (HB) to begin working on those shadows and mapping out the darker areas of the face. Starting with a light pencil first means that its a safe way to ease you into the sketch and get over those white paper nerves!
Step 1 – Begin to scribble
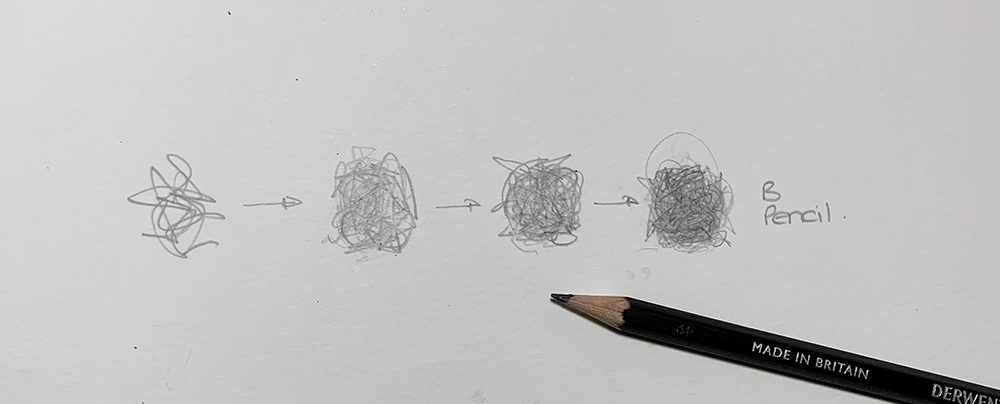
With the line drawing transferred to your hot pressed paper, squint at the reference image and identify the darkest tones. These are the areas to begin scribbling. Take a HB pencil and hold it loosely. Move your hand away from the lead to about half way up the barrel. Relax your wrist and start scribbling in the darkest darks you see on your reference. Note the shape of those shadows.
Allow your pencil to freely move and pirouette over the page, skipping across the paper and gambolling in the shadows. The spacing of the lines within the scribbles will have a direct effect on tone. There is no right or wrong way to scribble, just try to keep it random and loose. Don’t press too hard, you don’t want to indent the paper.
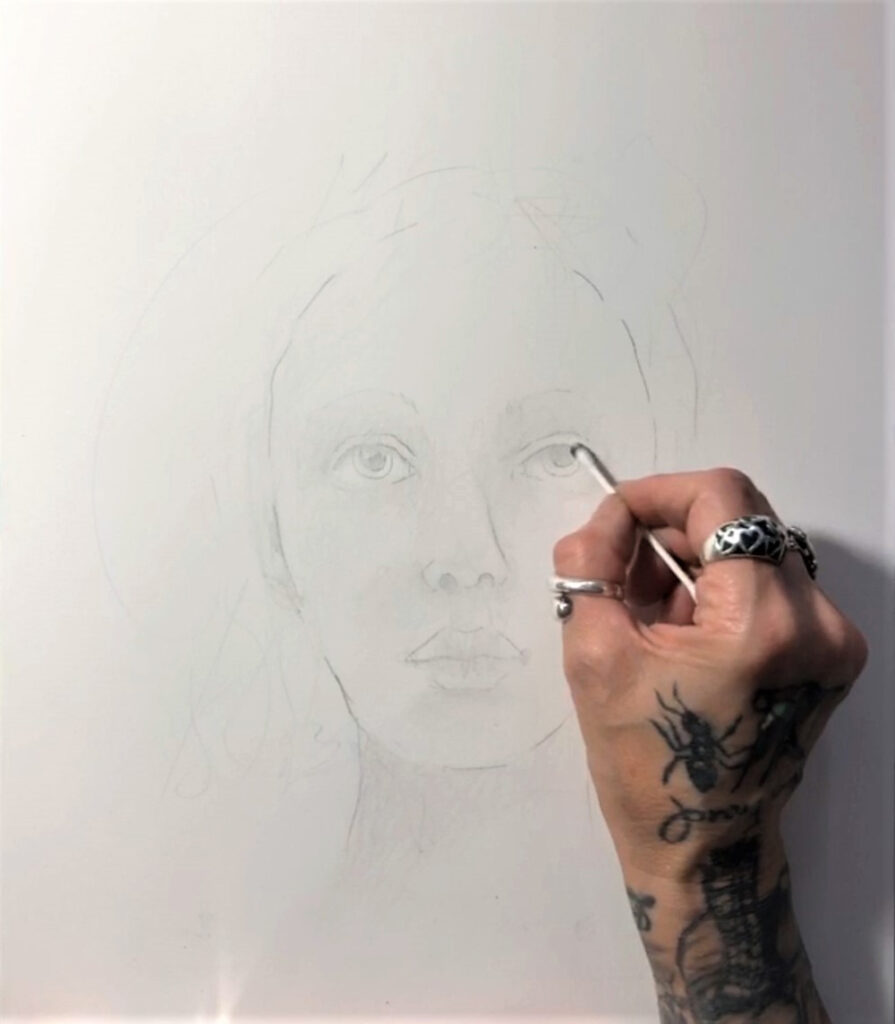
When you’re happy that the main features are starting to take shape, grab a makeup wipe (or similar). Gently smudge the lines creating a soft tone and shadow, unifying and blending out some, but not all, of your marks.
Always try to follow the form of your face when smudging, and let the cotton wool do the work for you. It’s amazing just how quick those shadows will develop. For smaller or more intricate areas such as the eyes, switch to a cotton bud or blending stump.
Step 2 – Re-establish the darks
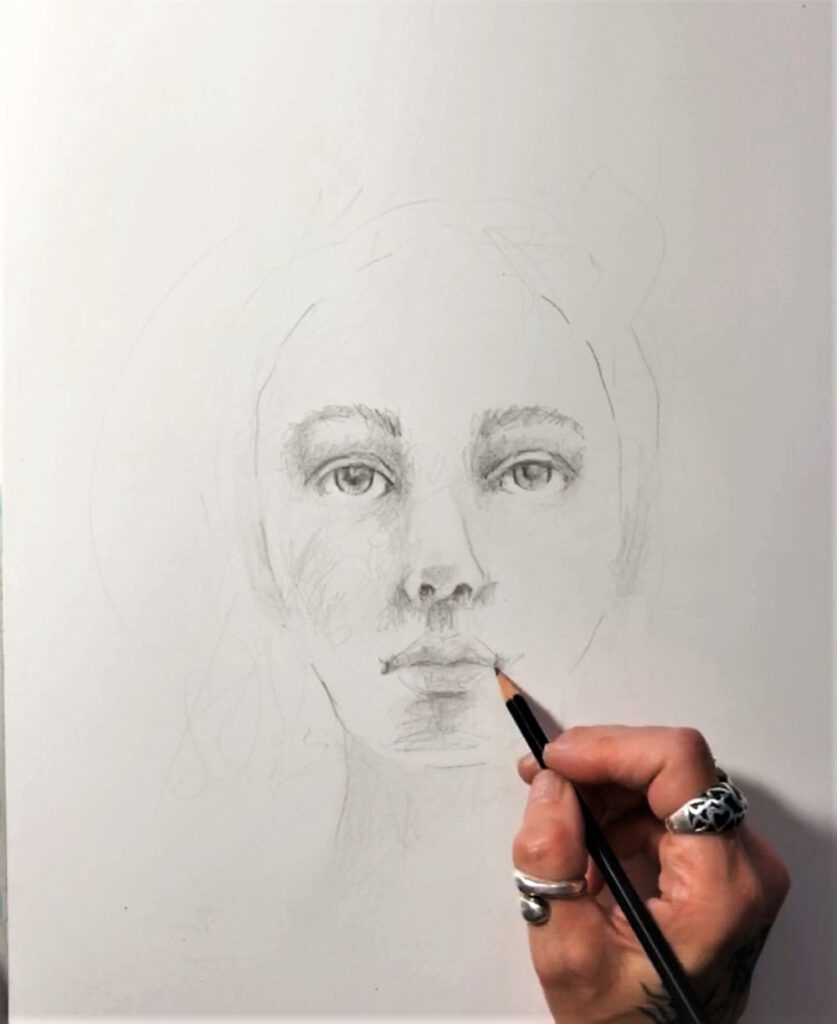
Switch to a 2B pencil and re-establish those darks. Keep that pencil full of energy and moving on the paper. Short little broken lines are so much more organic, forgiving, and easier to draw than one long line. Keep those marks dancing around the face creating interest and building on that tone. If you find you’re slowing down or getting too tight, put down the pencil and shake out that tension. Then make a big bold liberating mark and bring it back to the drawing. You may often notice large loopy marks outside my sketches, this is me reminding myself to relax and stay loose.
Step 3 – Cotton wool bud smudging
Once you’re happy with your pencil marks … grab a cotton bud and begin to gently smudge and blend out some of the marks around the face and key areas (nose, eyes & mouth). Smudge in a loose random fashion.
Step 4 – Deepen the darks
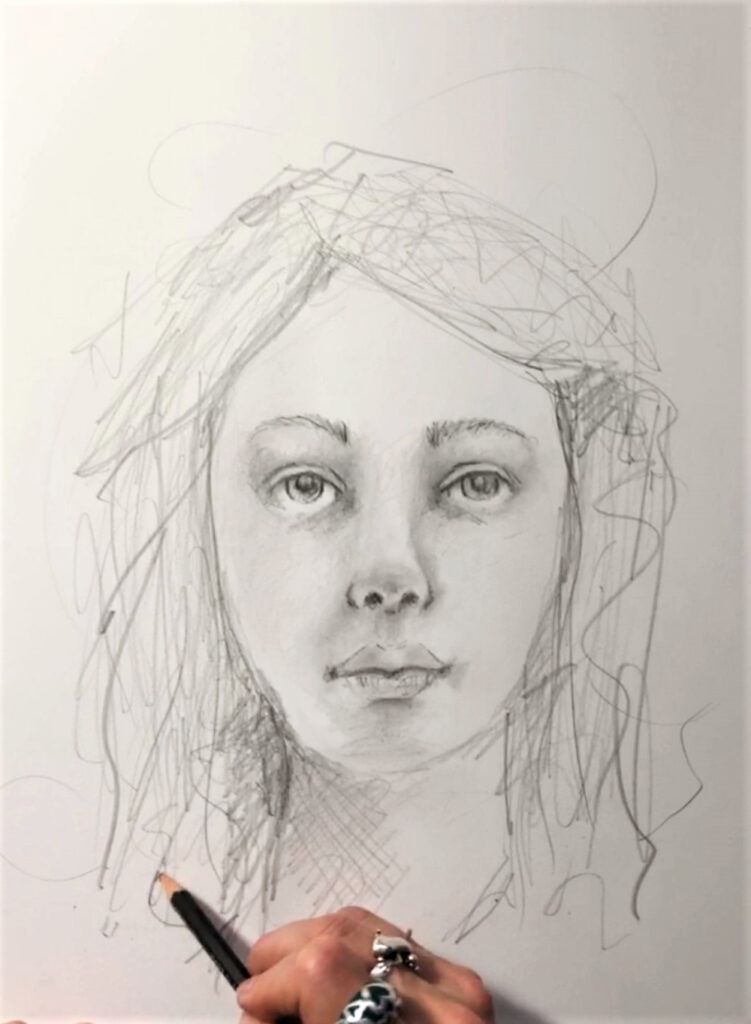
Grab your 2B pencil again and deepen those darks areas on the face. She should be really starting to take shape now. Take a deep breath and casually suggest the shape and direction of the hair with loose expressive suggestive marks. This should be fun, give her any hairstyle you want! Add some general cast shadows around the neck and temples.
Step 5 – Hair suggestions and shadows
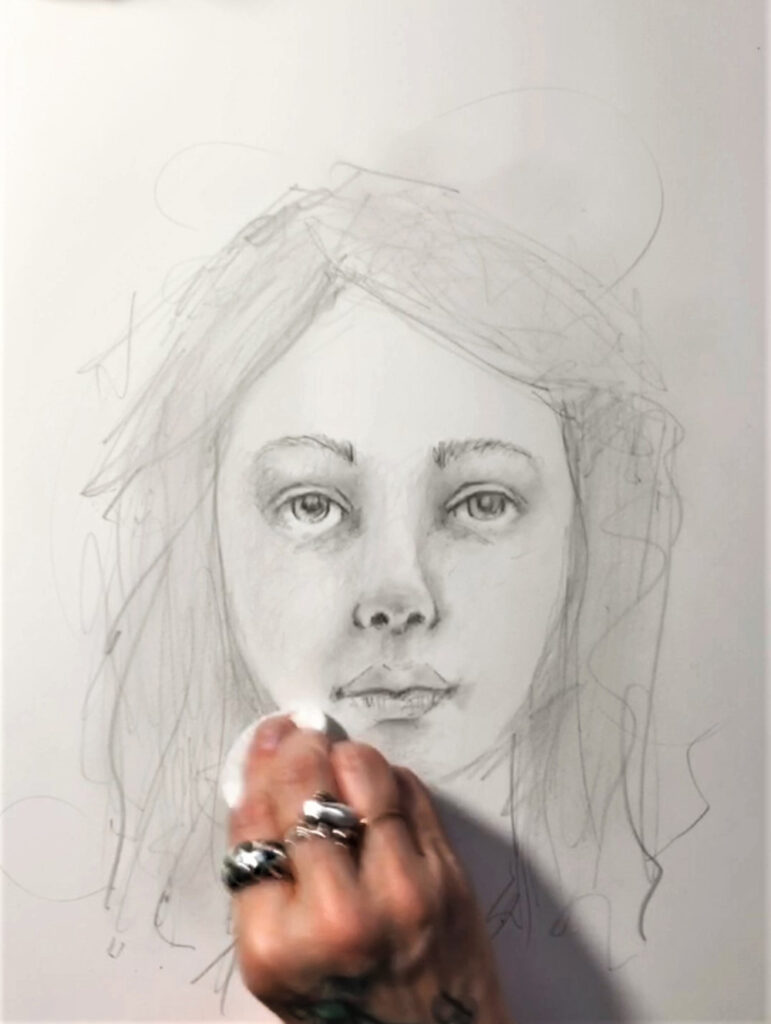
Grab your makeup wipe and give a little depth to the hair and drawing by blending some of those marks out. Don’t fall into blending just within an area. Move your hand freely. Although you are blending you are still mark making so keep it expressive. Switch to a cotton bud around the eyes and nostrils.
Step 6 – Putty rubber

Top tip – I often get asked how to clean off the end of a blending stump? The easy answer is… I never do! I may occasionally wipe them on an old rag, however a range of different used stumps and wipes make fabulous mark marking and blending tools all of their own.
Time to bring back some lights. Grab your putty eraser and work it into a little point. Use it to bring back the highlights in the eyes, nose and lips. Then add some broader subtractive marks to the hair and surroundings to create interest and atmosphere. Knead in between marks to keep the eraser clean.
Continue as above with another layer using a 4B pencil and really work on the darkest darks and shadows around the face, adding eyelashes and texture to the lips and hair. Keep these marks fresh and suggestive.
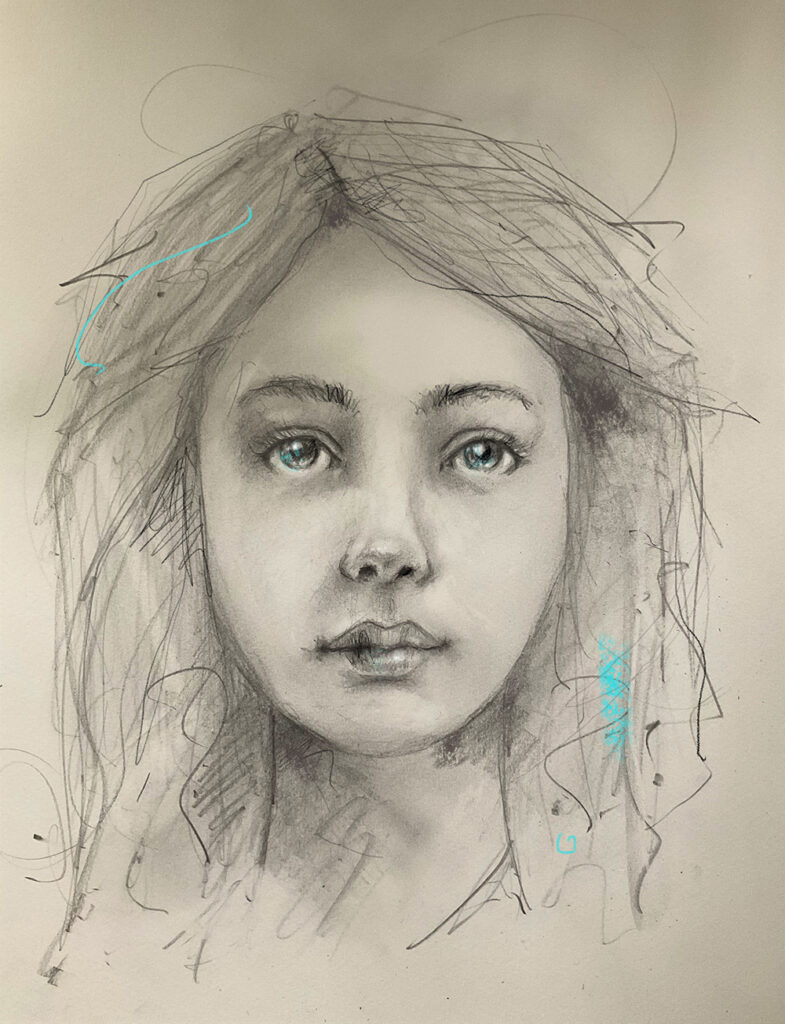
Step 7 – Finished pencil drawing
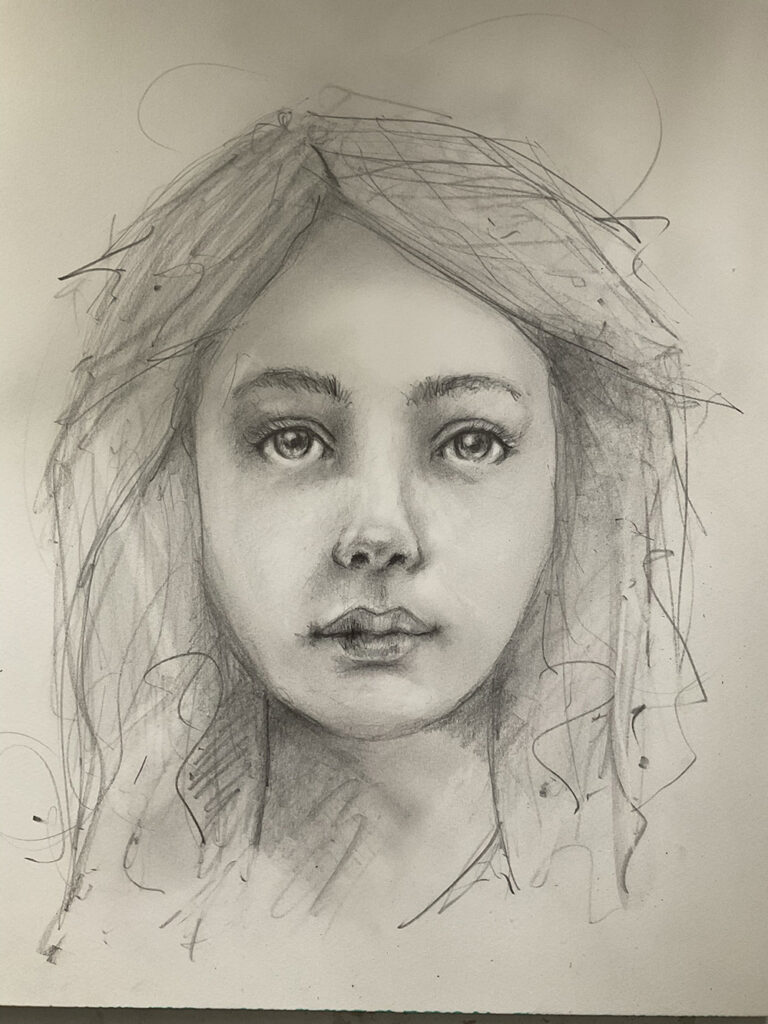
This is the point where I normally stop as I like leaving areas unresolved. However, there is nothing to say that you can’t continue to blend and create further layers on your drawing. Its your sketch … do whatever feels right!
Watch the video
Levelling Up
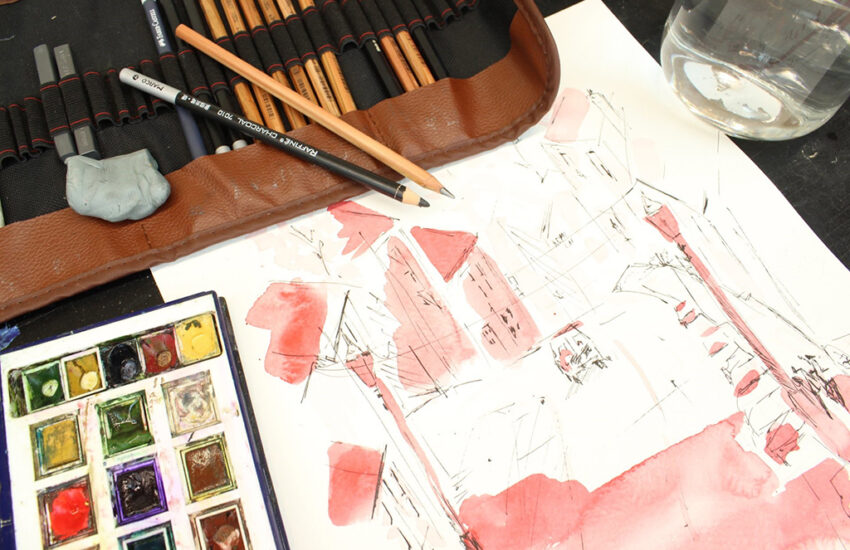
Once you’ve finished with your sketch try adding accents of colour loosely on top of your scribbles to create even more interest. Keep the marks loose … no colouring in the lines, express yourself and be free with your mark making. You’re playing, there’s no pressure … so give yourself permission to have fun and experiment.
Add some coloured pencil marks
Not sure what to use for some scribble colour? Then perhaps consider the Procolour pencils range, they are both creamy & vibrant and lay down wonderfully on smooth paper. Or perhaps, if you’re feeling adventurous then why not try exploring the jewel like intensity of the Inktense pencil range. Inktense offer an endless array of both wet and dry possibilities.
If you feel hesitant to add colour, perhaps because you don’t want to ruin all your lovely scribbly marks, then try taking take a photo of your work and upload it into Procreate (or similar) and tinker with it digitally. It will give you an indication of what’s possible and is stress free. Once happy, save your image back and try replicating on your drawing … enjoy!!
Scribble with paint pens
Scribbling and smudging with pencils is a fun, forgiving and relaxing way to start with this style of mark making. If enjoyed this demo then try taking things a stage further by scribble drawing with ‘Paint pens’ or a similar type ink pen (you can even use the humble biro). It’s an exciting and liberating way to draw. Paint Pens are permanent and so there is no smudging as once committed they can not be erased. Simply use the density of the random marks to create the tone.
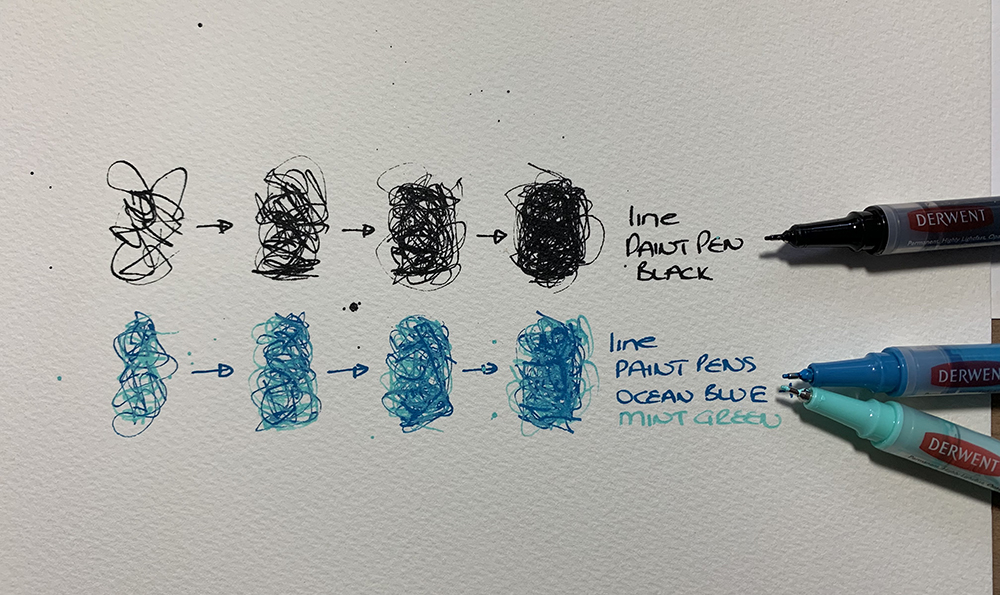
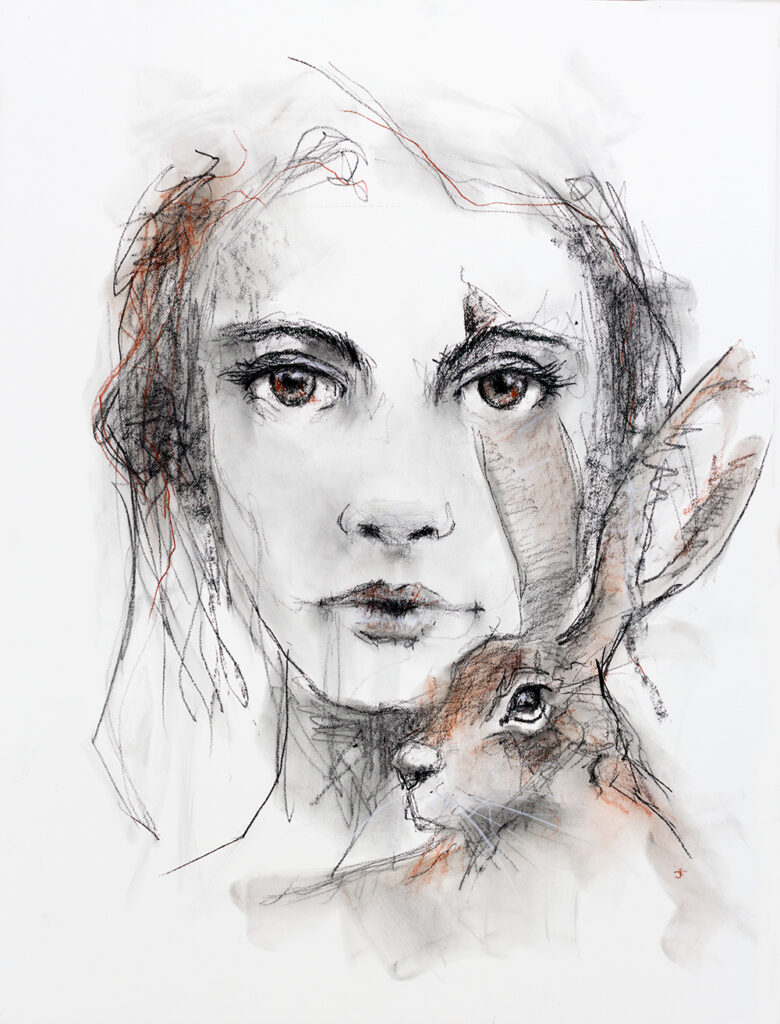
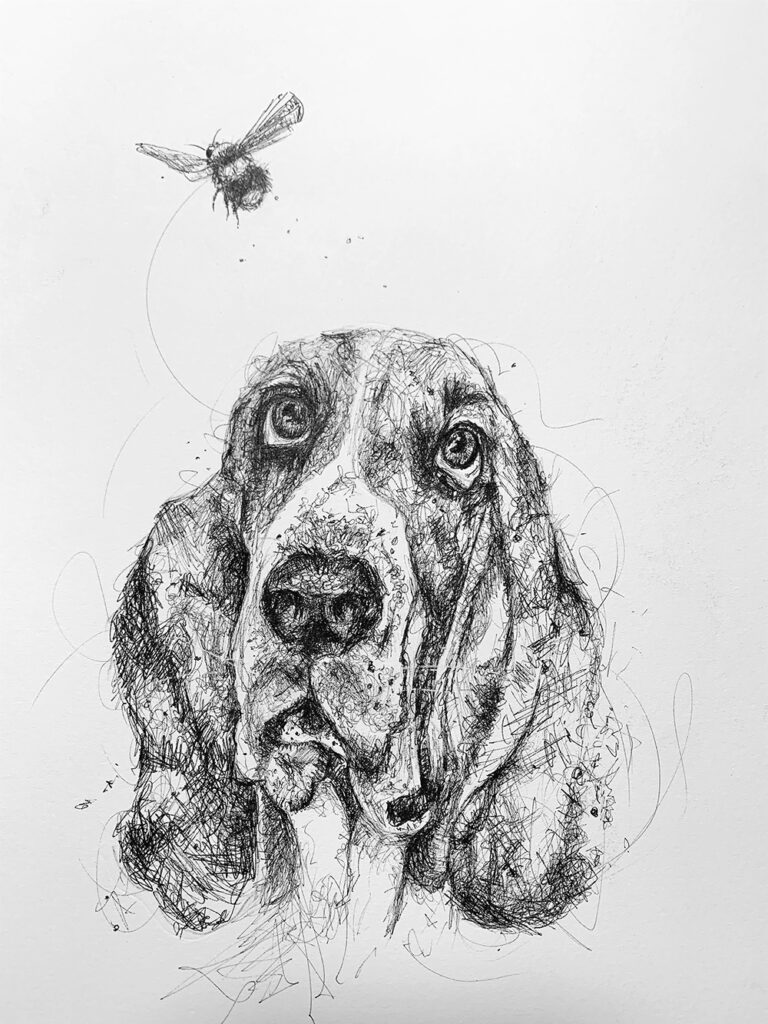
Scribbling with ink will help with confidence building as you have to take a deep breath and throw timid out the window. Experiment with other subjects too such as fur and organic textures … Feel empowered scribbly & bold!
Add some charcoal
Use fineliners
If you have enjoyed creating your scribble drawing keep an eye out for some more of Cherry’s step by steps tutorials later in the month. If you’d like find out more about the Derwent pencil range you might find this article helpful.


How do I watch videos.
Loved this article.
Warmly
Jacqueline
Hi Jacqueline! Thanks for your comment. Glad to hear that you liked the article! Apologies about the video. You should be able to access it now in the blog post under the ‘Watch the Video’ heading.
I found this great tutorial very inspiring, with lots of useful tips. Thank you.
Thank you, I really enjoyed that lesson, brilliant ..
Thank you for all that fascinating information and generous sharing of technical skills and ideas. Much enjoyed!