
Sky Arts Landscape finalist Greg Mason’s top tips for Plein Air Painting
In art, as in life, fashions cycle round and round – trends come and go, only to return again a decade or so later with the announcement that they have been ‘rediscovered’ and ‘reinvented’ in a more modern and relevant way. One such method enjoying a resurgence both in the UK and abroad at the moment is the act of painting en Plein Air (which essentially means painting outdoors or outside the studio).
In part, this may be due to TV shows like Sky Arts Landscape Artist of the Year where contestants paint a specific view outdoors for 4 hours, but there are also well established movements both in the UK with the Royal Institute of Oil Painters Paint Live days (https://theroi.co.uk) and huge Plein Air conventions in the US that attract hundreds of participants, sponsors and prizes, etc.
Some of my great art heroes in the Impressionist movement were among the first to champion this approach – leaving behind the stuffy, contrived, studio-based narratives that had dominated the art world for centuries – looking for something different and finding that being in nature was the ultimate inspiration.
The Impressionist reacted against the old school and found a new voice that came directly from the landscape itself and it’s a practice that we can employ today to reflect on our own environment in a way that’s just as relevant to our art and our society.
So, if you’ve never done this before I guess your first question will be, “How do I go about painting en Plein Air”. Well, my first top tip would be ‘don’t panic’, it’s just painting, but there are some useful bits of kit and some core skills that you can develop to make it a whole lot easier and more enjoyable.
Tip 1: Essential Kit
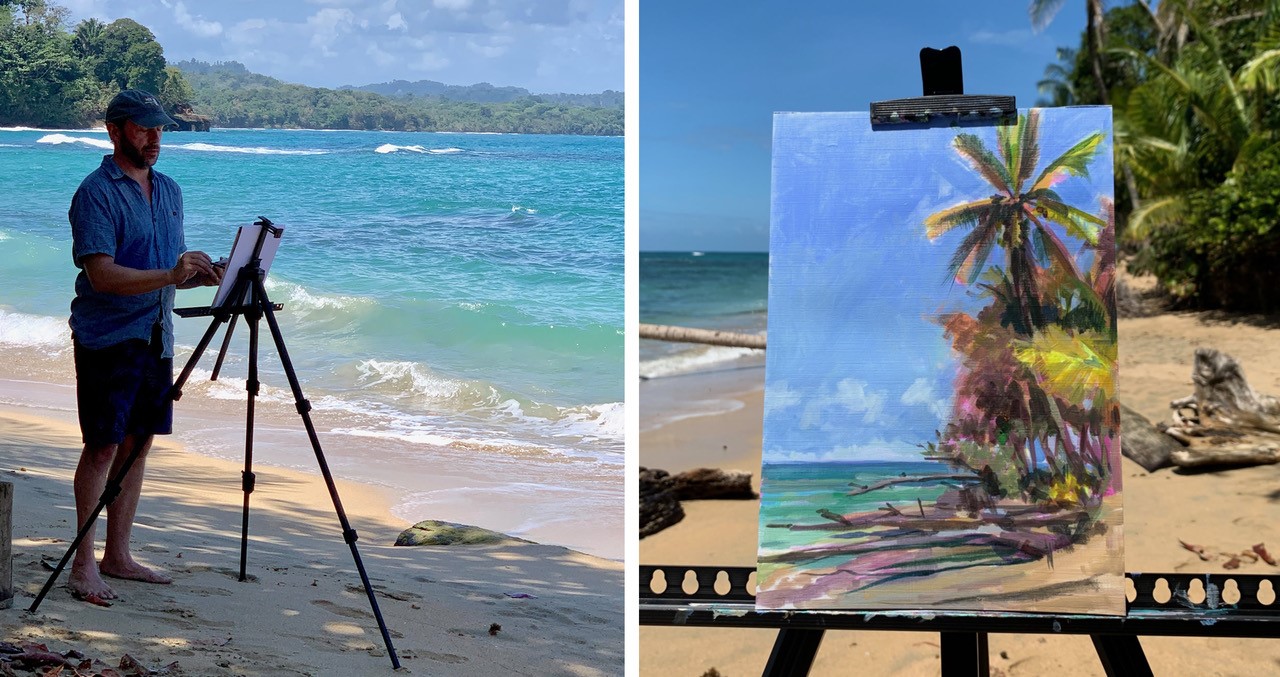
Easel: If you’re just starting out you can’t go wrong with a simple lightweight metal field easel – I tend to use this on holiday or when I have to travel light or hike to get to my destination. The only downside to this tripod approach is that you’ll need to keep all your other bits and pieces in separate boxes and bags – so the alternative is a conventional Field Easel or Box Easel that works just like a suitcase – but can be a bit heavy if you need to travel far.
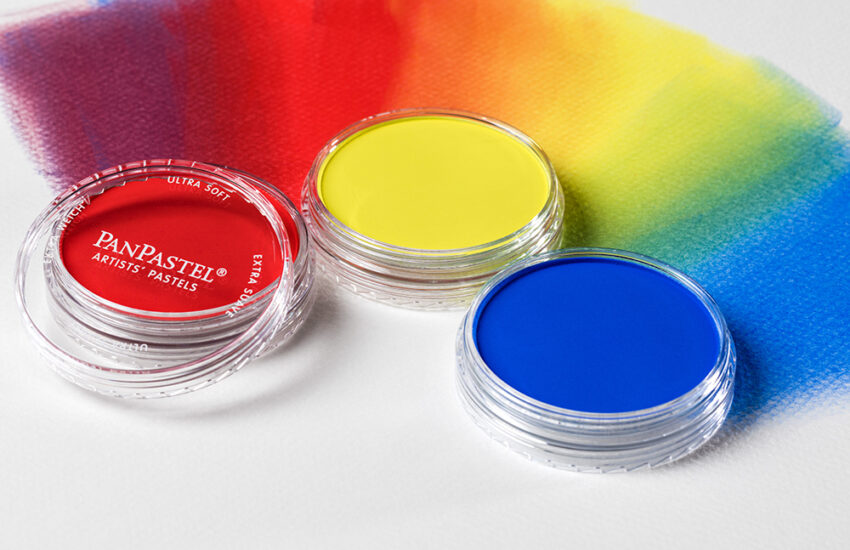
Paints: Entirely your choice, but my go-to options are Liquitex Acrylics and Michael Harding Oils.
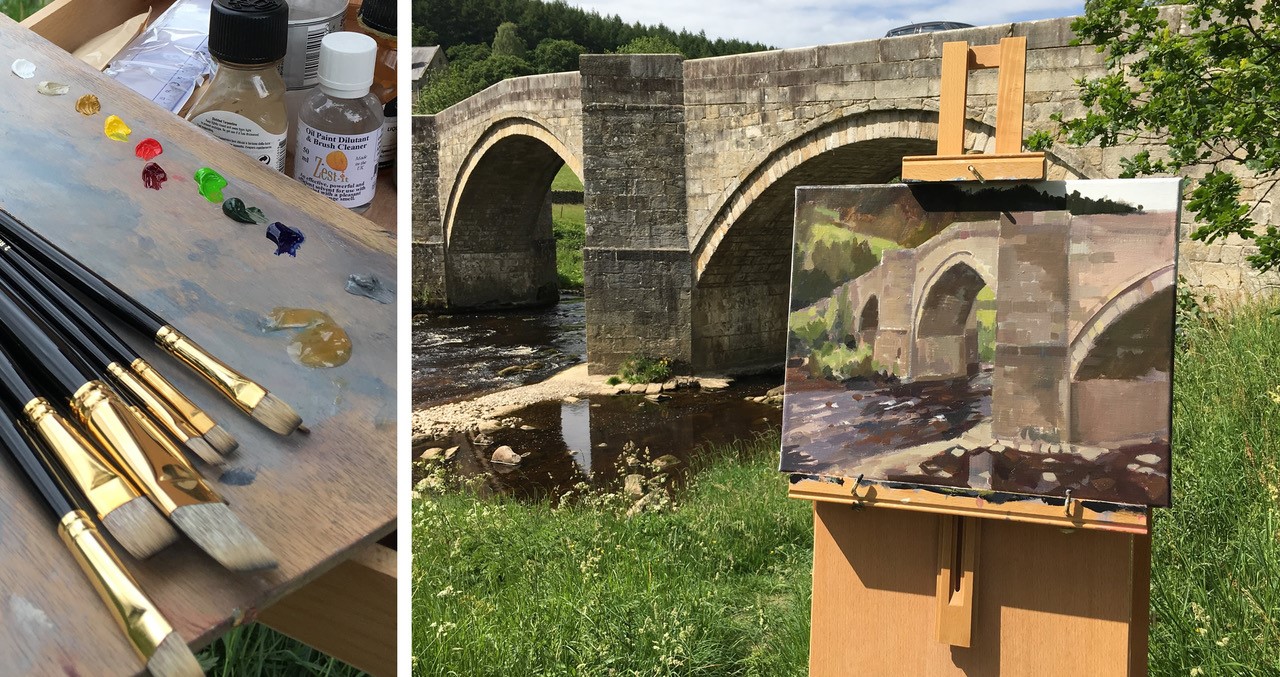
Palette: A simple A4 tear off paper palette.
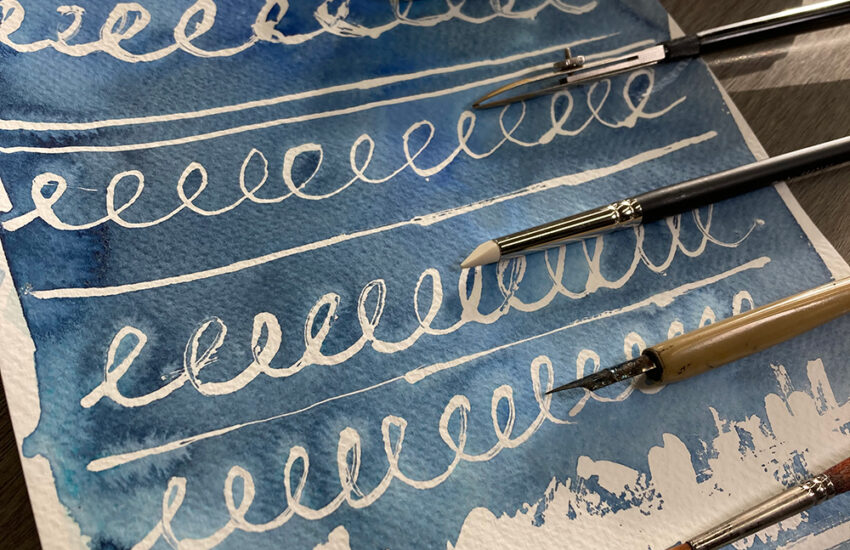
Brushes: Use what you are comfortable with – but I like a range of synthetics that will give me short flats for quick blocking in and a few others for detail and line work this brush case by Pro Arte contains a good selection of Acrylix brushes.
Canvas: The trend these days is to use small panels or canvas boards as they are super portable and give great results. I also use the new A4 Oil and Acrylic paper pads especially when travelling abroad where weight is an issue.
Tip 2: Find a location you connect with
Assuming you’ve found somewhere to paint – take a moment to ask yourself some key questions such as ‘What do I find most interesting about this view’ or ‘What atmosphere am I trying to capture here’. Use the answers to these questions to inform your composition and don’t start until you are really happy with your choices. Don’t compromise, you’re going to be standing there a while and you need to believe in what you’re doing from the word go. If you’re a bit shy or nervous about others seeing your work, find somewhere where you’ll be on your own. If you’re an extrovert, you might get energy from being in a busier location where members of the public interact with you. I like both – as it’s often useful to block out the rest of the world and just focus on painting. But if your subject is a busy street or place of interest I guarantee you’ll get on-lookers and wannabe art critics giving you some feedback – so be prepared.
Tip 3: Sketching and blocking in tonal values
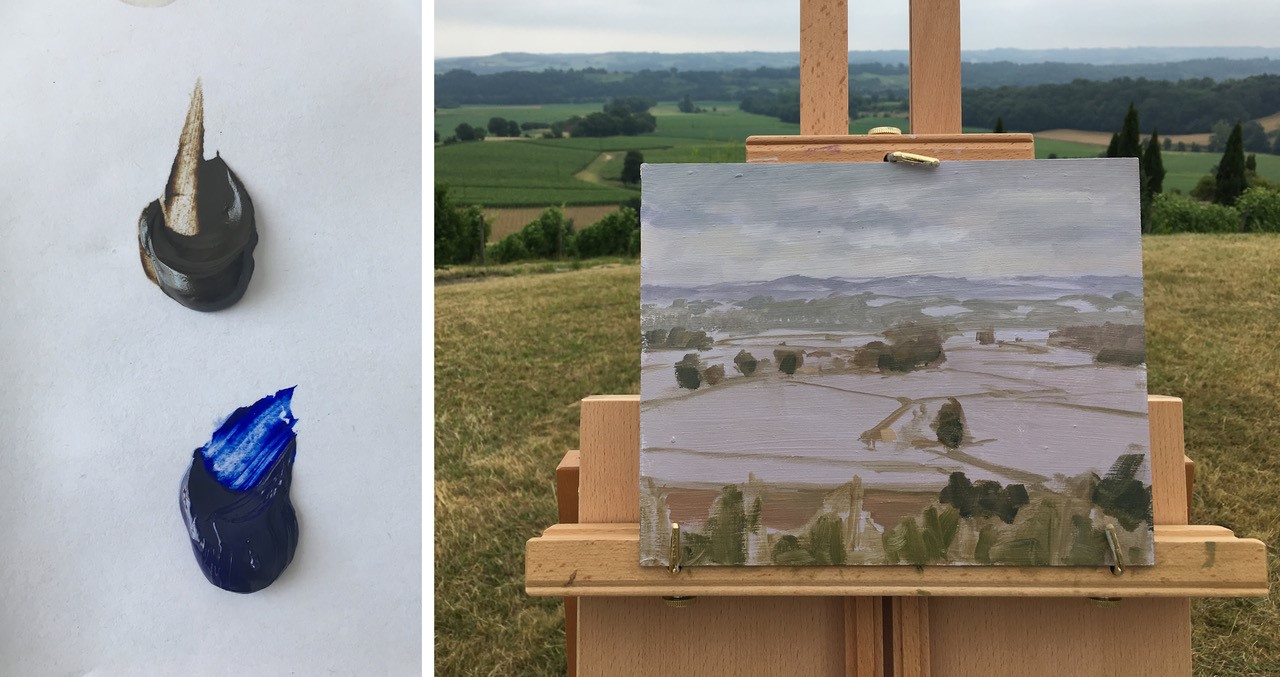
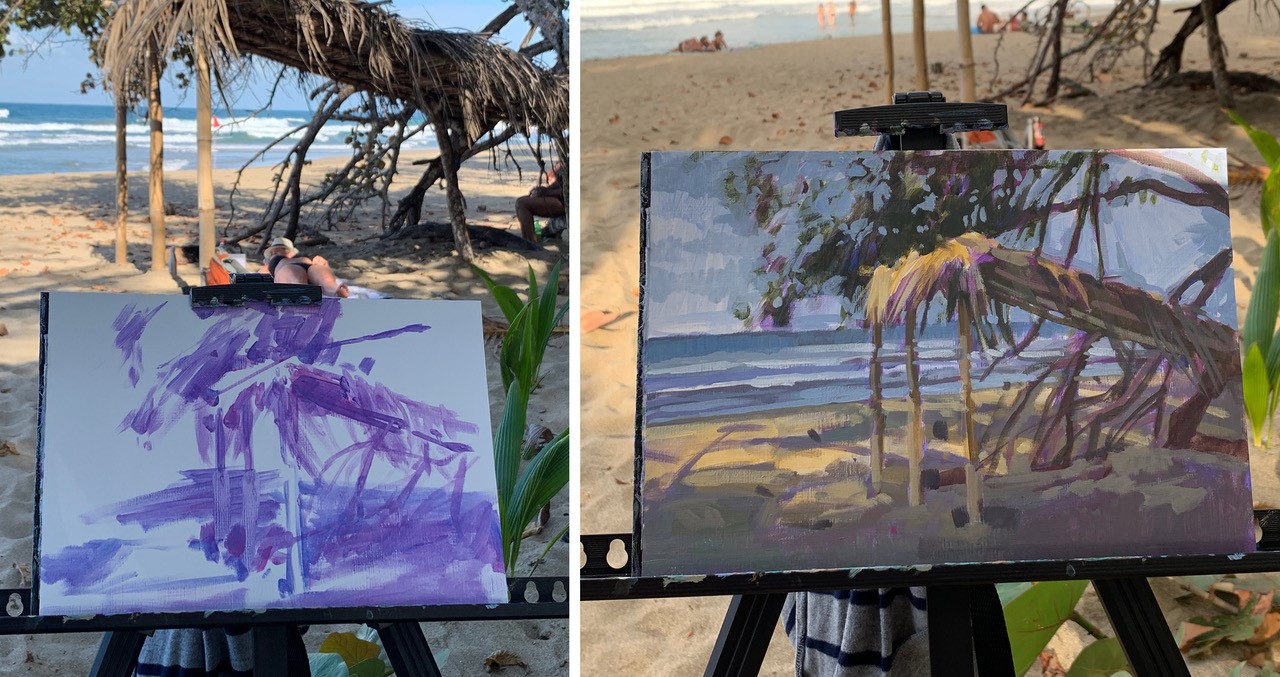
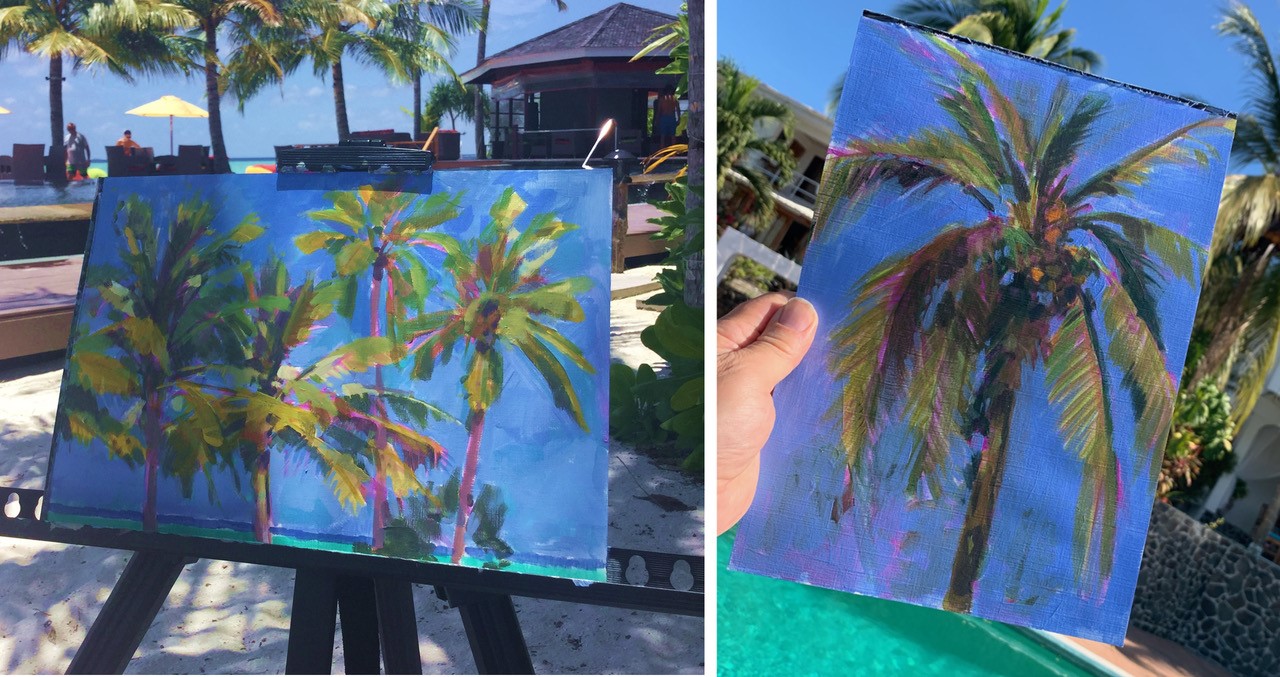
Starting with a sketch is a great idea and I normally begin with a quick outline or underpainting in acrylic that sets out my composition and tonal values. My go to brush for this phase is a short flat synthetic of about medium to large size. This allows me to create a fine line with one edge and to block in with the full face of the brush. In the UK I might use a combination of Raw Umber and Ultramarine Blue to give me the ability to lay down both warm and cool tones as I block in key shapes. However, whilst in Costa Rica recently, I found it was more successful to use Magenta and Turquoise because the overall colours of the landscape were so much more vibrant. So the learning here is to have some go-to strategies, but be prepared to adapt.
Tip 4: Colour layers
The big choice I face at this stage is whether to continue with acrylics or switch to oils. This is largely dictated by circumstance and whether or not I’m on the move and can carry a wet painting home easily. On holiday I prefer to use acrylics for that very reason and my strategy is to fill the palette with a wide selection of colours that relate to the key values I see in front of me. With oils, in contrast, I work with a limited palette of white, yellow, red, blue and raw umber using a mixing technique to achieve the colours I need. I generally find that oils blend better than acrylics – so this is why there is a different approach to each medium. In each case the underpainting informs where I go as I start to build on the learnings from my initial sketch. Developing all areas of the painting at the same time is key, so that I can maintain a sense of the balance of relationships across the whole work as it progresses.
Tip 5: Finishing touches
Knowing when to stop is something that comes with experience. You need to develop a sense of what it is you are trying to capture from a particular view and then employ some reflective questioning at the right moment to help yourself get clear on whether you’ve achieved it or not. A lot of my students worry about overworking a painting. We’ve all done it and it’s hard to recover from that state once its happened. My values are to keep the painting fresh, honour the material I’m using and ensure that the viewer will get a sense of place and some understanding of what I found so special about it. Once this is achieved – I know it’s time to pack up and move on.
Greg is a graduate of St Martin’s, London. You can follow him on Instagram at @gregorymason_art or sign up for his regular newsletter about paintings, shows and courses via his website at www.gregorymason.com.


a very useful artical very helpful and worth while information and very helpfol for begginners and experienced a like you never stop learning keep the articals coming and thank to everyone for contributing
Hi Stephen, thanks for your feedback! Glad to hear you found the article helpful.
Very helpful, thank you!
Very interesting. As Greg Mason says, knowing when to stop is vital! I visited some Greek islands a month ago and took an Rowney Daler A5 and a smaller Seawhite of Brighton sketchbook with me along with pencils and water soluble crayons. I am sure I had far too many colours at my disposal as I used only about half a dozen of the crayons. Obviously I don’t need an easel. I had fun and it wasn’t all rubbish.
Hurstpierpoint is full of accomplished artists but few if any use pencil only. I suspect they think Leonardo’s medium beneath them?