
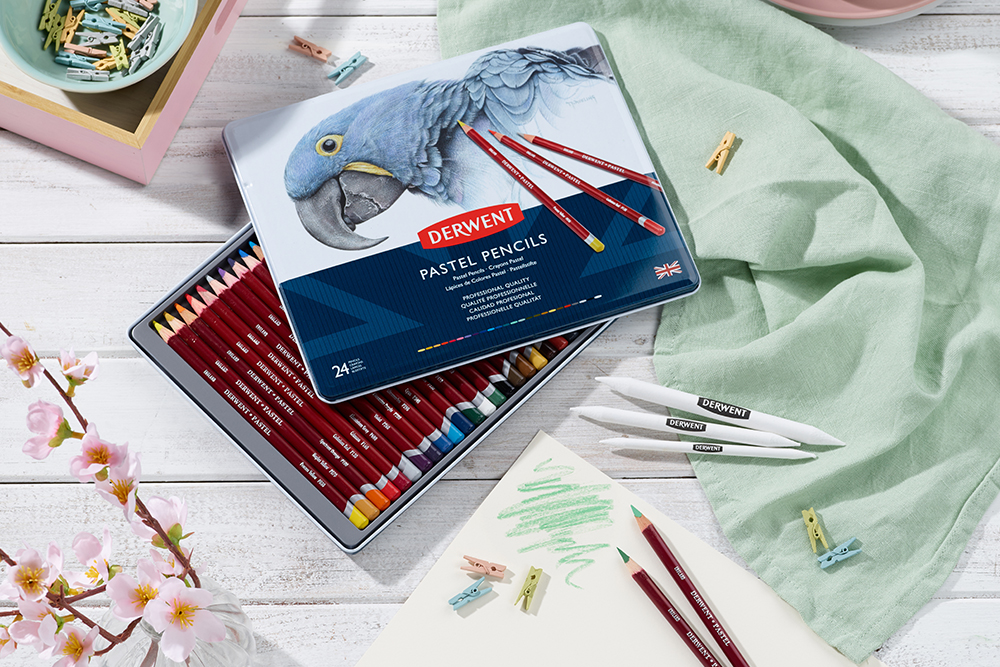
Our Top Tips for Using Derwent Pastel Pencils
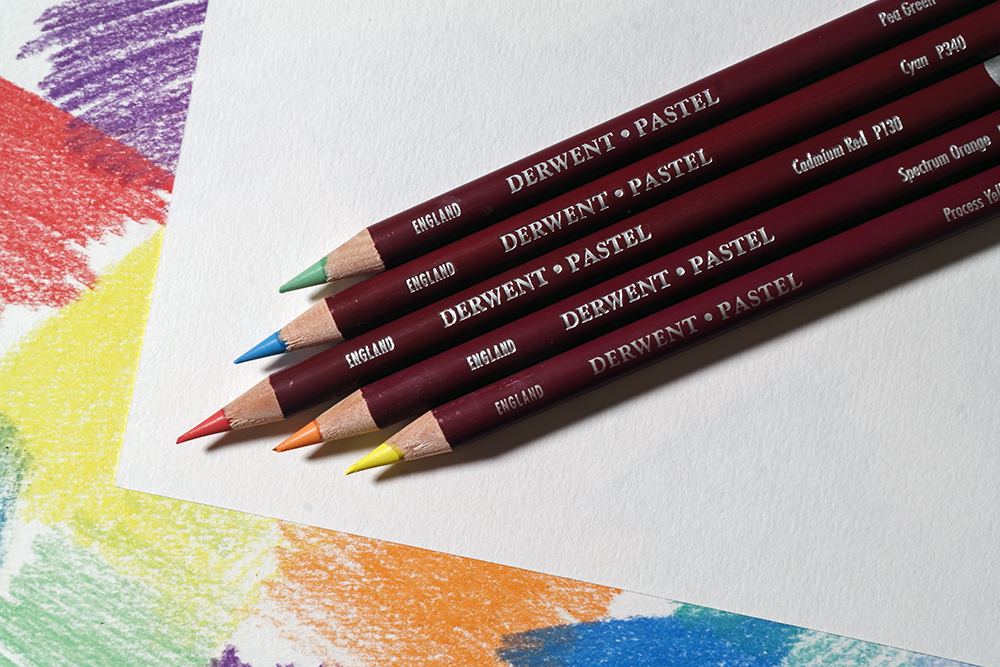
Enjoy all the beauty of soft pastel with the convenience and precision of a pencil! Derwent Pastel Pencils have a soft, powdery texture that makes it easy to lay down colour and blend into seamless gradients. They are suitable for all kinds of pastel painting techniques, whether you work in fine detail or prefer a more loose painting approach. With 72 beautiful colours to choose from, you’ll be spoiled for choice!
Derwent Pastel Pencils are the perfect medium for artists who love soft pastel, but find dusty hands frustrating! Their hard wooden casing not only offers valuable protection for the fragile colour inside, it also protects your fingers from picking up dust. Their colour strip has a lovely, soft texture which makes both applying and blending colour a breeze. While Pastel Pencils can be enjoyed as a medium in their own right, they can also be combined seamlessly with soft pastels. They’re perfect for adding in delicate details like fur, feathers and hair!
Struggling to get the hang of working with pastel pencils? Or maybe you’re looking to explore this medium for the very first time? Our top tips for using Derwent Pastel Pencils are sure to get you off to a head start!
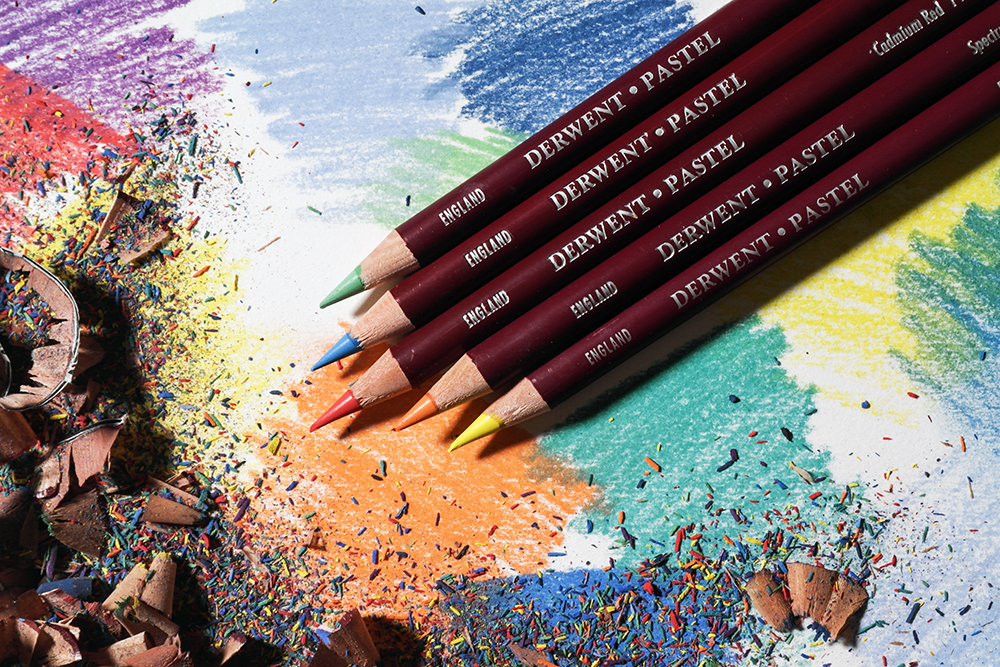
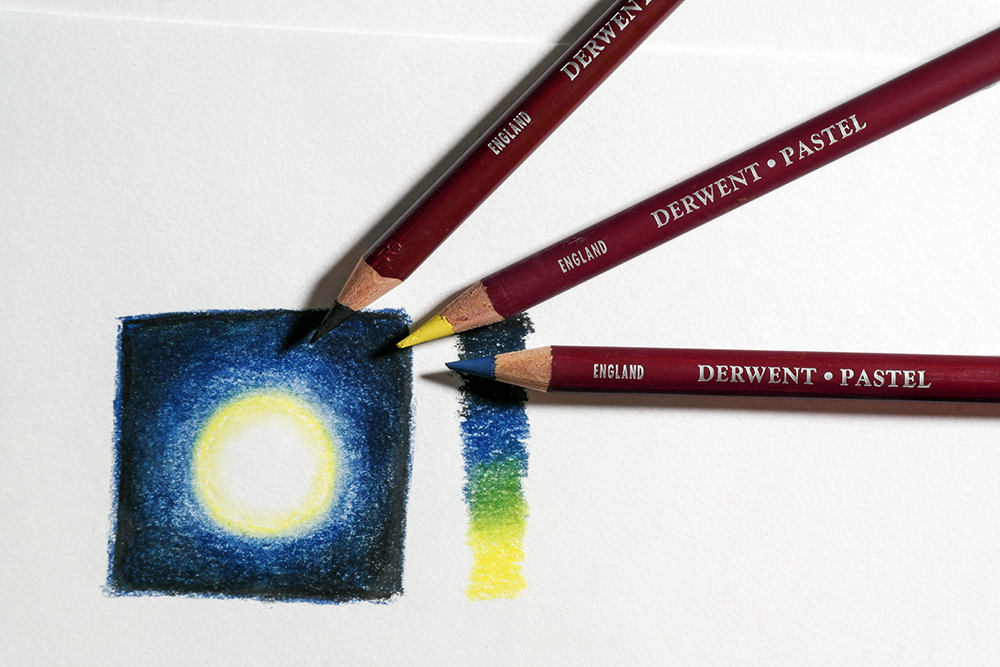
Use all sides of the Pastel Pencil
Pastel Pencils are incredibly versatile. Not only are they perfect for working on precision, small detail pieces, the exposed edge of the pencil is also great for covering large areas quickly. Keep your pencils sharpened to a point to work in those final details on your paintings.
When you hold your pencil, try changing the angle of the pencil in your hand and see how it affects the marks you can make. Hold at a low angle that brings the length of the exposed lead in contact with your paper. Then glide the pencil across the surface while maintaining the angle. You’ll be able to create broad sweeps of colour this way.
Not only is this great for covering larger areas, its also brilliant for more abstract mark making. Try using this hold for frottage techniques (explained later in this article!), or on rough papers to create interesting textures in your painting.
Create smooth transitions of colour with blending tools
Blending tools such as Paper Stumps, Tortillions, Colour Shapers and Fan Brushes (like the ones in our Colour Shaper Sets) can be used to merge two or more colours into smooth gradients. It’s an important technique to master as it allows you to bring rich tone, shade and colours to you work.
All you’ll need to do is lay down two or more colours quite close together on your paper. Take your chosen blending tool, or your finger, and gently move it between the two colours. As you move backwards and forwards between the colours, the two should smudge together. With a bit of work you’ll end up with a smooth gradient. The softness and dustiness of these pastels make it really easy to work with blending techniques.
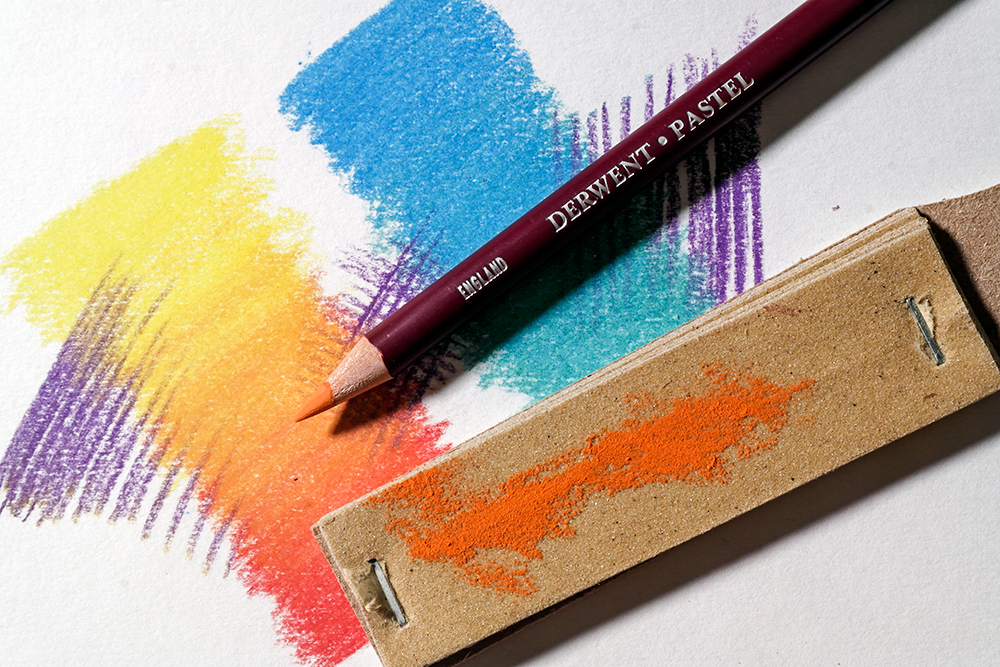
When you’re finished blending, you can clean your paper stumps by rubbing them along a Sandpaper Block. Brushes and rubber tools can be cleaned with a damp cloth.
Layer up similar colours to create richness
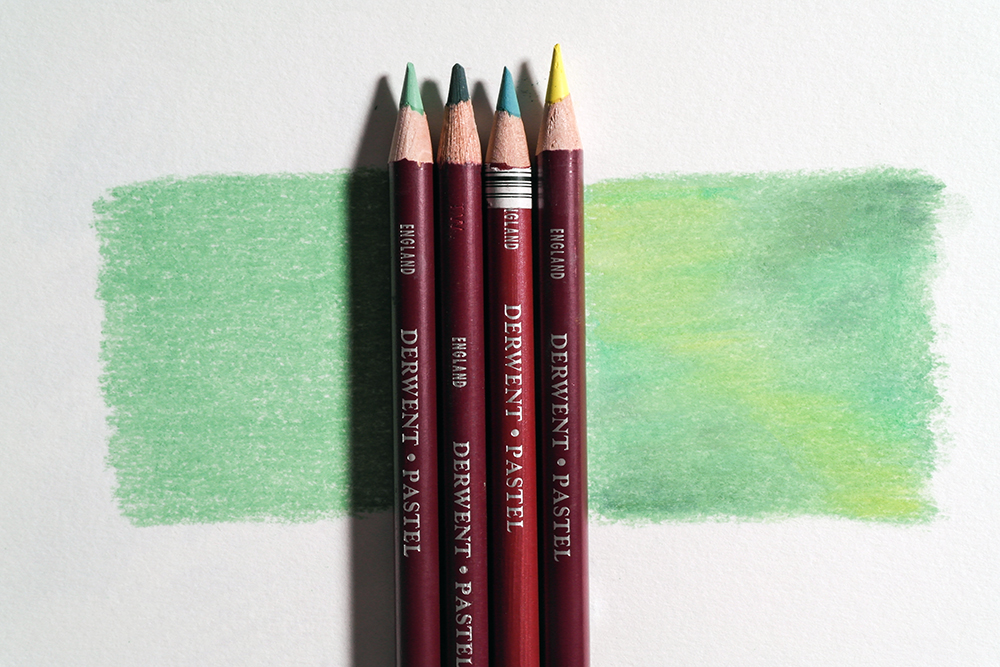
If you find your colours are looking a little flat and lifeless, try introducing more colours from the same colour groups. For example, this flat area of green pastel on the left looks a little drab. In contrast, the green mixture on the right looks much more radiant and enhanced. The only difference is that on the right more shades of green have been added to the mix. Pick out some yellow greens, blue greens, warm greens and cool greens and see how they change the appearance of the overall colour. Experiment with other colour groups and see how it brings a richness of colour to your work.
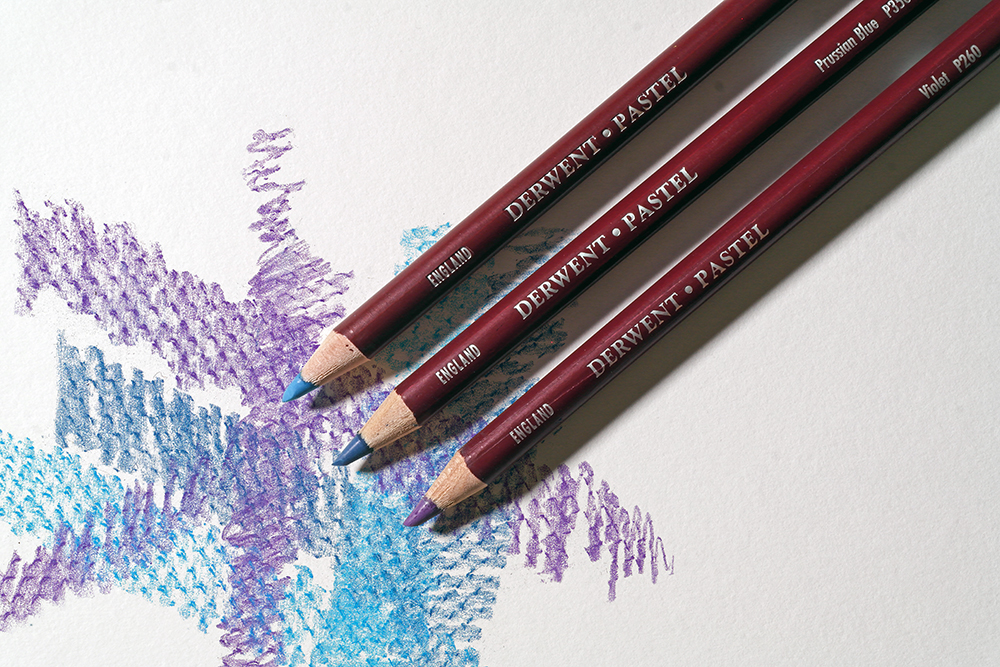
Try experimenting with hatching techniques
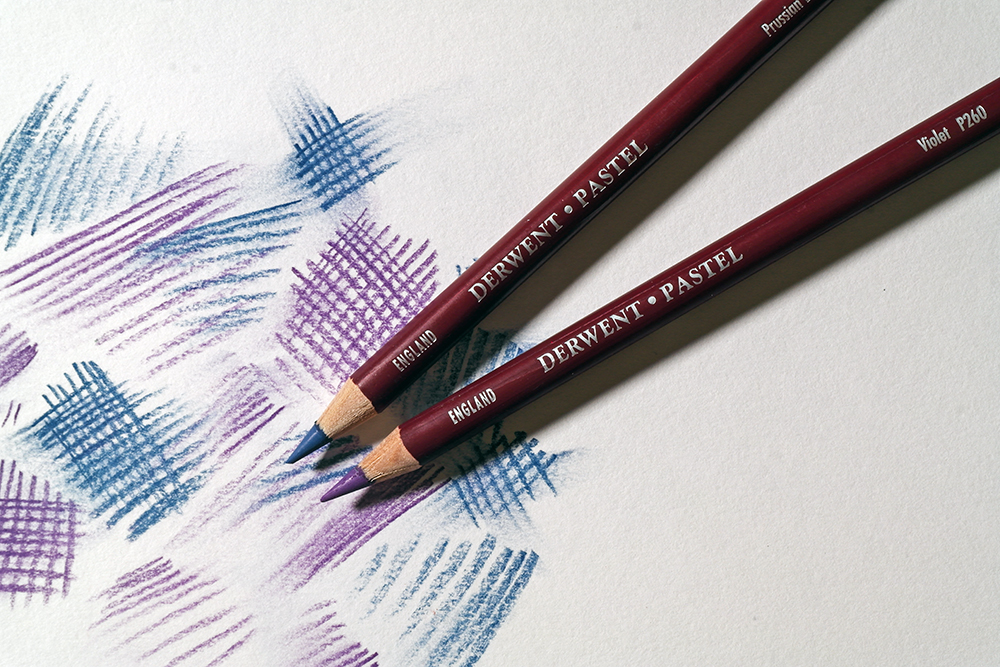
Hatching is a drawing and sketching technique that involves laying down strokes of pencil in lines. The closer the lines are together, the more dense your shading will appear. You can use this to your advantage to create an illusion of depth. Similarly, cross hatching also works on the same principle. However, you add additional layers of lines on top of the original lines, but in a different direction. Find out more about hatching and other mark making techniques in our 9 Easy Pen and Ink Techniques for Beginners blog post. Here the techniques have been practiced in pen, but the methods will remain the same. Try experimenting with these marks, using different colours on top of one another to see how it changes the appearance of your work. You can create interesting mixes of colours without them becoming muddy.
Harmonise your colour scheme with hatching
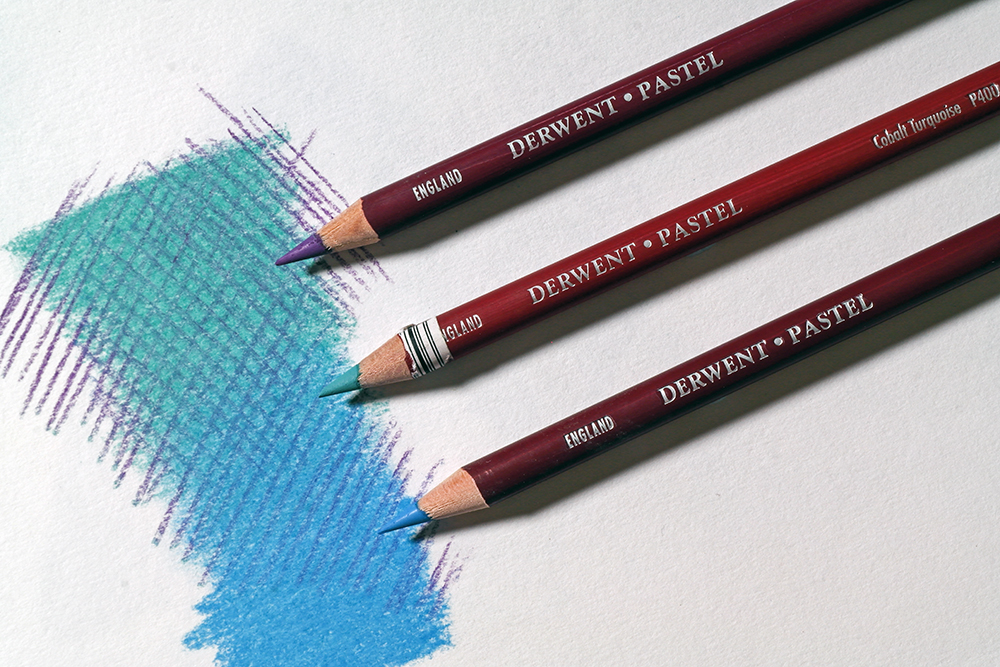
Leading on from the techniques above, it can be interesting to see how hatching can help unify or bring areas of your pastel painting together. If you have areas of your painting that feel a bit stark and separate from one another, try hatching over the top of them with one colour. These marks in a single colour can help harmonise your colours and improve the overall composition of your work.
Vary your mark making techniques to add interest
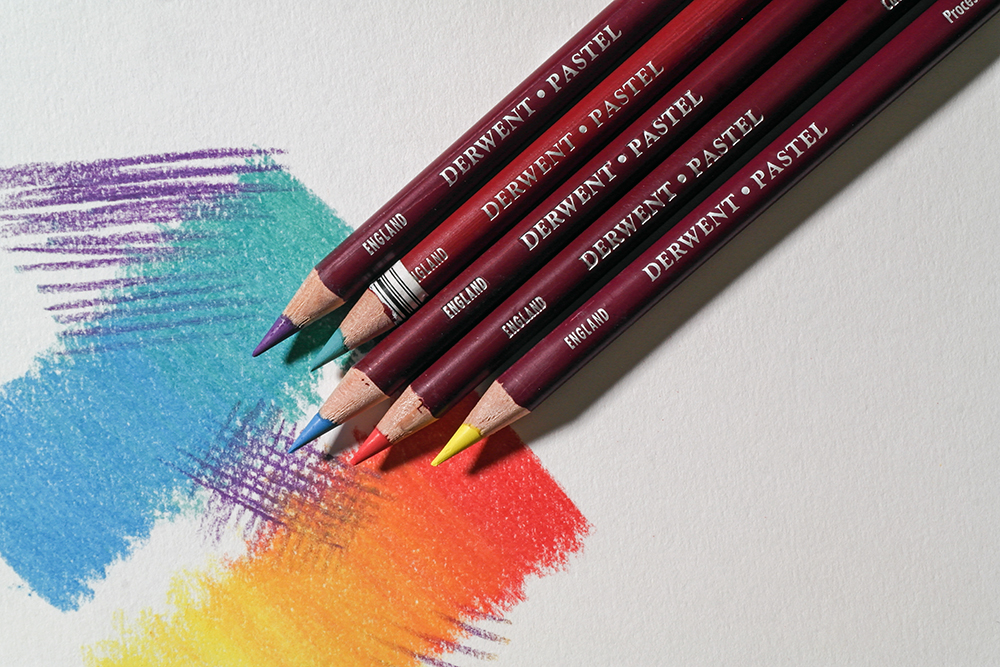
There are many pastel drawings and paintings that are composed solely of smooth blending, hatching or other techniques. If you’re working with a single mark making method and find your work looking a bit flat, try mixing up your techniques a bit. Create areas of smooth blending and contrast them with areas of directional hatching. Experiment with loose, abstract marks and see if they liven up your artwork.
Juxtapose different values, light and dark shades to create contrast
Using similar values in your work can make it look flat and uninteresting. Try incorporating a broader range of values into your work and contrast areas of light and dark shades next to one another. Placing the darkest values next to light or middle values adds drama to your art and will really bring your composition to life. You can find out more about how to incorporate values in your artwork in our How to Use a Value System When Creating Your Artwork blog post.
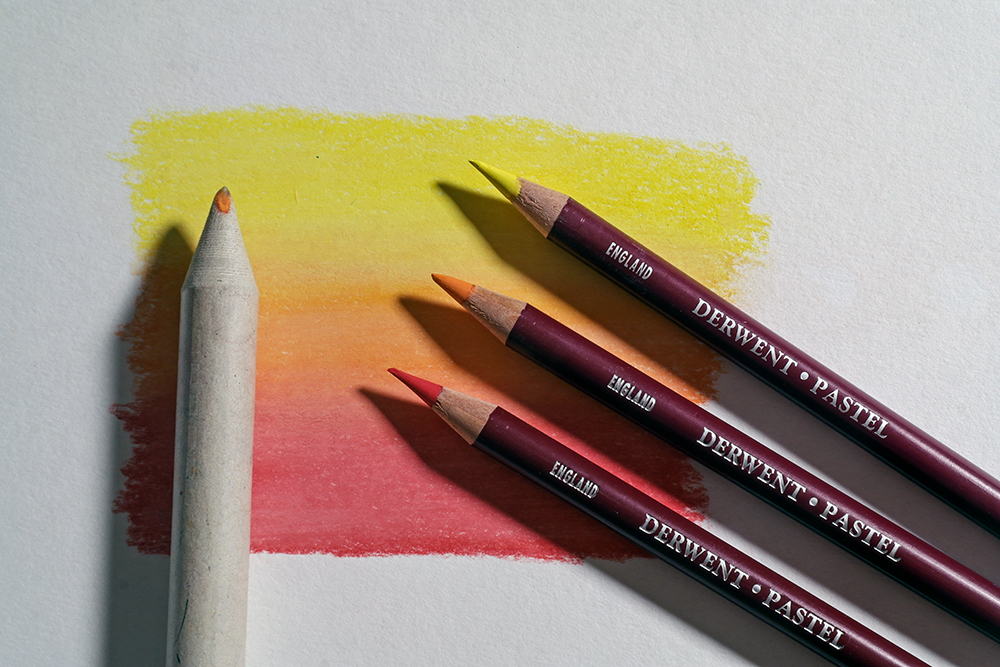
Try out Wet Brushing
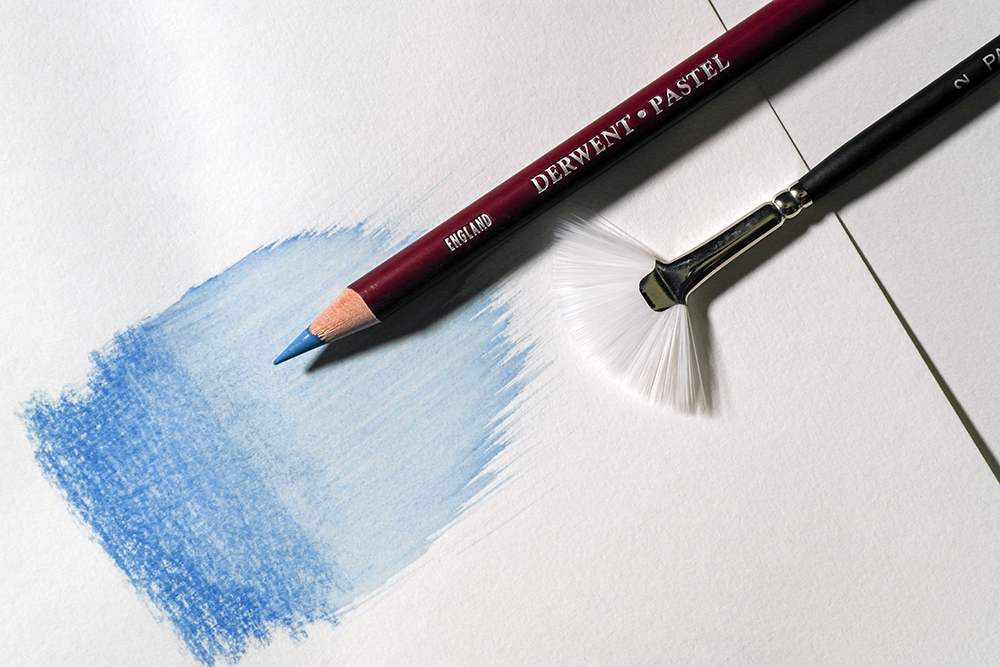
Wet Brushing is a technique that uses a slightly damp fan brush to spread out colour. It’s particularly useful for quickly creating a base layer of colour that can be worked on top of once dry. A background made with wet brushed colour will help set the general tone and value for your overall painting. It’s also a good technique for softly blending details into the background of your piece. Before you use this technique you’ll need to test how well your surface stands up to water.
Experiment with Frottage
Frottage is a French word that describes the process of taking a rubbing from a rough surface. This technique can be used in the same way that you would with square or round pastel blocks. All you’ll need to do is place your paper over a rough or uneven surface. Then gently run your pastel pencil across the paper. Applying just enough pressure for the textured pattern of the surface to show up. It’s best to use as much of the exposed lead as possible. This is a quick and easy way to introduce different patterns or textures into your work.
Lift pastel to create interesting highlights
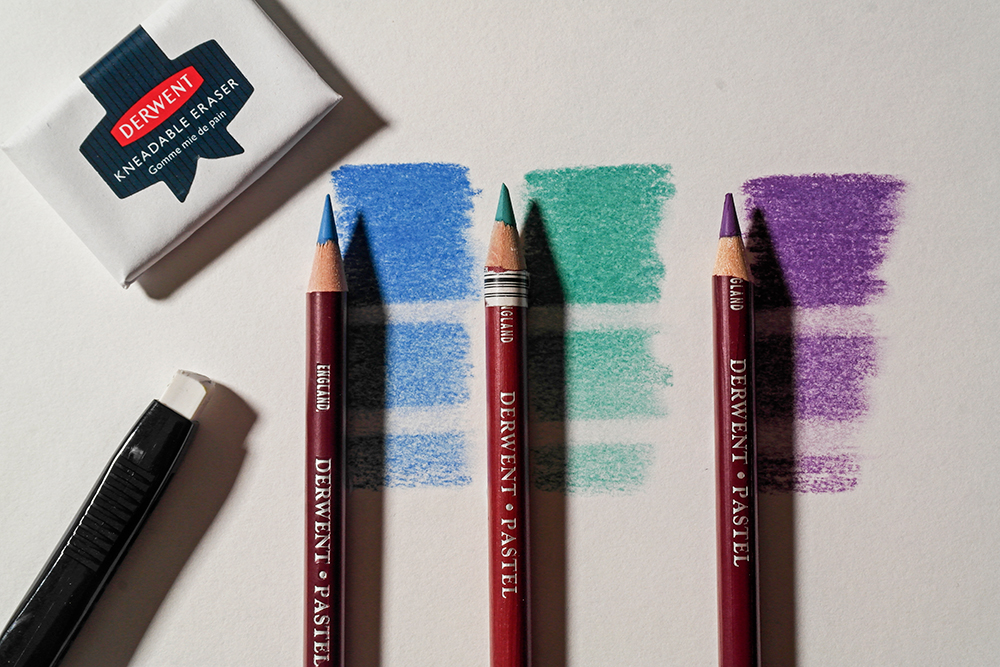
You can lift Pastel Pencils with eraser just like regular pencils. A Kneadable Eraser (or Putty Rubber) is the perfect tool for gently lifting out excess pastel or for adding highlights. You can mould these erasers into any shape, which allows you to fashion your own precision lifting tool. Try shaping a kneadable eraser to a fine point and gently lift your pastel colour. The fine point should allow you to lift with precision. You can also use fine tipped erasers – like the Derwent Pencil Eraser, Derwent Battery Operated Eraser or Derwent USB Rechargeable Eraser – to lift out precision highlights. Manual erasers will achieve more subtle results, whereas the electric erasers will create more stark, distinctive highlights.
Protect your work with a sheet of clean paper
Pastel Pencils are a dusty medium. While their wooden barrel does help eliminate some of the mess we associate with soft pastel, you may still find the dust that they generate frustrating. There’s nothing worse than finishing a piece, only to accidentally catch some loose dust. While you’re working, try resting your hand on a clean sheet of paper. This will protect your work both from smudging and from any dust on your hands. Some pastel artists also prefer to work vertically on an easel, which allows some of the pastel dust to naturally fall from the surface.
Using fixative on your painting in between layers can help control the amount of dust. However, fixative will permanently change the appearance of the colours in your work. Some artists prefer to avoid fixing their work for this reason. It’s always worth testing fixative out on a small area if you find dust to be a problem.
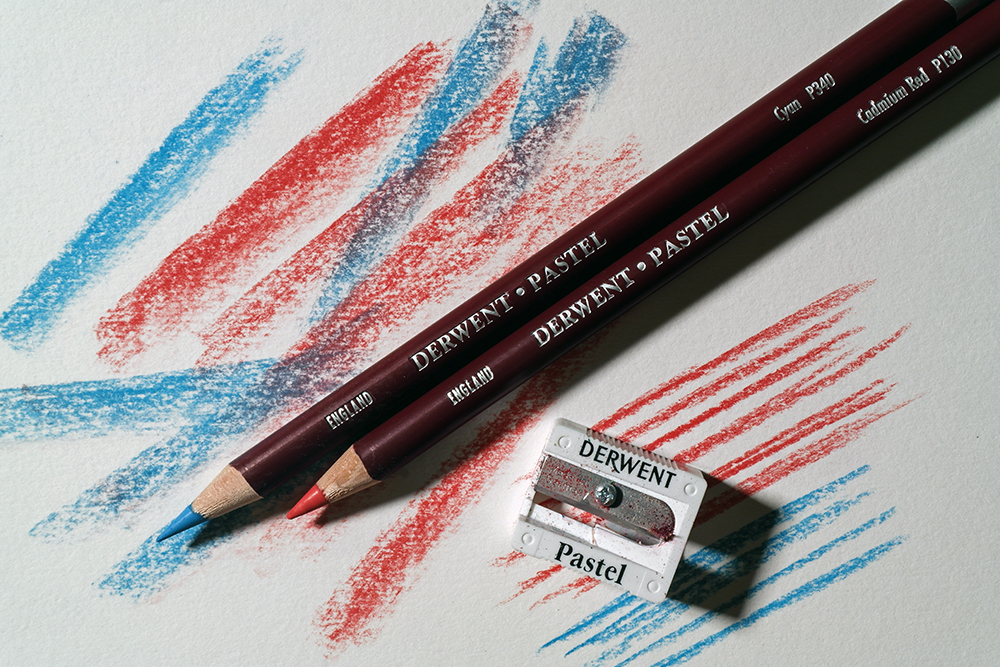
Keep your Pastel Pencils sharp
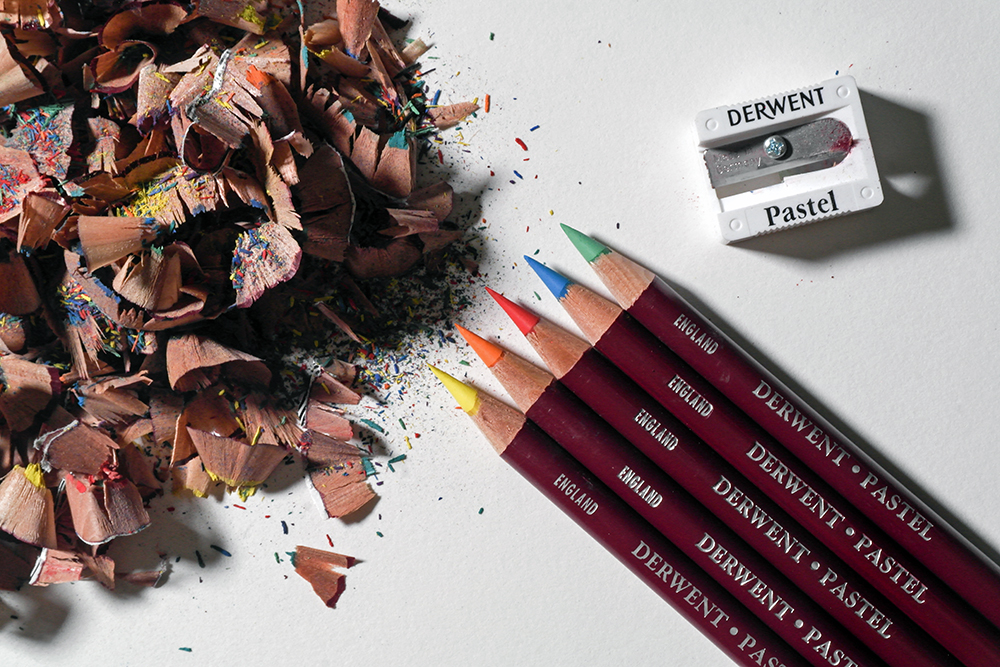
Finally, but perhaps most importantly, always make sure you are working with sharp pencils. Pastel Pencils are a very fragile drawing and painting medium, which can make them more difficult to sharpen. A Derwent Pastel Pencil Sharpener is the perfect tool for maintaining a fine point on your pencils. These sharpeners are much gentler than a standard sharpener – they delicately remove the wood and carefully shape the soft pastel to a point. The blade of a pastel pencil will become blunt with time, so change your sharpeners regularly to make sure they don’t damage your pencil.
If you have trouble using a pastel pencil sharpener then you could use a Utility Knife instead. Use the blade to gently carve away the surrounding wooden barrel until you expose a good chunk of lead. Don’t expose too much! The wooden casing helps protect the fragile lead inside, and a very long lead will be more fragile and difficult to work with. You can roughly shape the lead into a point with the blade, or run it across a Sandpaper Block to hone the tip.
If you opt for sharpening with a knife try to be as delicate as possible. The contrast between the hard wooden casing and the soft pastel can make it difficult to get the right pressure. The more you practice the easier sharpening will be.
Discover our range of Derwent Pastel Pencils by clicking the underlined link.


The simplest ideas are always the best
Reading this has been so helpful and – even though I’ve been using a variety of pencils over the years – I’ve learnt some new, useful tips.
So a very big THANK YOU!