
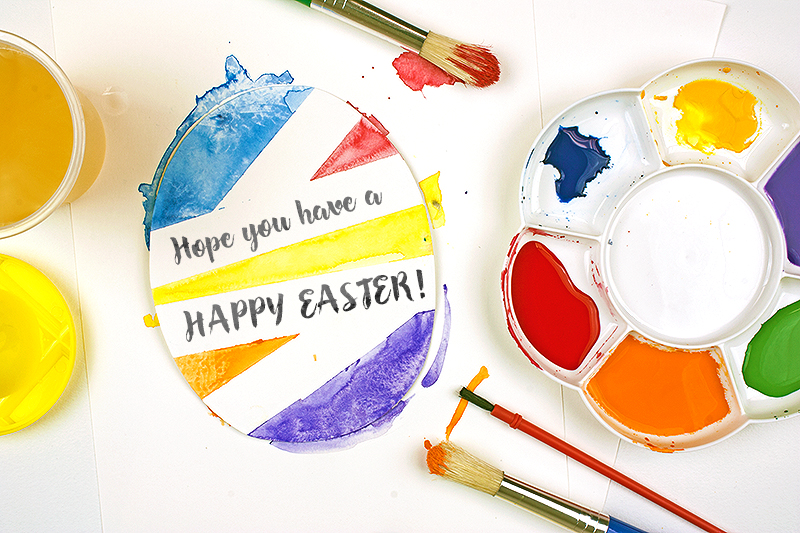
Easter Art Projects for Kids
There’s no better way to celebrate the arrival of Spring than by getting the family involved in some Easter art projects! These easy-to-follow Easter art tutorials are suitable for children of all ages and are a great way for young children to explore their creative side!
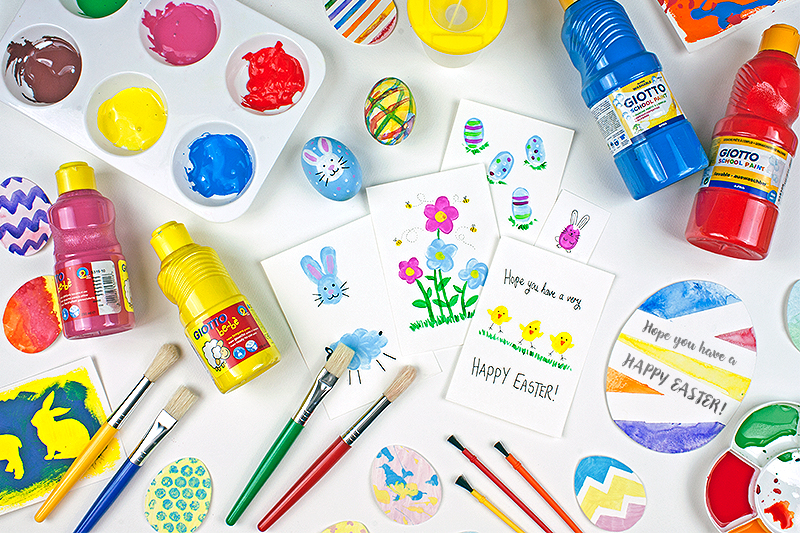
There’s more to Easter than painting eggs! Kids of all ages are sure to get egg-cited by these bright, cheerful projects inspired by Spring; they are a great way to welcome in the Easter season! Fun for the whole family, this selection of tutorials feature step by step instructions so you can craft together and create some fantastic Easter memories.
You can find our whole range of Kids art supplies online. With everything from paints to pencils, we have everything you’ll need to get your family crafting this Easter! Crack out your art supplies and get creating!
Easter Fingerprint Paintings
Creating fingerprint artwork is a great way to get your kids ‘hands on’ in the creative process; there’s nothing they’ll enjoy better than getting their fingers in all that colourful paint! Using your fingers to print out designs is a quick and easy way to build up a bright and cheery Easter image, and you can let your imagination run wild with designs! Paint anything from Easter chicks, to eggs or even a Spring bouquet; maybe even challenge yourself to do something more complex.
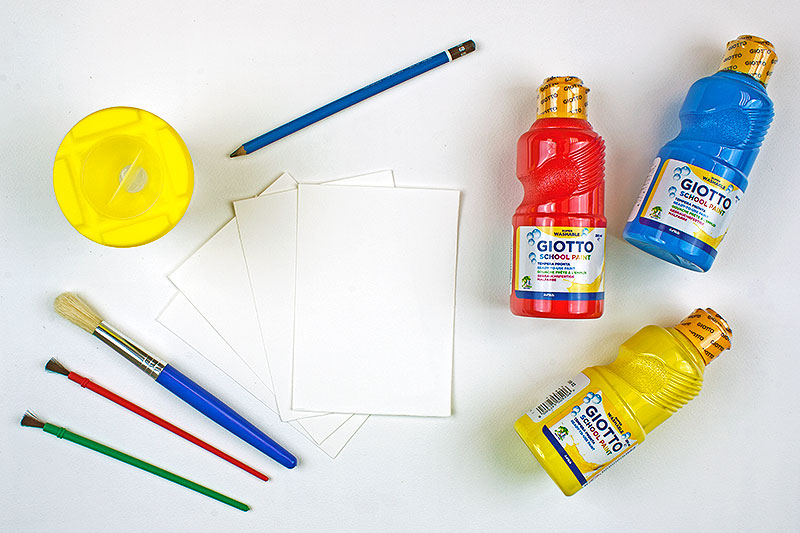
What you will need
- Kids School Paints or Finger Paints (We used Giotto School Paints)
- Paper or Card
- Palette (This Deep Well Palette is great for mixing colours)
- Water Pot (We used this Non-Spill Paint Pot to avoid any accidents!)
- Pencils and pens
- Coloured card
- Scrap paper or newspaper (to protect your table tops!)
- Glue (We used Giotto Glue Stick)
Begin by preparing your work space; using your fingers to paint can become quite messy! Although the Kids paints we sell are easily washable from skin and clothes it’s always best to prepare your surface with scrap paper or newspaper. Once this is done you can get down to painting! Arrange your work space so all your materials are easily accessible and prepare the colours that you would like to use in your designs.
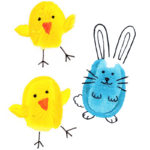
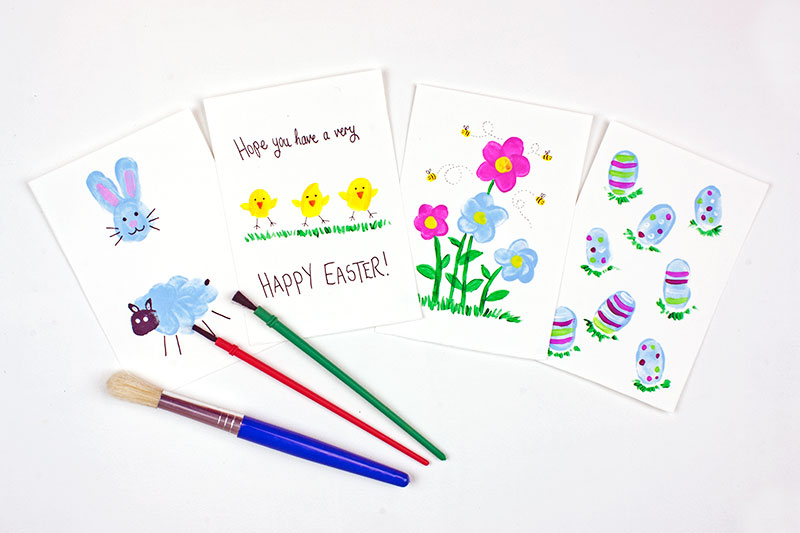
Dip your fingers into the paint and remove any excess on some scrap paper or card, then press your finger firmly onto paper to create your design. To begin with we started with a fairly simple design of three Easter chicks, each created with one yellow fingerprint. Once the paint has dried you can add more prints over the top or add in designs with pen or a paintbrush! We used a Sakura Pigma Micron Pen to add eyes and feet and a small brush to paint in some yellow wings and an orange beak!

Creating artwork using this method is a great way for kids to customise their sketchbooks; our Kraft cover sketchbook is fantastic for this purpose! Your child’s designs can even be turned into cards! Simply use a Giotto Glue Stick to adhere the artwork to a folded piece of coloured card!
Easter Egg Painting
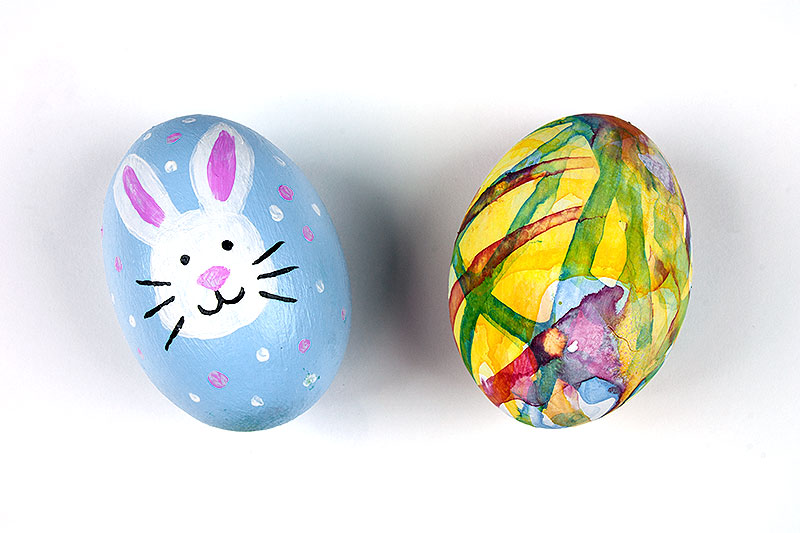
Egg painting is perhaps the quintessential Easter craft! Your children will have endless fun conjuring up new designs and printing them onto paper. Start with simple striped designs and build up to more complex patterns as your confidence grows!
What you will need
- A carton of Eggs (Keep the container!)
- Palette (this Deep Well Palette is great for holding your eggs while painting!)
- Paint (Giotto Paints or watercolour)
- Pipettes
- Pencils and pens
- Paint Brushes
- Scrap paper or newspaper
- Non-Spill Water/Paint Pot
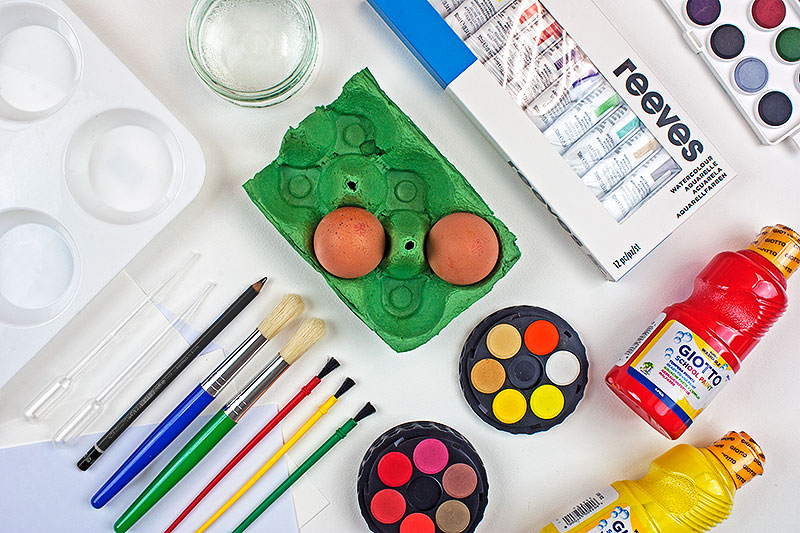
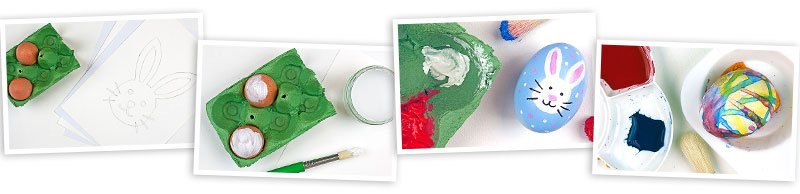
As with all crafts, the most important thing to do is prepare your workspace; laying down scrap or newspaper will help protect your surfaces from any spills or splashes. Once that’s done you should arrange your materials and prepare the colours you plan to use. Keep the container for your eggs as they can be used for mixing colours and also keep your egg stable when painting. It’s best to add a layer or two of your base colour until the paint layer on the egg is opaque; this will help your design stand out.
We used two different methods in our demonstration; painting on a design and also staining the egg with paint to create an abstract dripped effect. For the painted design we used Giotto School paints; thick and opaque these colours are great for painting on block designs. You can use a pencil to apply your design to the egg, which will make it easier to create your artwork. Once you have pencilled in your design fill it in with colour; Junior Brushes are ideal for covering large areas, but you may need a smaller brush for tiny details. Let each layer dry before applying the next; this will help your lines stay crisp and clear.
For our staining technique we used watercolour paints. To get a dilute wash it would be best to opt for tubed watercolour paints, we stock a Simply Watercolour Sets ideal for this purpose. You can create washes using pans of watercolour, but it will be more difficult to get the right consistency and concentration of colour. Another alternative would be to mix Brusho Crystal Colours with water to make some vibrant washes of colour. Your washes can be mixed with water in a palette; our Deep Well Palette or Plastic Daisy Palettes are ideal for preparing multiple colours ready for use.
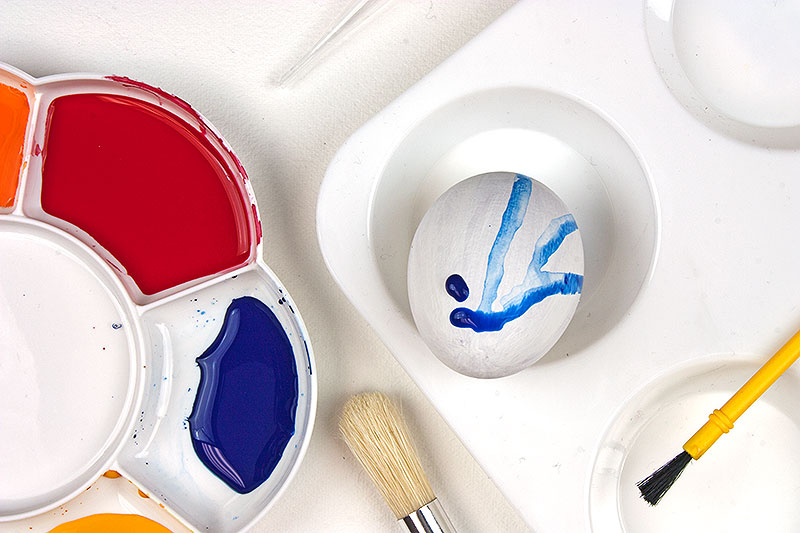 Colour can be drawn out from the palette using pipettes and dripped over the egg. Keeping your egg in the egg carton or placing it in your palette will help contain the overflow of paint. It’s best to let each colour dry before you apply the next, unless you would like the colours to meld and blend with one another. Once you’ve finished applying your colour, any excess can be removed from your palette with tissue or kitchen roll.
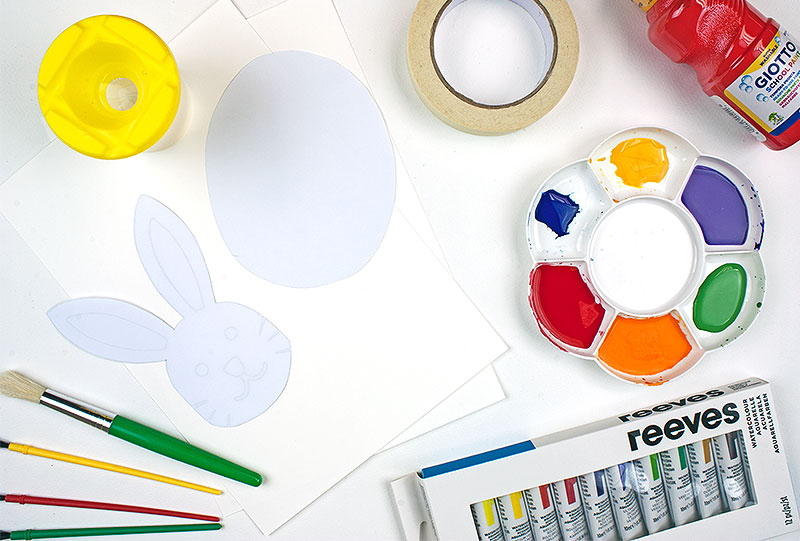
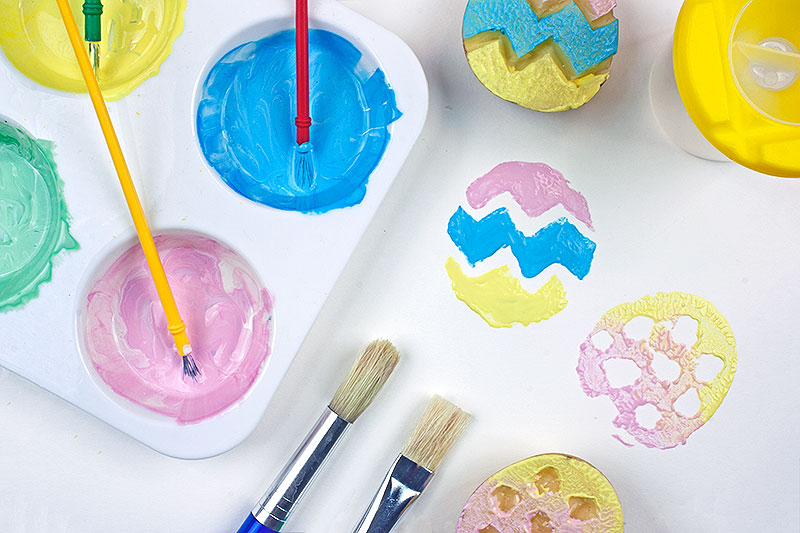
Easter Eggs with Masking Tape
This quick and easy craft uses Masking Tape as a resist to create decorative Easter Egg images. Use them for decoration or add them to cards, they’re sure to bring a bit of Spring cheer however you choose to use them!
What you will need
- Masking Tape
- Paint (Giotto Paints or watercolour)
- Palette (We used the Deep Well Palette and the Plastic Daisy Palette)
- Paint Brushes
- Pencils and pens
- Paper or Card
- Non-Spill Water/Paint Pot
- Scrap Paper or newspaper
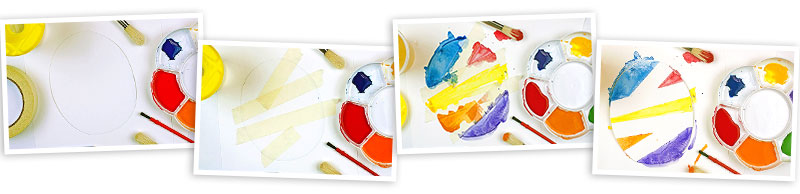
As with the rest of our Easter Crafts its best to protect your work space with scrap or newspaper before you begin painting. It also saves time to pre-prepare the colours you are going to use and fill up your water pot so you’re ready to paint. We used this technique on an Easter Egg template cut from card, but there’s nothing to stop you using it with other stencils or shapes.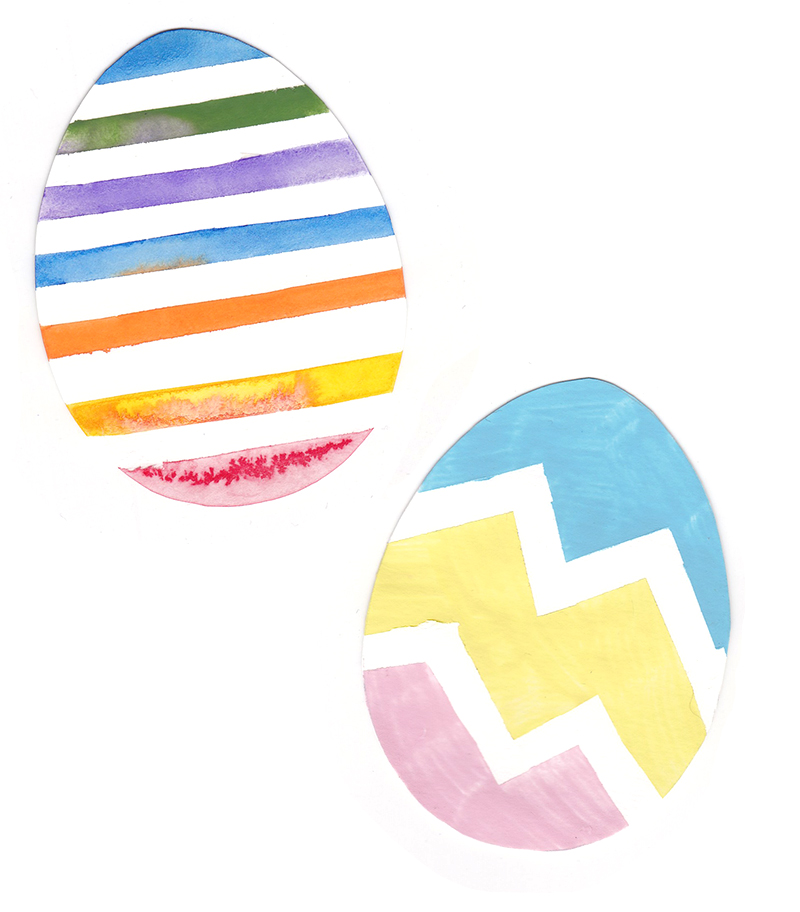
With this technique you can use masking tape to create zig-zagged or striped effects on your egg templates, then colour the spaces in between with paint to create vibrant patterns. Be sure to let your paint dry fully before removing the masking tape – removing it when the paint is still wet can cause the paint to bleed. It’s also important to be patient when pulling the tape back – rushing the process can cause your paper to tear.
Once your designs have dried completely you can use Giotto Glue Stick to transform them into Easter Cards, arrange them into an Easter wreath or even create a bunting by attaching them to ribbon or string!
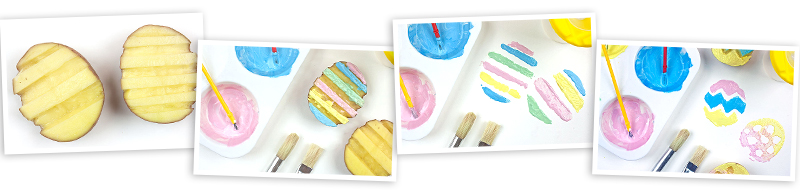
Easter Egg Potato Prints
Potato printing is a low cost craft that I’m sure we have all tried at least once! This tutorial gives a childhood classic an Easter-themed twist. The shape of the potato is the perfect base for creating your own Easter Egg design – but you will need to take control of any sharp knives during the carving process!
What you will need
- Potatoes
- Paints (We used Giotto Bebe Super Paints)
- Paper or Card
- Paint Brushes
- Pencils and pens
- Non-Spill Water/Paint Pot
- Scrap Paper or Newspaper
- A sharp knife for carving your design

As always it’s best to start off by protecting floors and furniture with newspaper or cloths. Having your paints squeezed out in your palette ready to be used will also keep any mess to a minimum. Your kids can draw out and plan their own designs on paper, but yourself or another adult may need to take charge when cutting the potatoes as there will be sharp knives involved! If your potatoes are large enough, cutting small chunks out of either side of them to create a grip can help your children hold onto the potato when printing.
 The process of potato printing is simple – just dip or paint your potato with colour, remove any excess paint with a scrap piece of paper and then press your potato against your paper or card. Mix and match colours, and carve new designs to create a beautiful basket of Easter Eggs! Once your eggs are dry you can cut them out and hang them as decoration, string them together in a bunting, create an Easter wreath or even use Giotto glue to turn them into cards!
Create texture using these techniques!
Once your kids have built their creative confidence by trying these tutorials, you can encourage them further by bringing additional techniques to their painting process. Below are some easy and affordable ways to inject even more excitement into creating their Easter crafts!
Bubble Wrap Printing
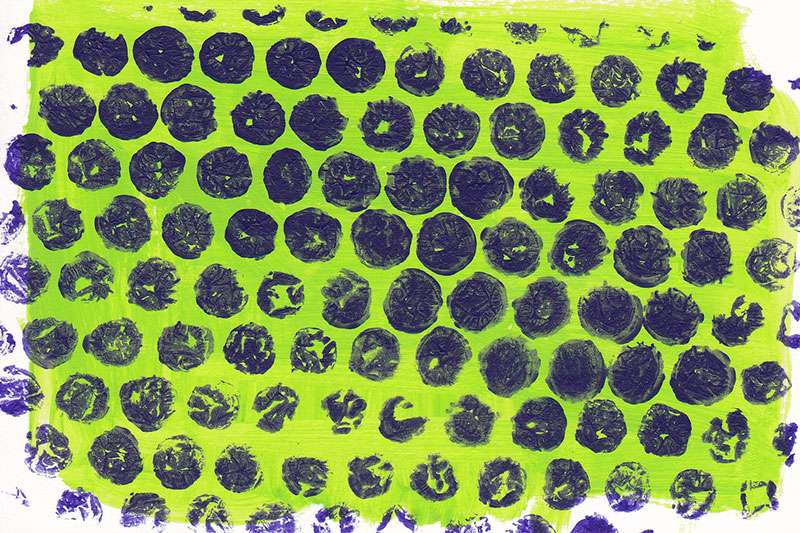
Bubble Wrap can be used to create a quick and easy polka-dot effect. If you’re using this technique with very small children it is best to do so under strict supervision. We created the pattern above by gently brushing a small amount of paint onto the wrap then pressing it paint-side down onto a piece of painted card. You can also pick up paint by pressing the film bubble side down onto a brushed out layer of wet paint. It is important not to apply the paint too thickly, as the paint can find its way into the creases and crevices of the film making it difficult to print out the details from the wrap.
Using Fabric and Lace
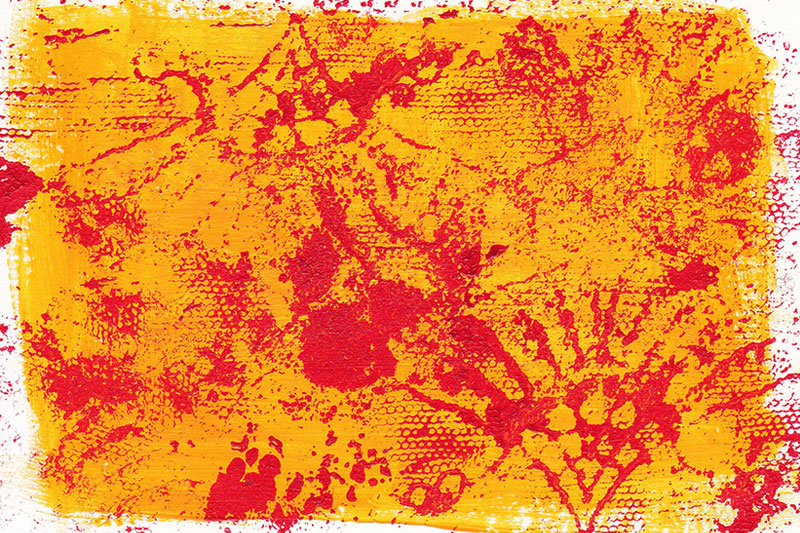
Scrap fabric and lace can be used to create some brilliant textures. In the image above we coated a strip of lace with paint and then pressed it paint-side-down onto a piece of painted card. Heavily textured fabrics can create all kinds of brilliant effects, so it’s well worth experimenting with any scraps you may have lying around the house.
Sponging & Dabbing

Sponging or dabbing on paint with a sponge or cloth can create some interesting textures. This technique is especially effective with watercolour and can be used to create misty, cloudy effects. If you have any patterned kitchen paper try dabbing a little paint onto it to sponge onto your artwork. The pattern will transfer and can make some interesting shapes and patterns.
Splashing, Spotting and Marbling
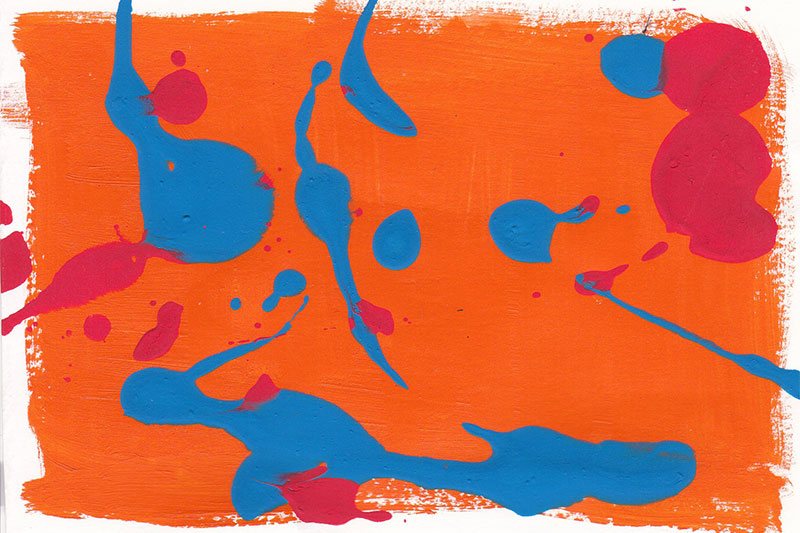
Splashing and marbling paint is a great way to create dynamic marks, and your kids are sure to have lots of fun during the process! Paint can be splashed and spotted directly onto paper or card, although we would definitely recommend that you protect your furniture and floors! Some great marbled effects can be achieved by getting your children to splash and spot daubs of paint onto cling film. You can move around these splashes with a toothpick or knife/fork to create some brilliant marbled patterns. Once your pattern is finished you can gently press a clean sheet of paper onto your paint, which should transfer the marbled pattern onto your paper.
Stencilling
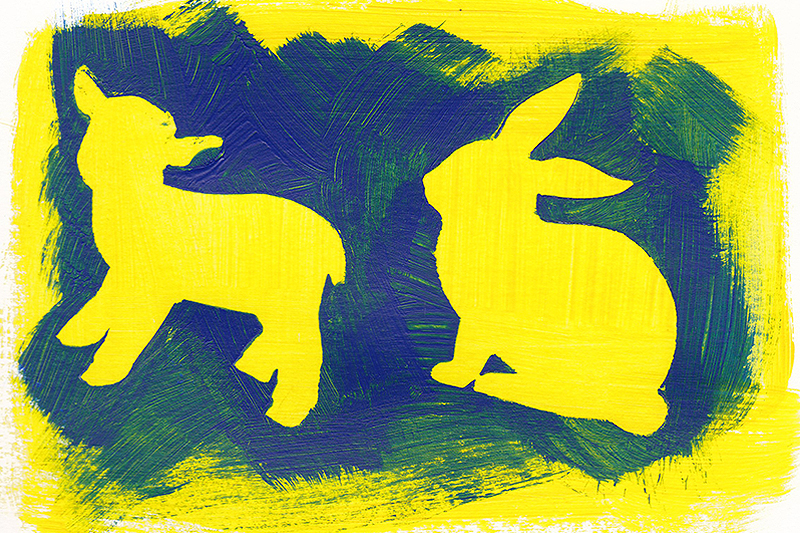
Stencils are a great way of creating quick Easter designs. As they can be pre-cut they are a great way of getting young children to create artwork without needing to draw their own designs. Pre-cut designs for Easter eggs, sheep, chicks and maybe even Easter bonnets! Kids can press the stencils onto paper and sponge, splash or brush paint over the top. When removed, the stencil will reveal a crisp, clean design underneath!
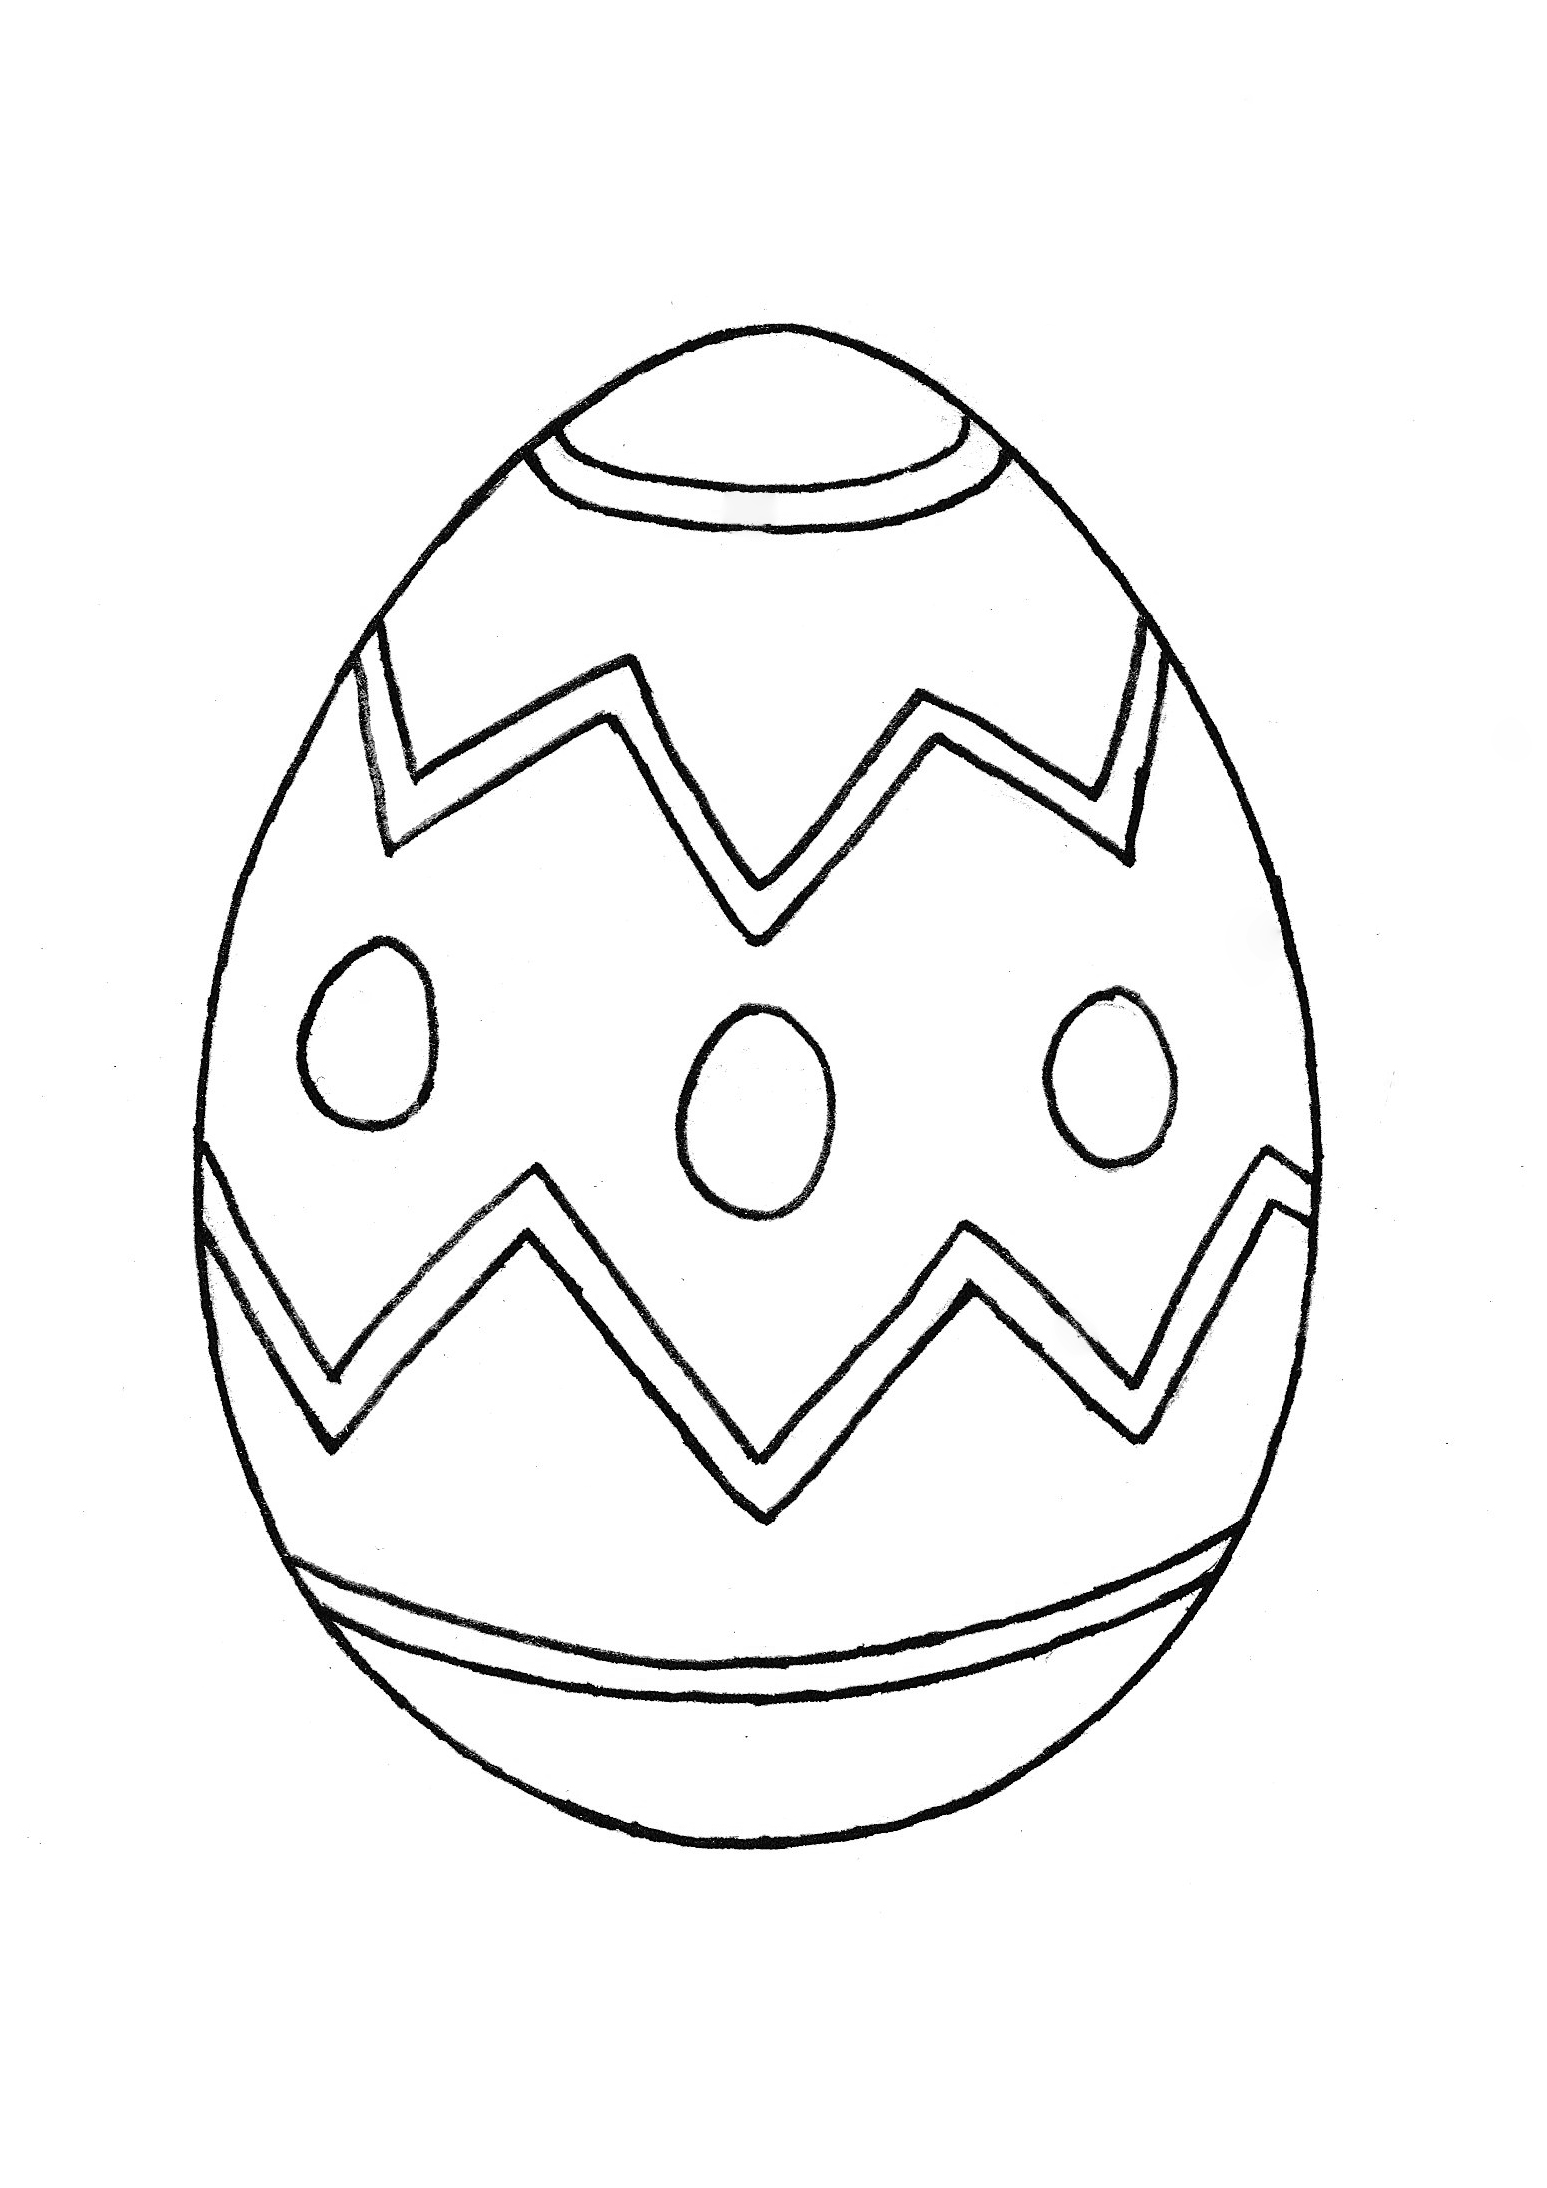
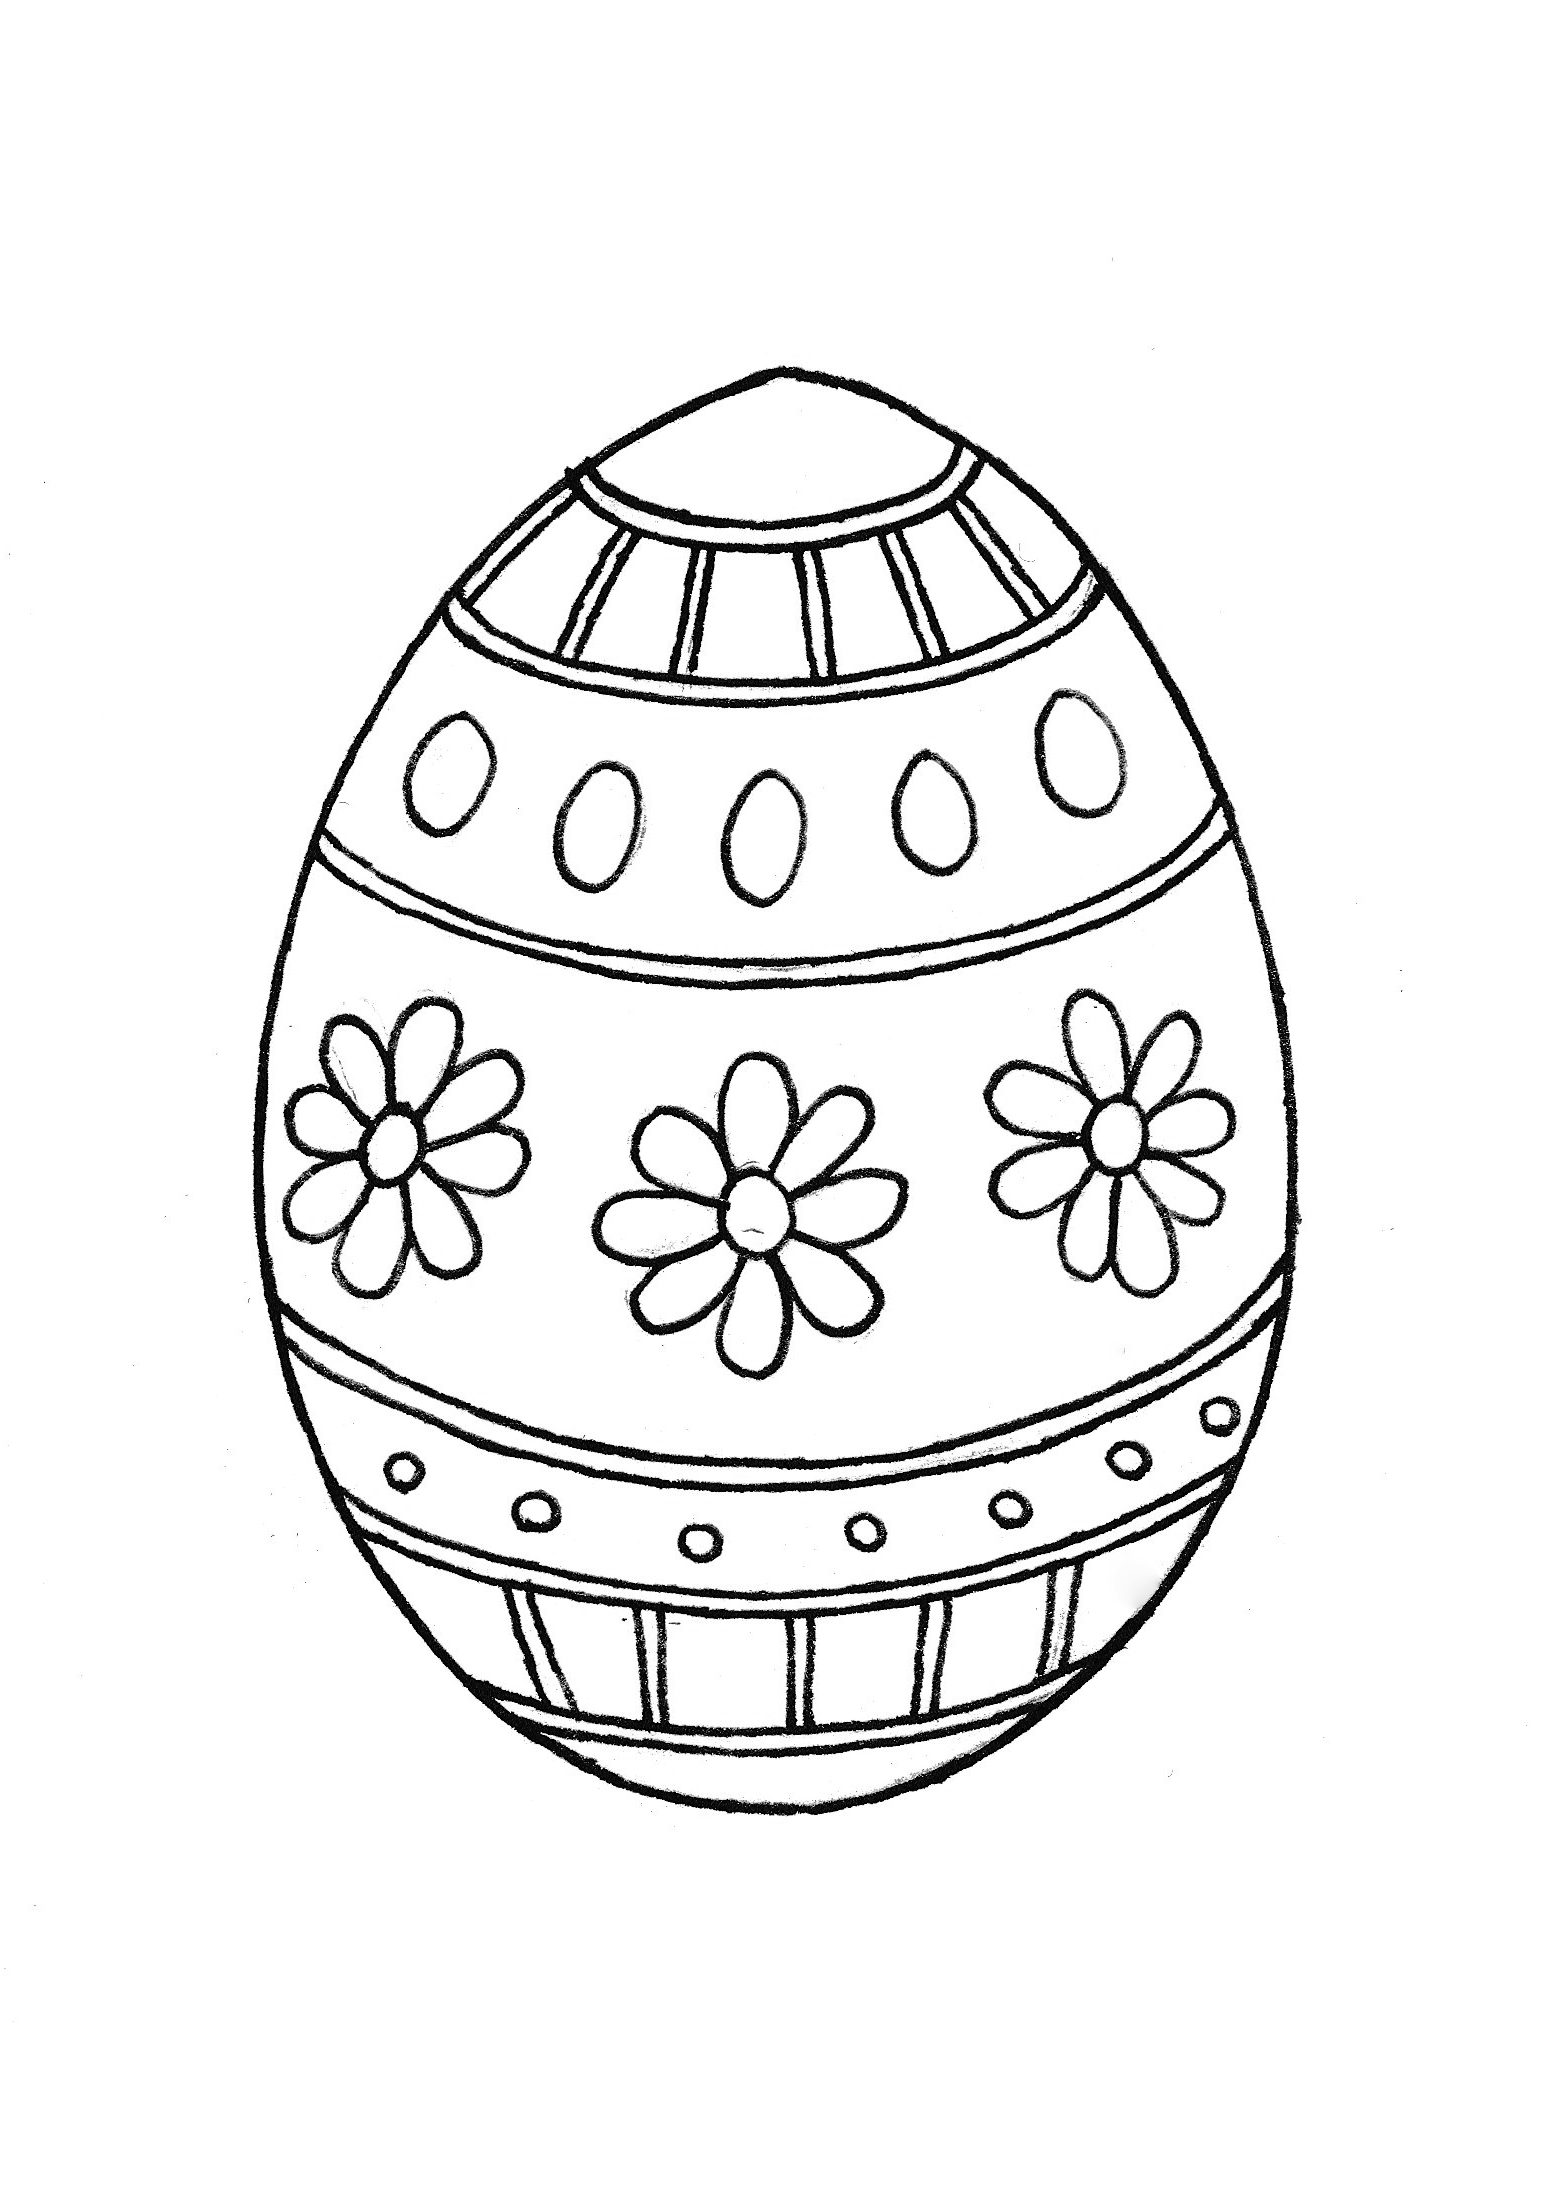
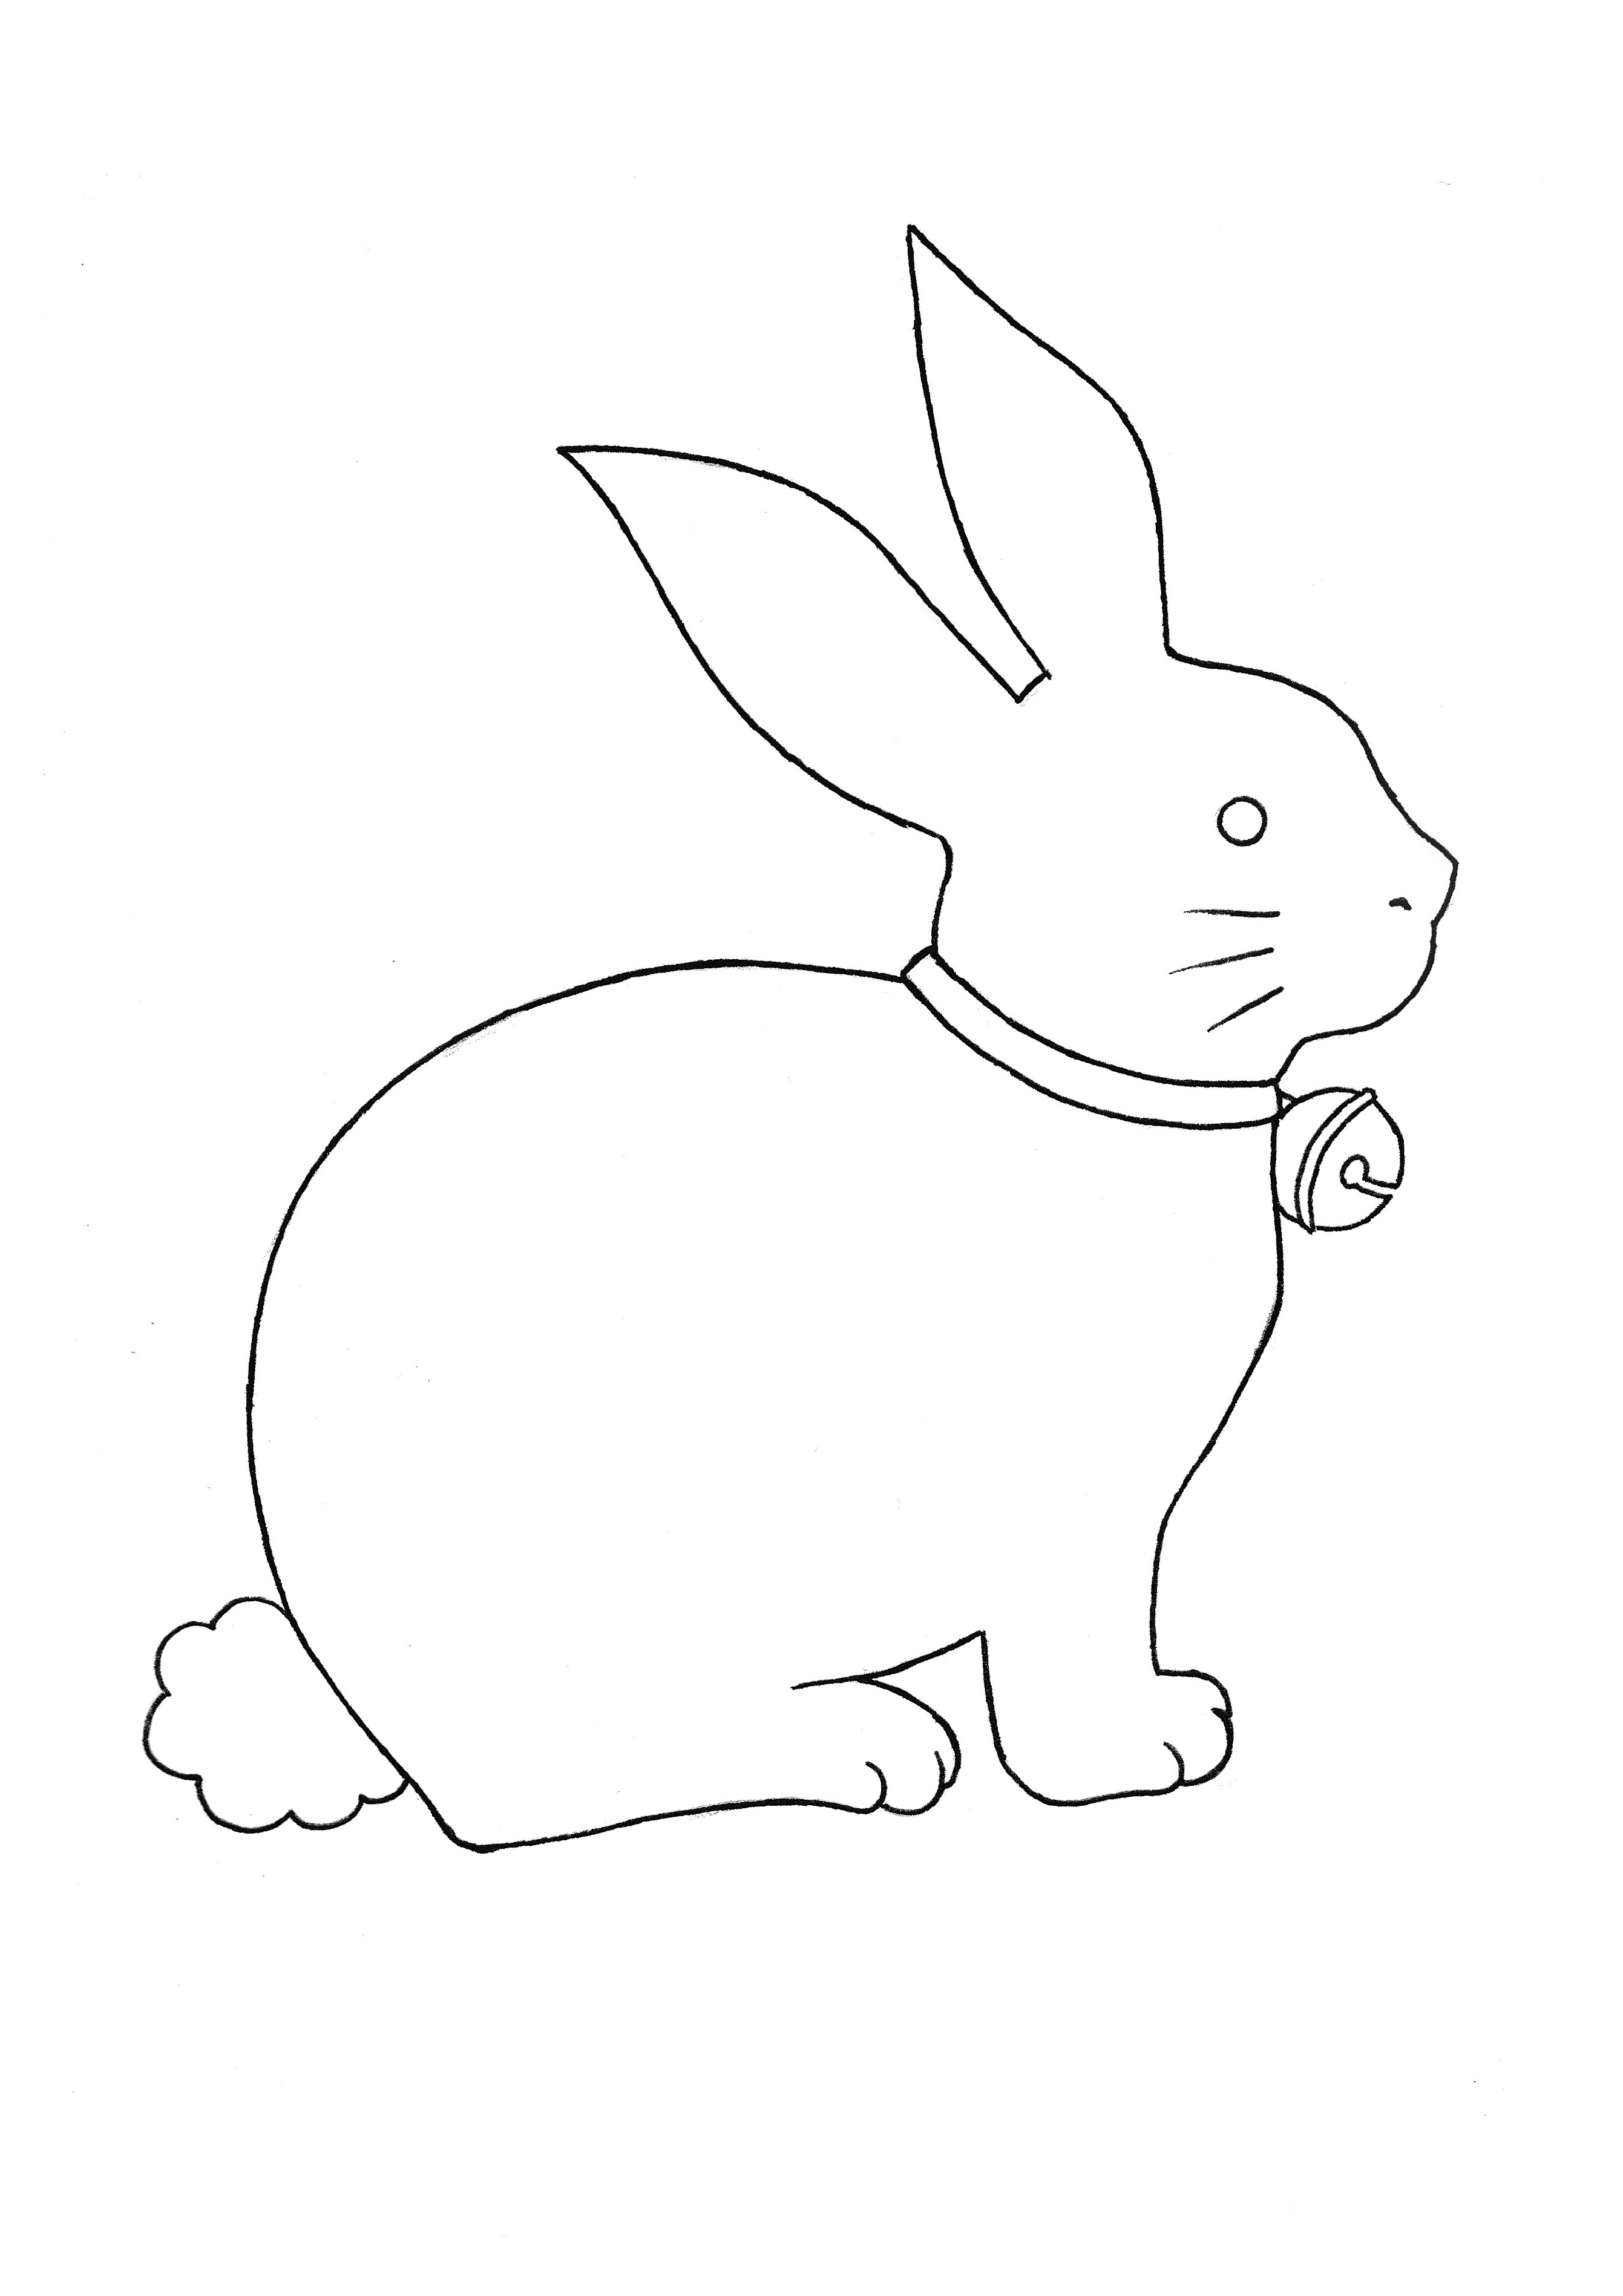
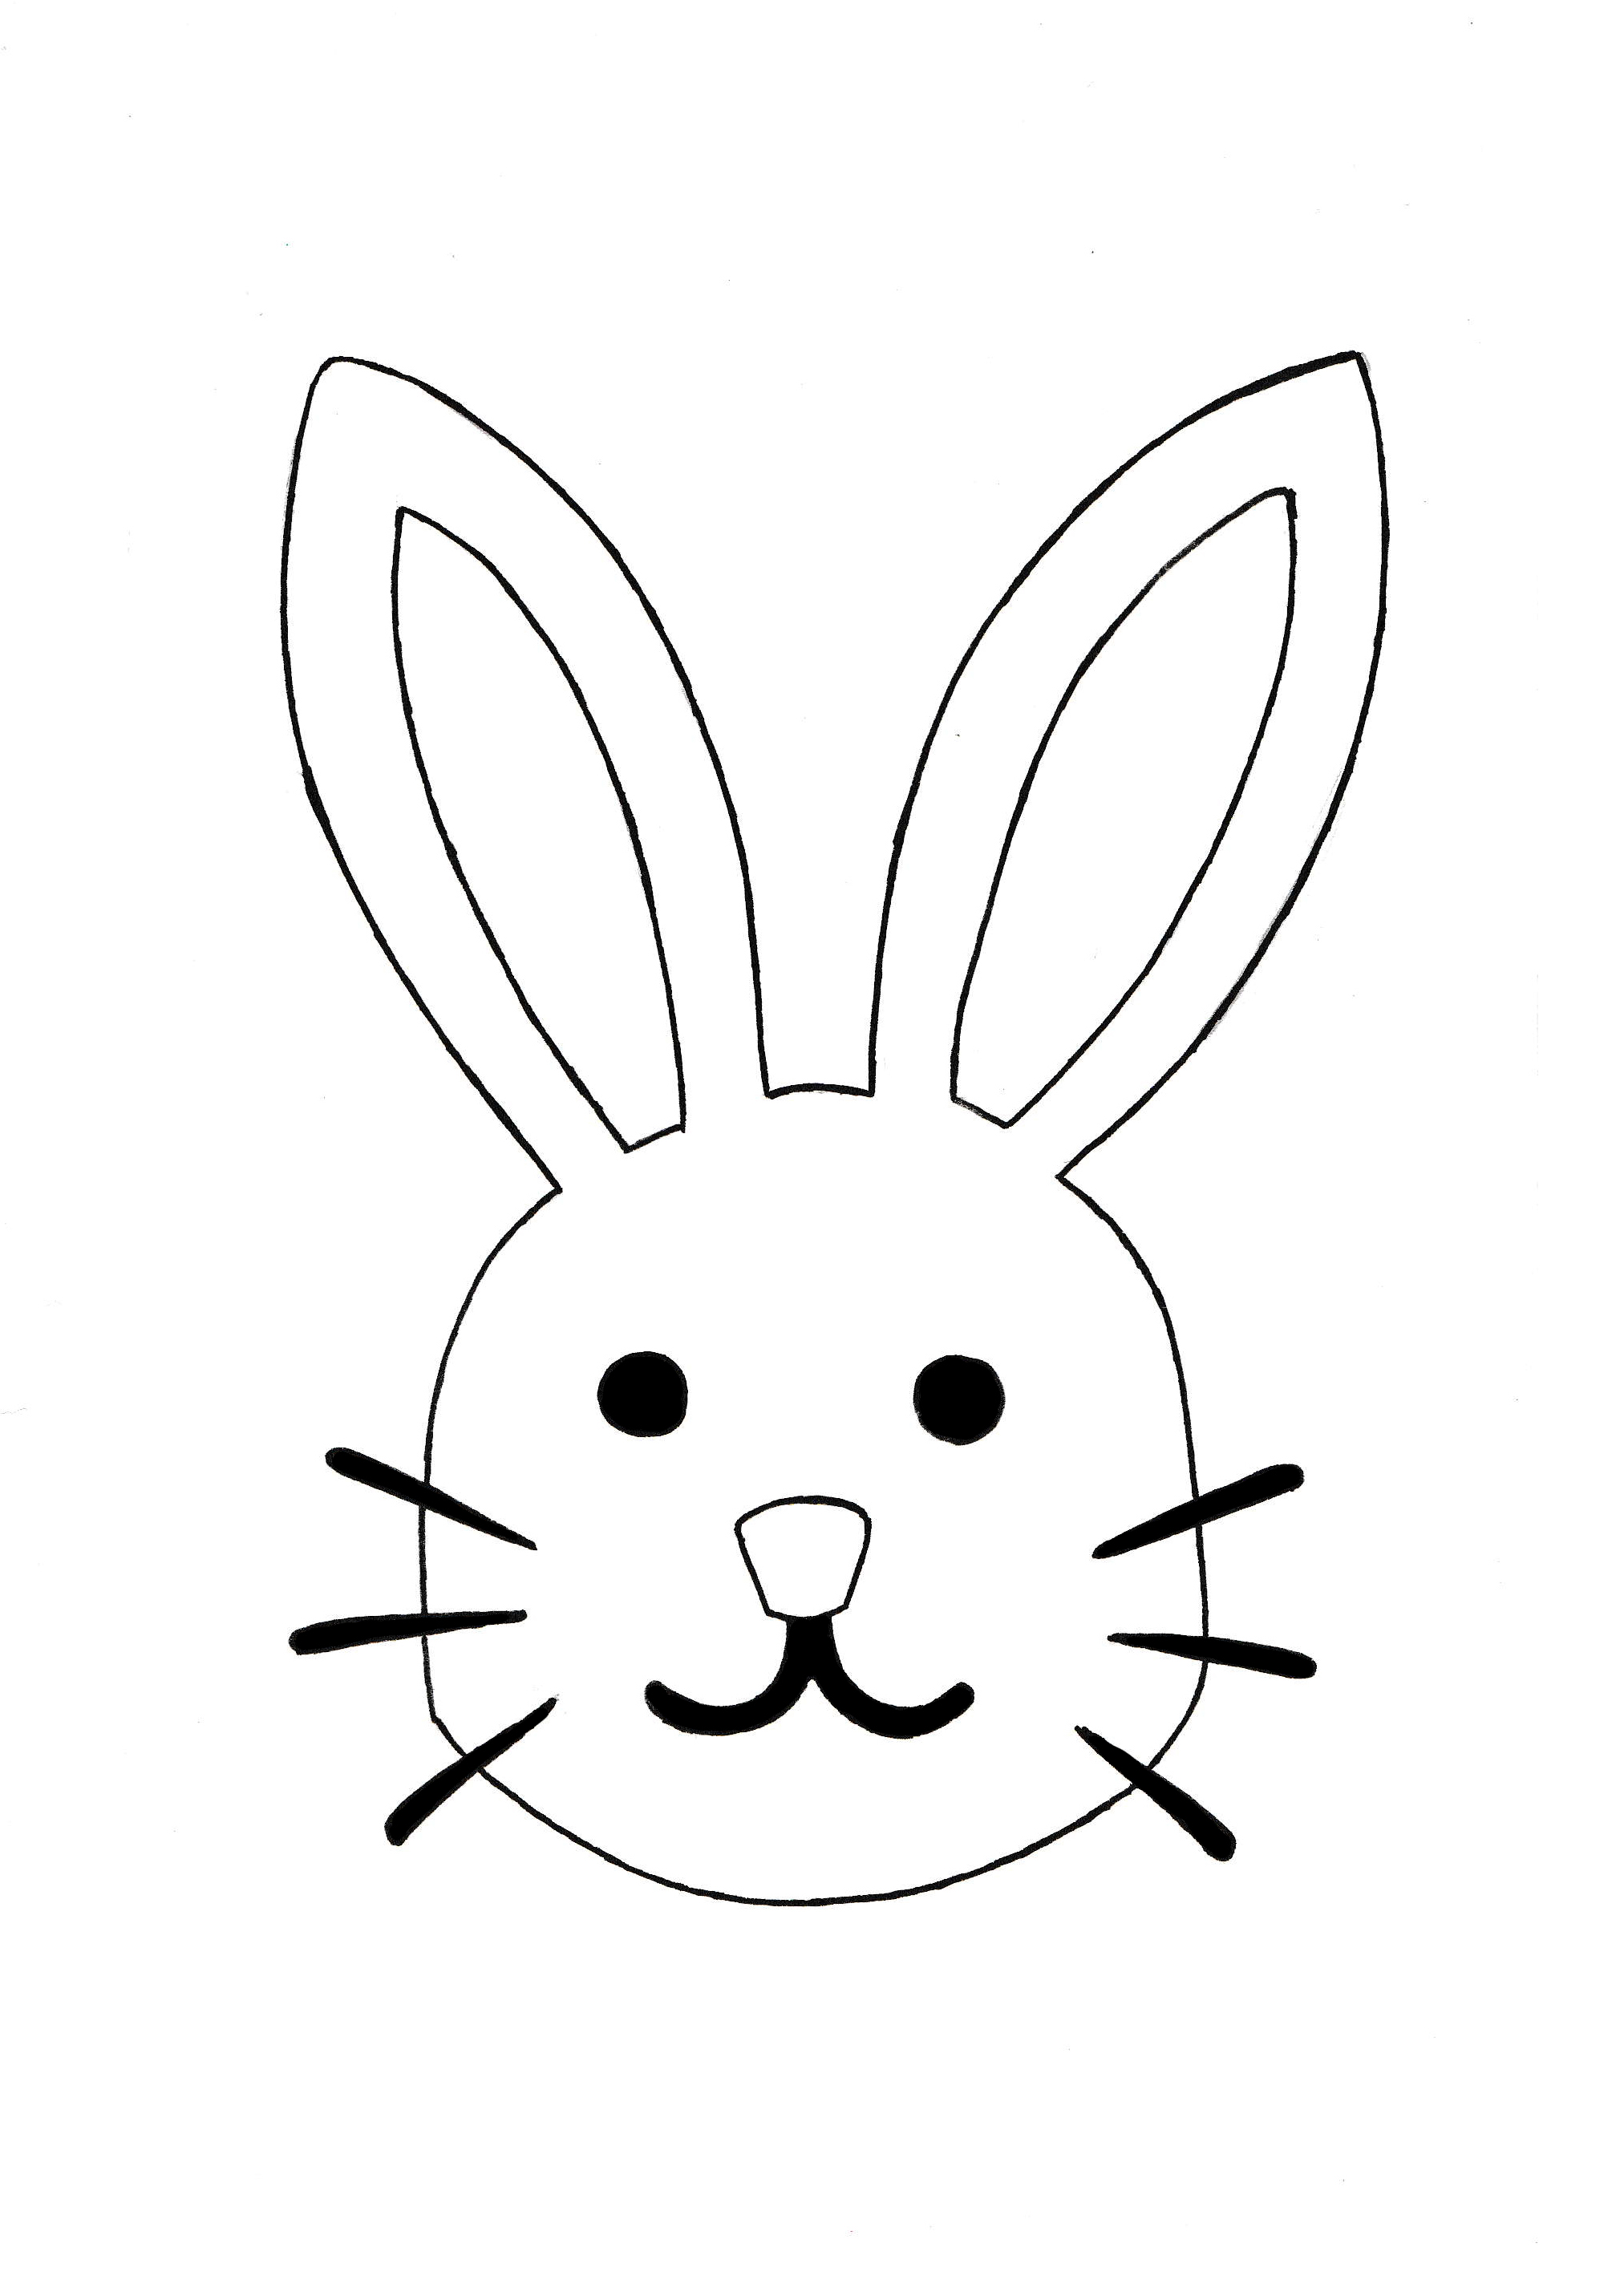
Create your Easter crafts using these templates!
If you’re working with very young children, they may not be able to draw out their own designs. Working with templates and stencils is a great way to get them creating without necessarily needing them to draw their own designs from scratch. Download and print these templates so they can quickly create their own Easter artwork!


> View our entire Kids Art Supplies range online
> Find out more about Bruynzeel Kids art materials
> Find out more about Simply kids art materials


Never mind the grandchildren, mine are grown up anyway, but I would love to have a go at these ideas to take my mind back to childhood and off of the sad news we are getting right now, Thankyou so much x
Brilliant ideas. Sadly I can’t see my grandchildren at present but once this crisis has passed I will get them to try some of these deals. In the meantime, I think I’ll have a go myself ……..